less visible mending
by Cameron
So many of you have been bringing in beautiful visible mending projects, and they've inspired me to tackle my mending pile. Unfortunately, most of the mending that I need to do does not lend itself to attention grabbing fixes, so I've been using my machine to do some mending that's less visible and considerably quicker. I thought it might be helpful to share my method here.
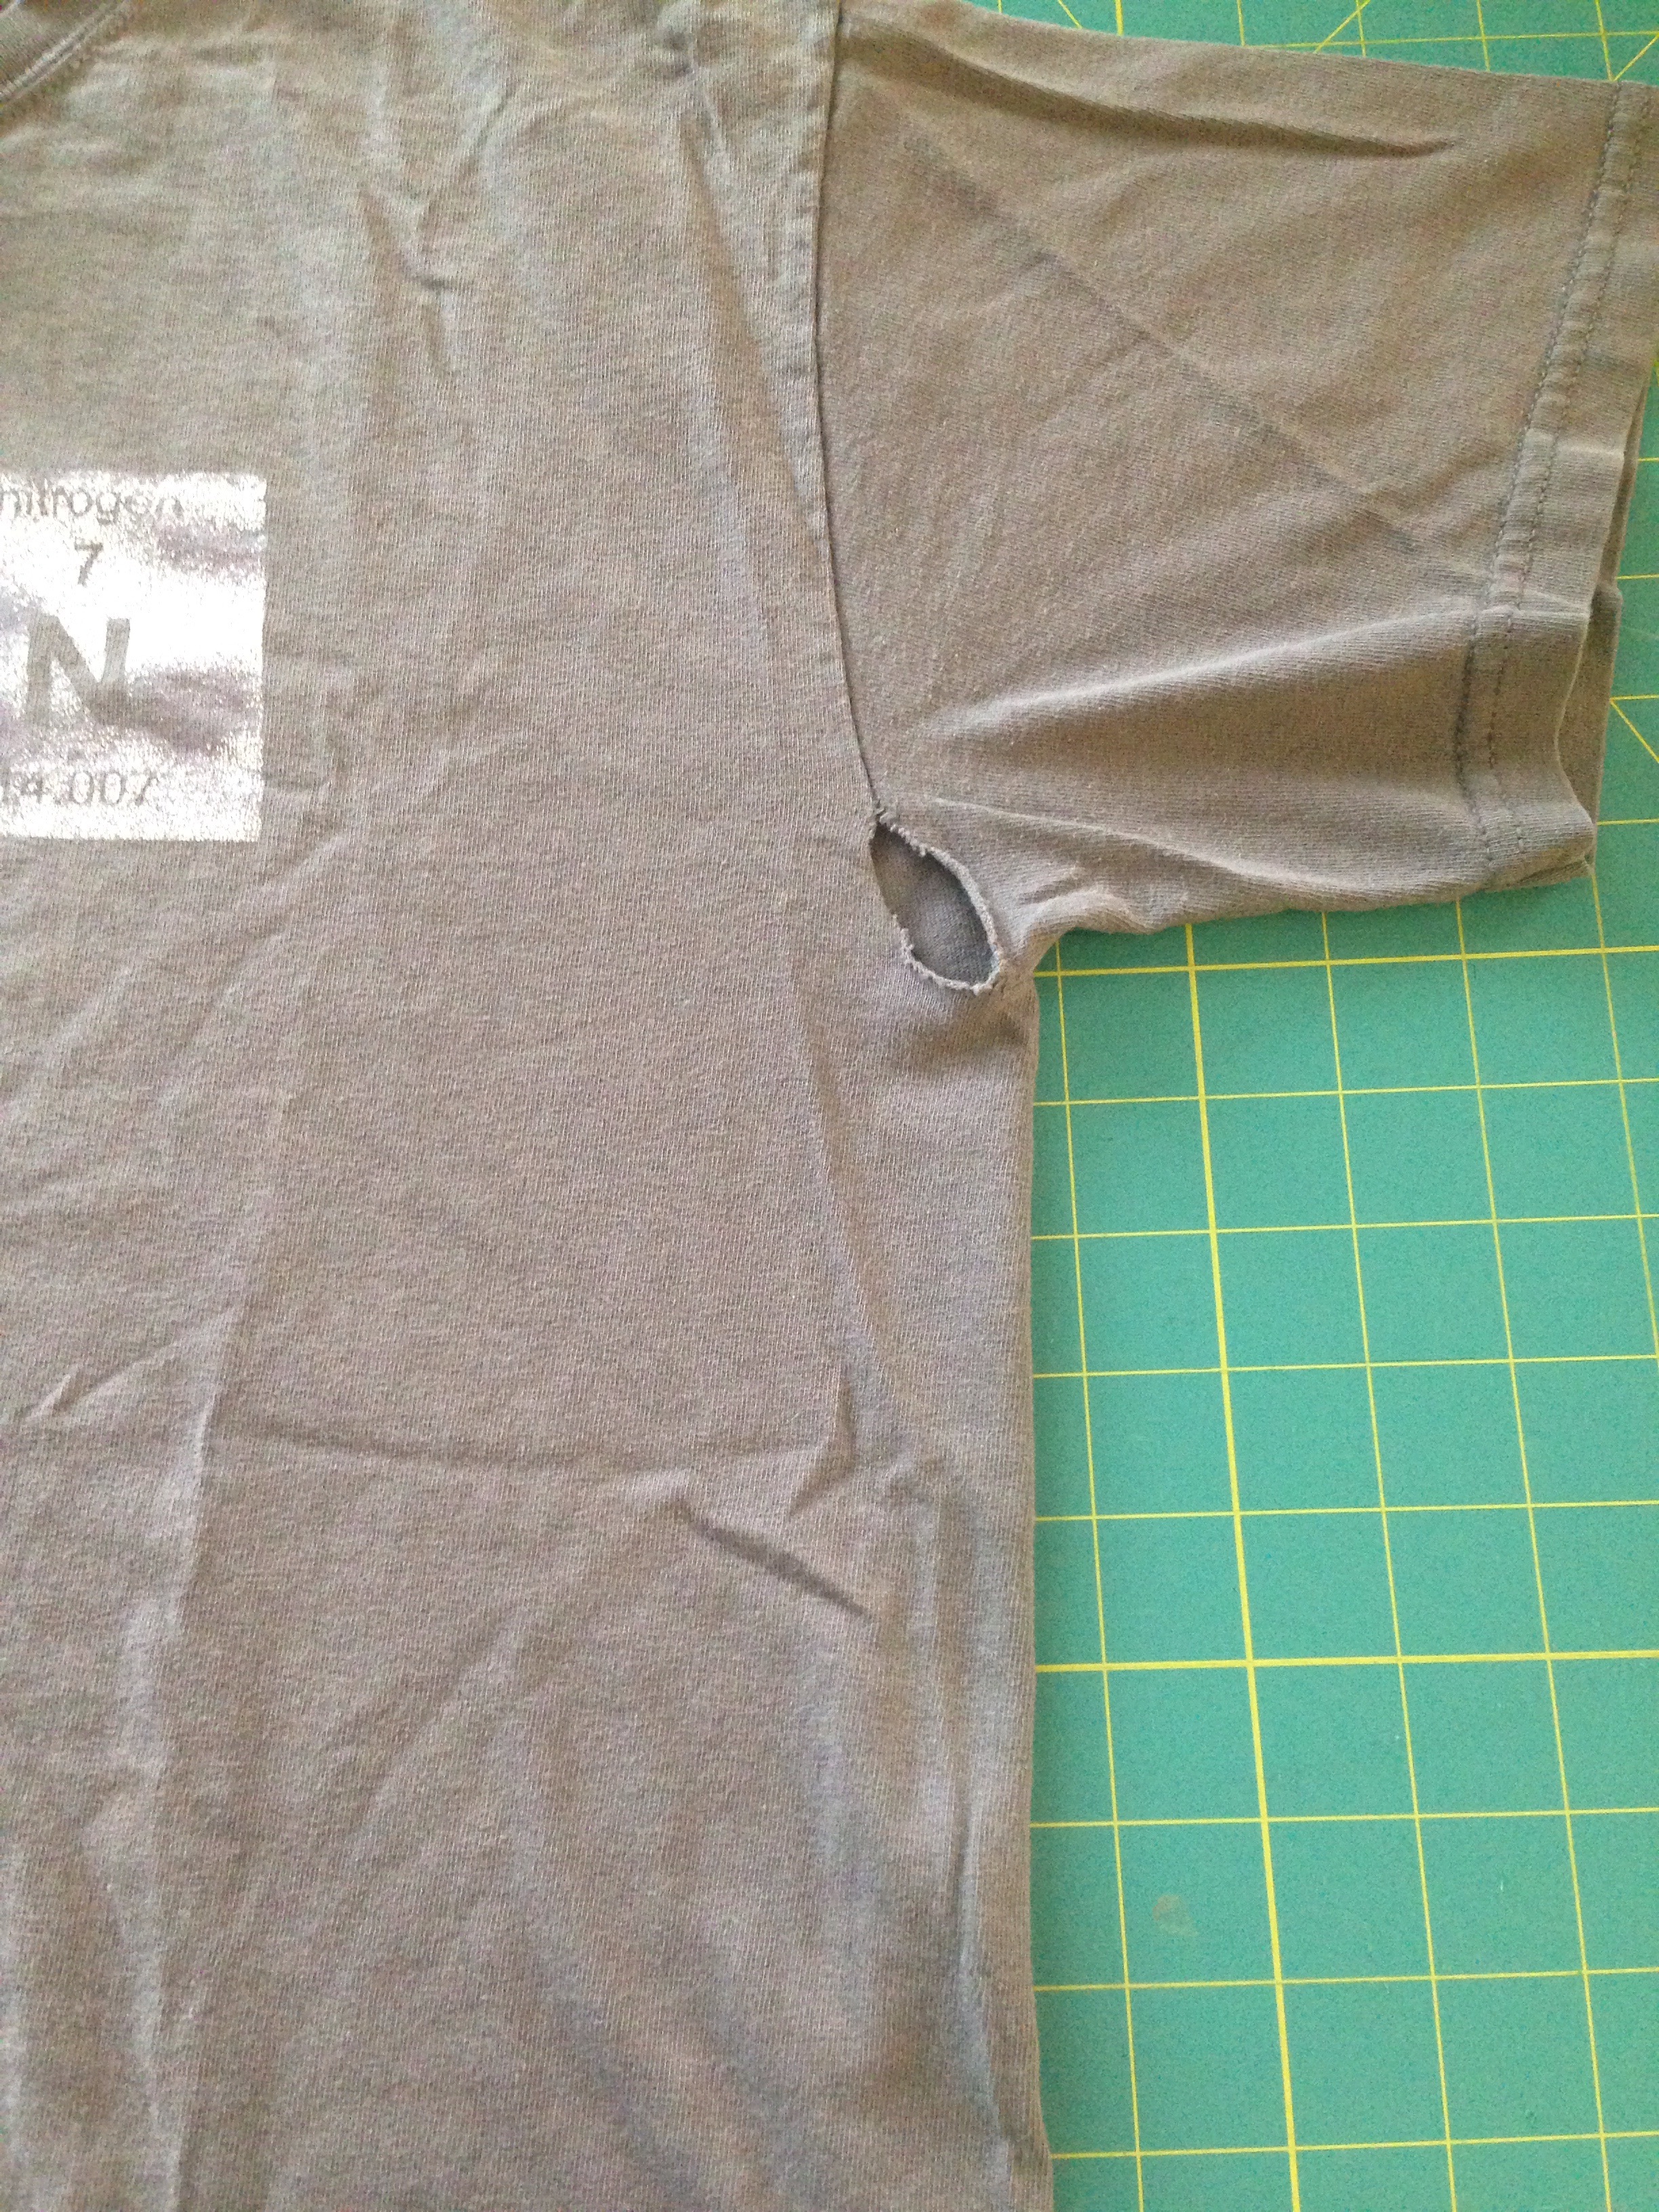
I have a t-shirt with the seam blown out at the under arm. To start, I pulled together some matching grey knit fabric and cotton thread. For mending t-shirts, it's nice to use a fabric that's roughly the same weight as the t-shirt you're mending. If you don't have an old shirt you can cannabalize for parts, remember that we cut almost all of our fabrics down to an 1/8 of a yard. I'm using an organic cotton knit by Birch, which is stable and easy to work with. It also comes in a lovely selection of colors.
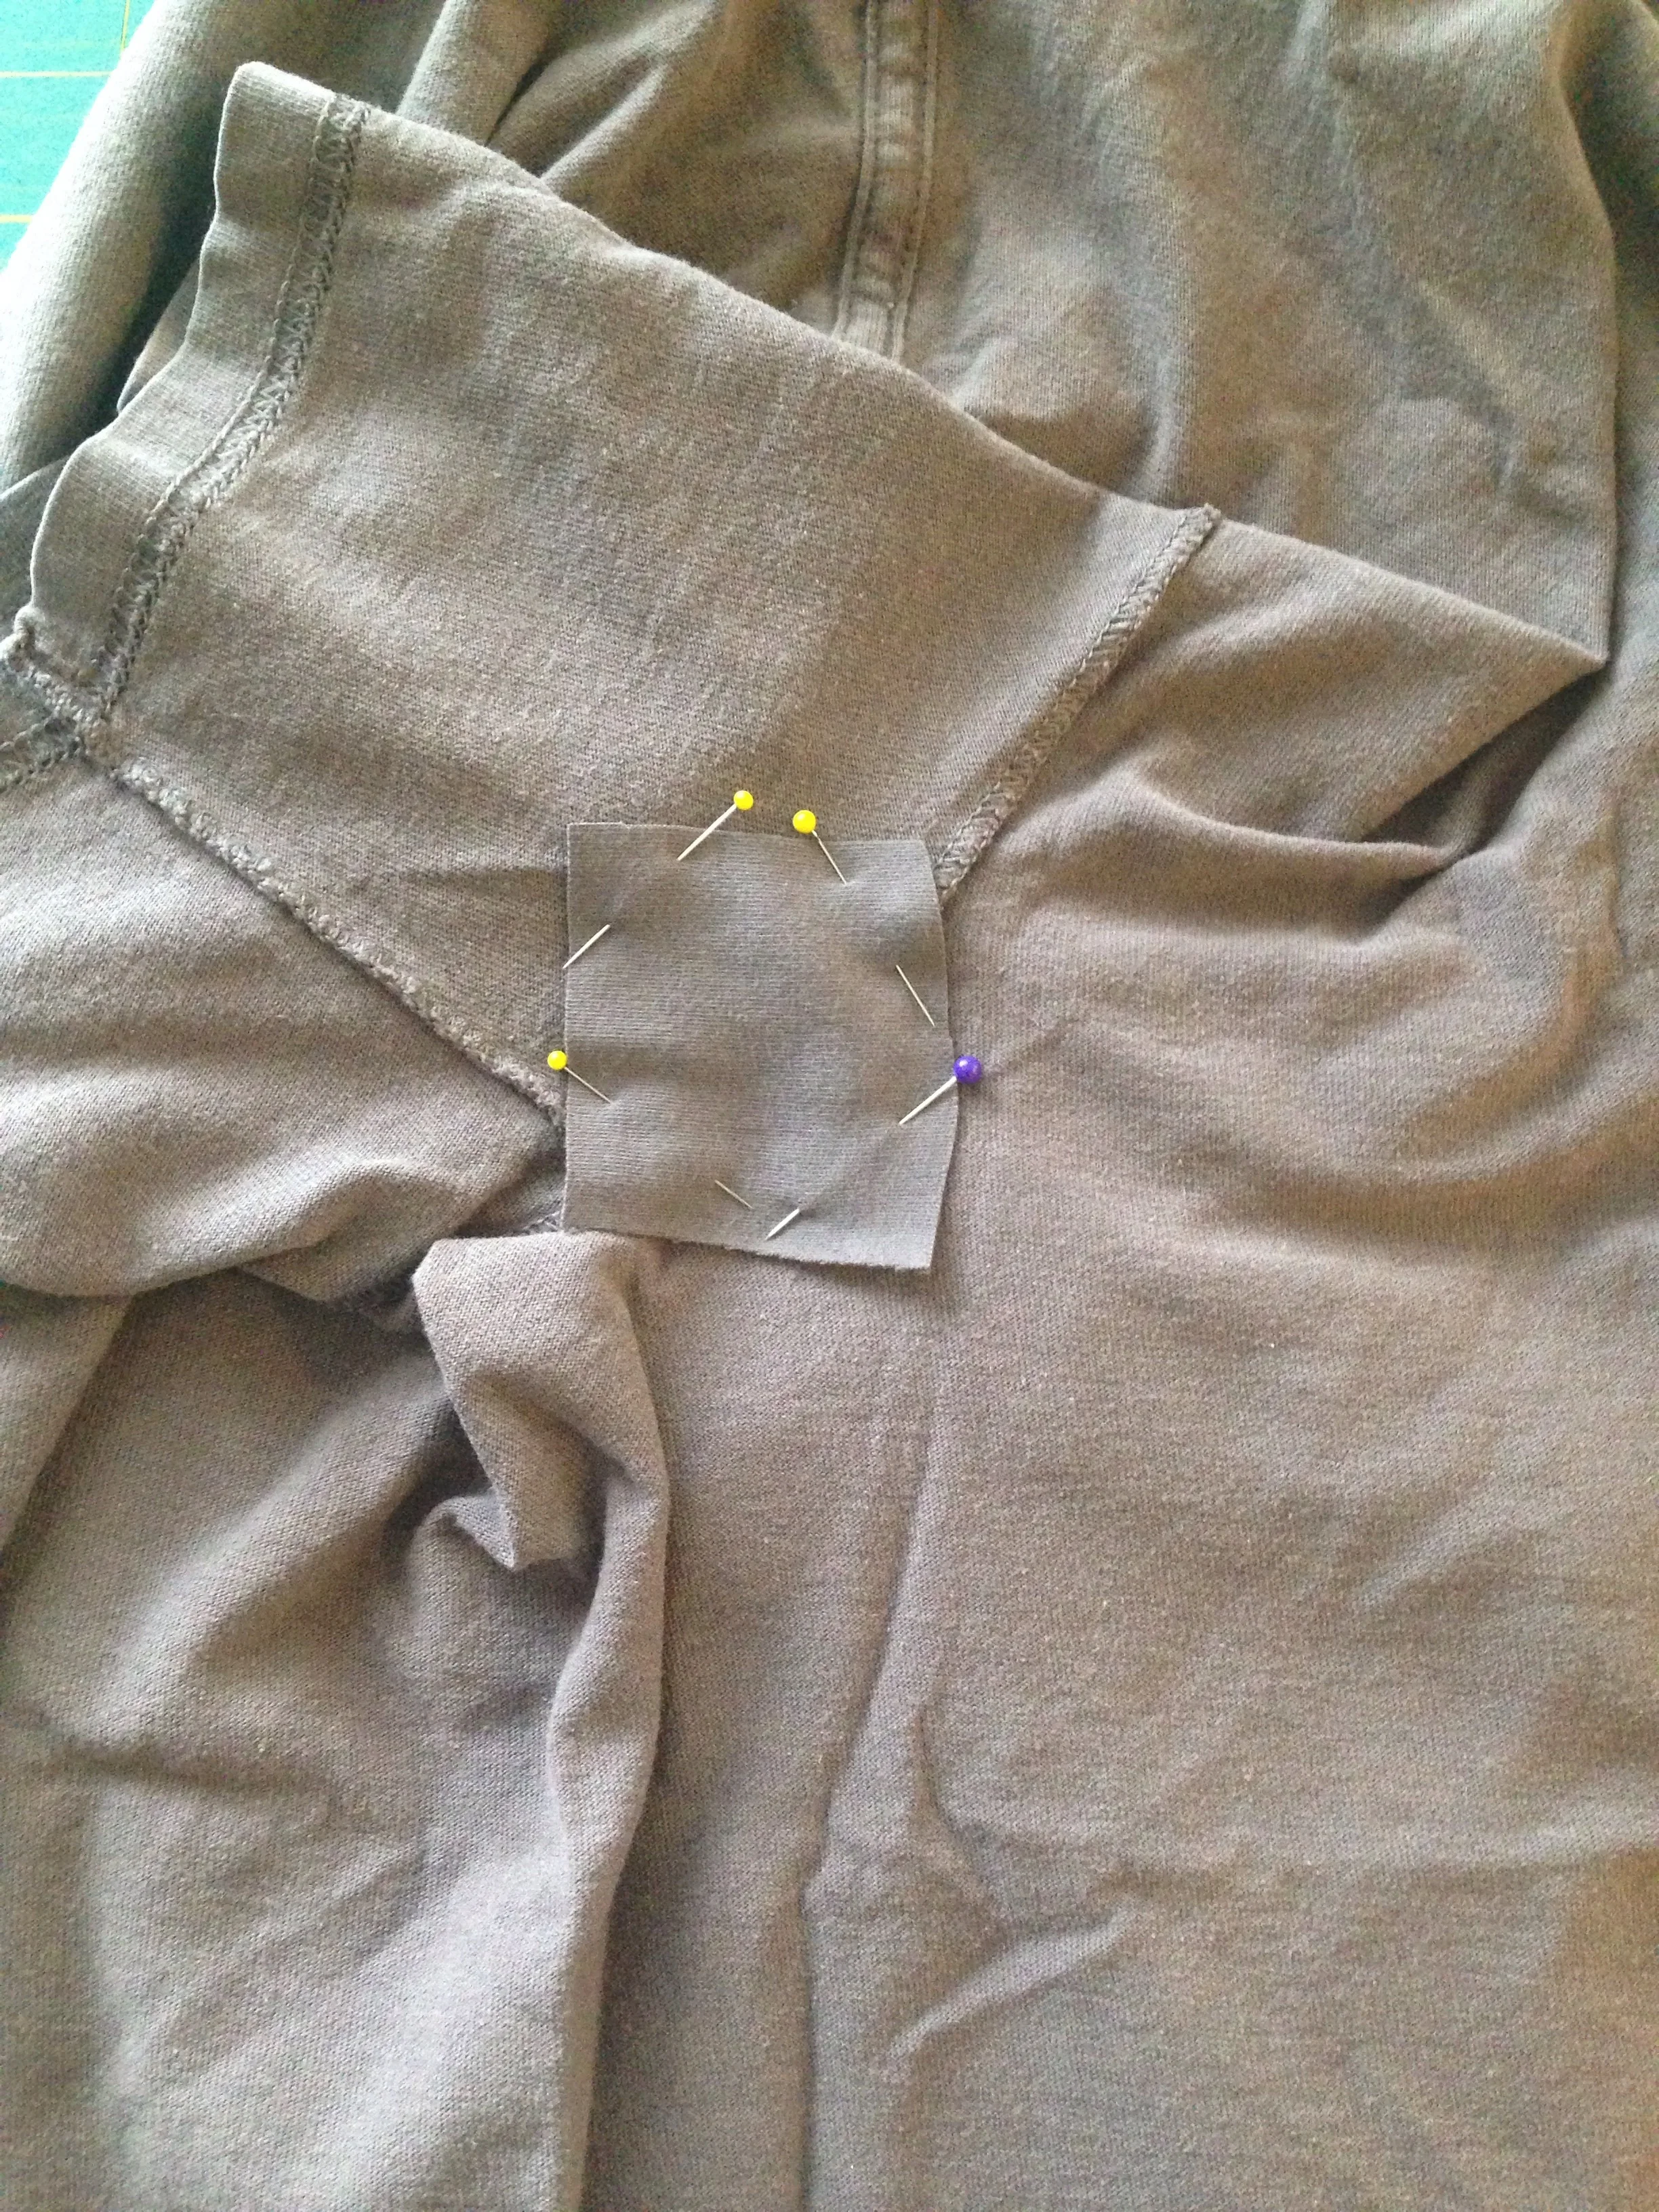
I cut out a patch that's about an .5" bigger than the hole. I don't measure anything, I just eyeball a patch that's slightly bigger than what I need. Turn the shirt inside out and carefully pin the patch over the area you're covering.
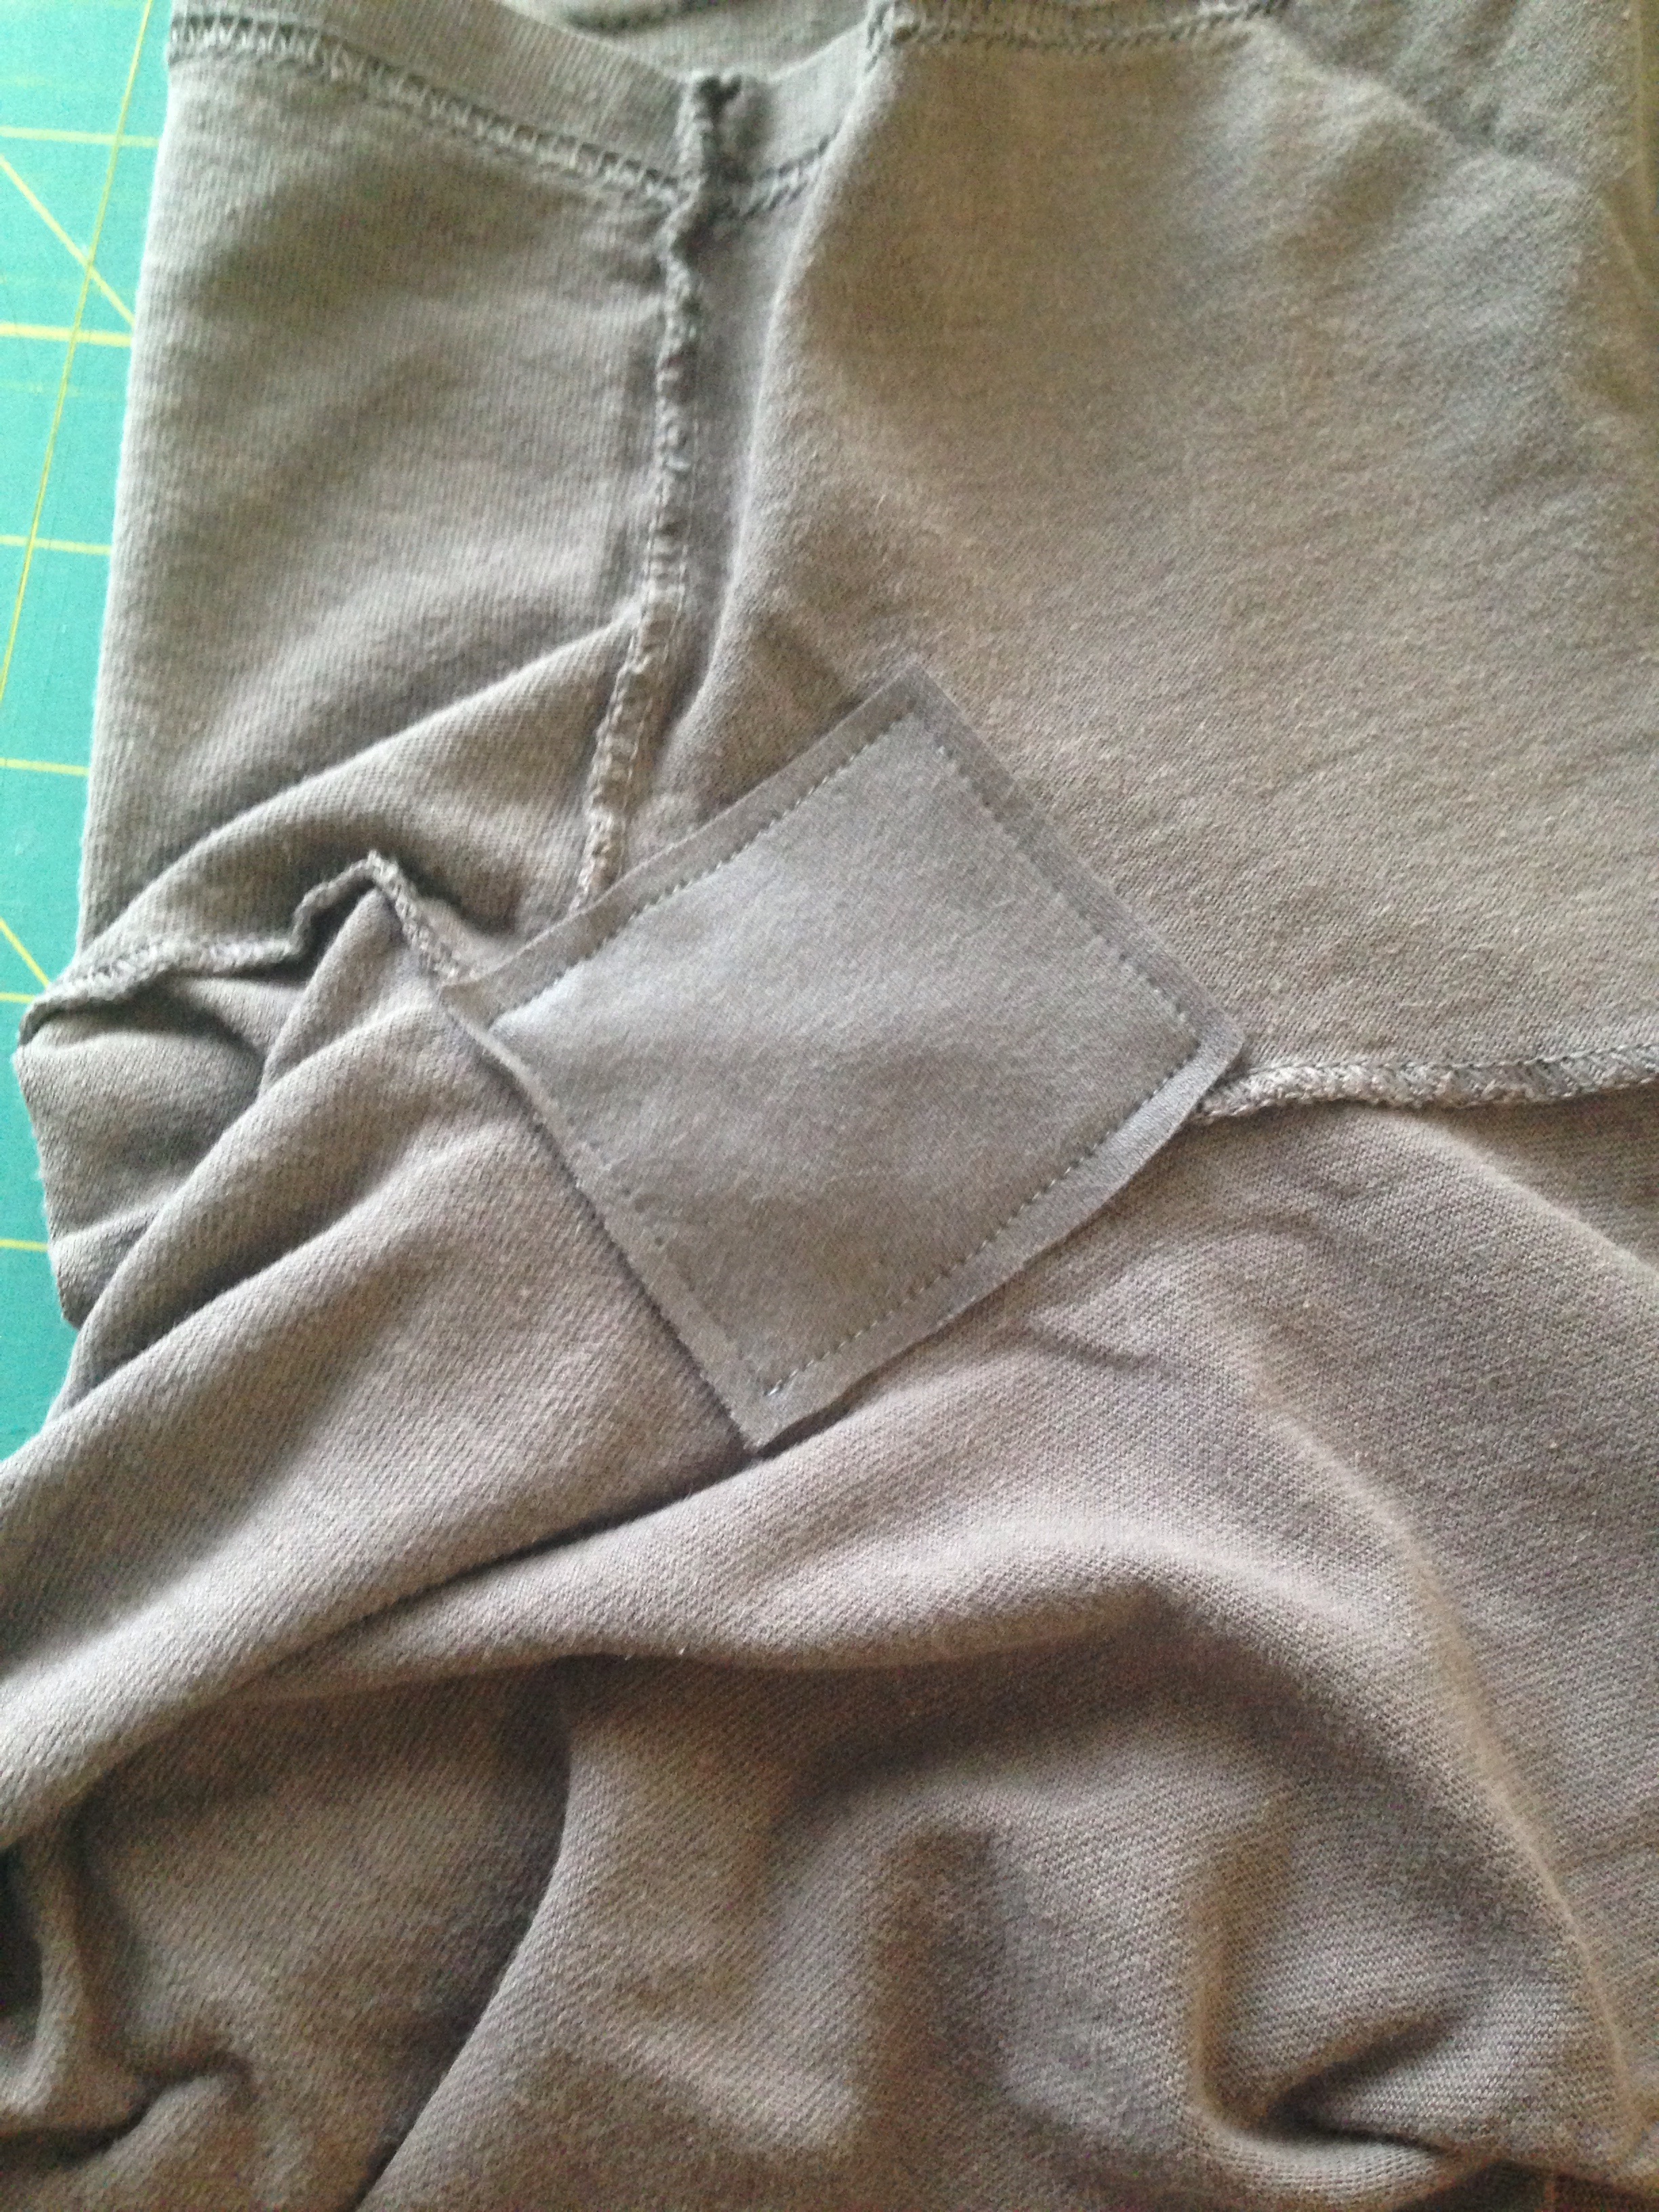
Stitch around the perimeter of the patch. This step is optional, but I think it makes the next step so much easier to have the patch completely secure.
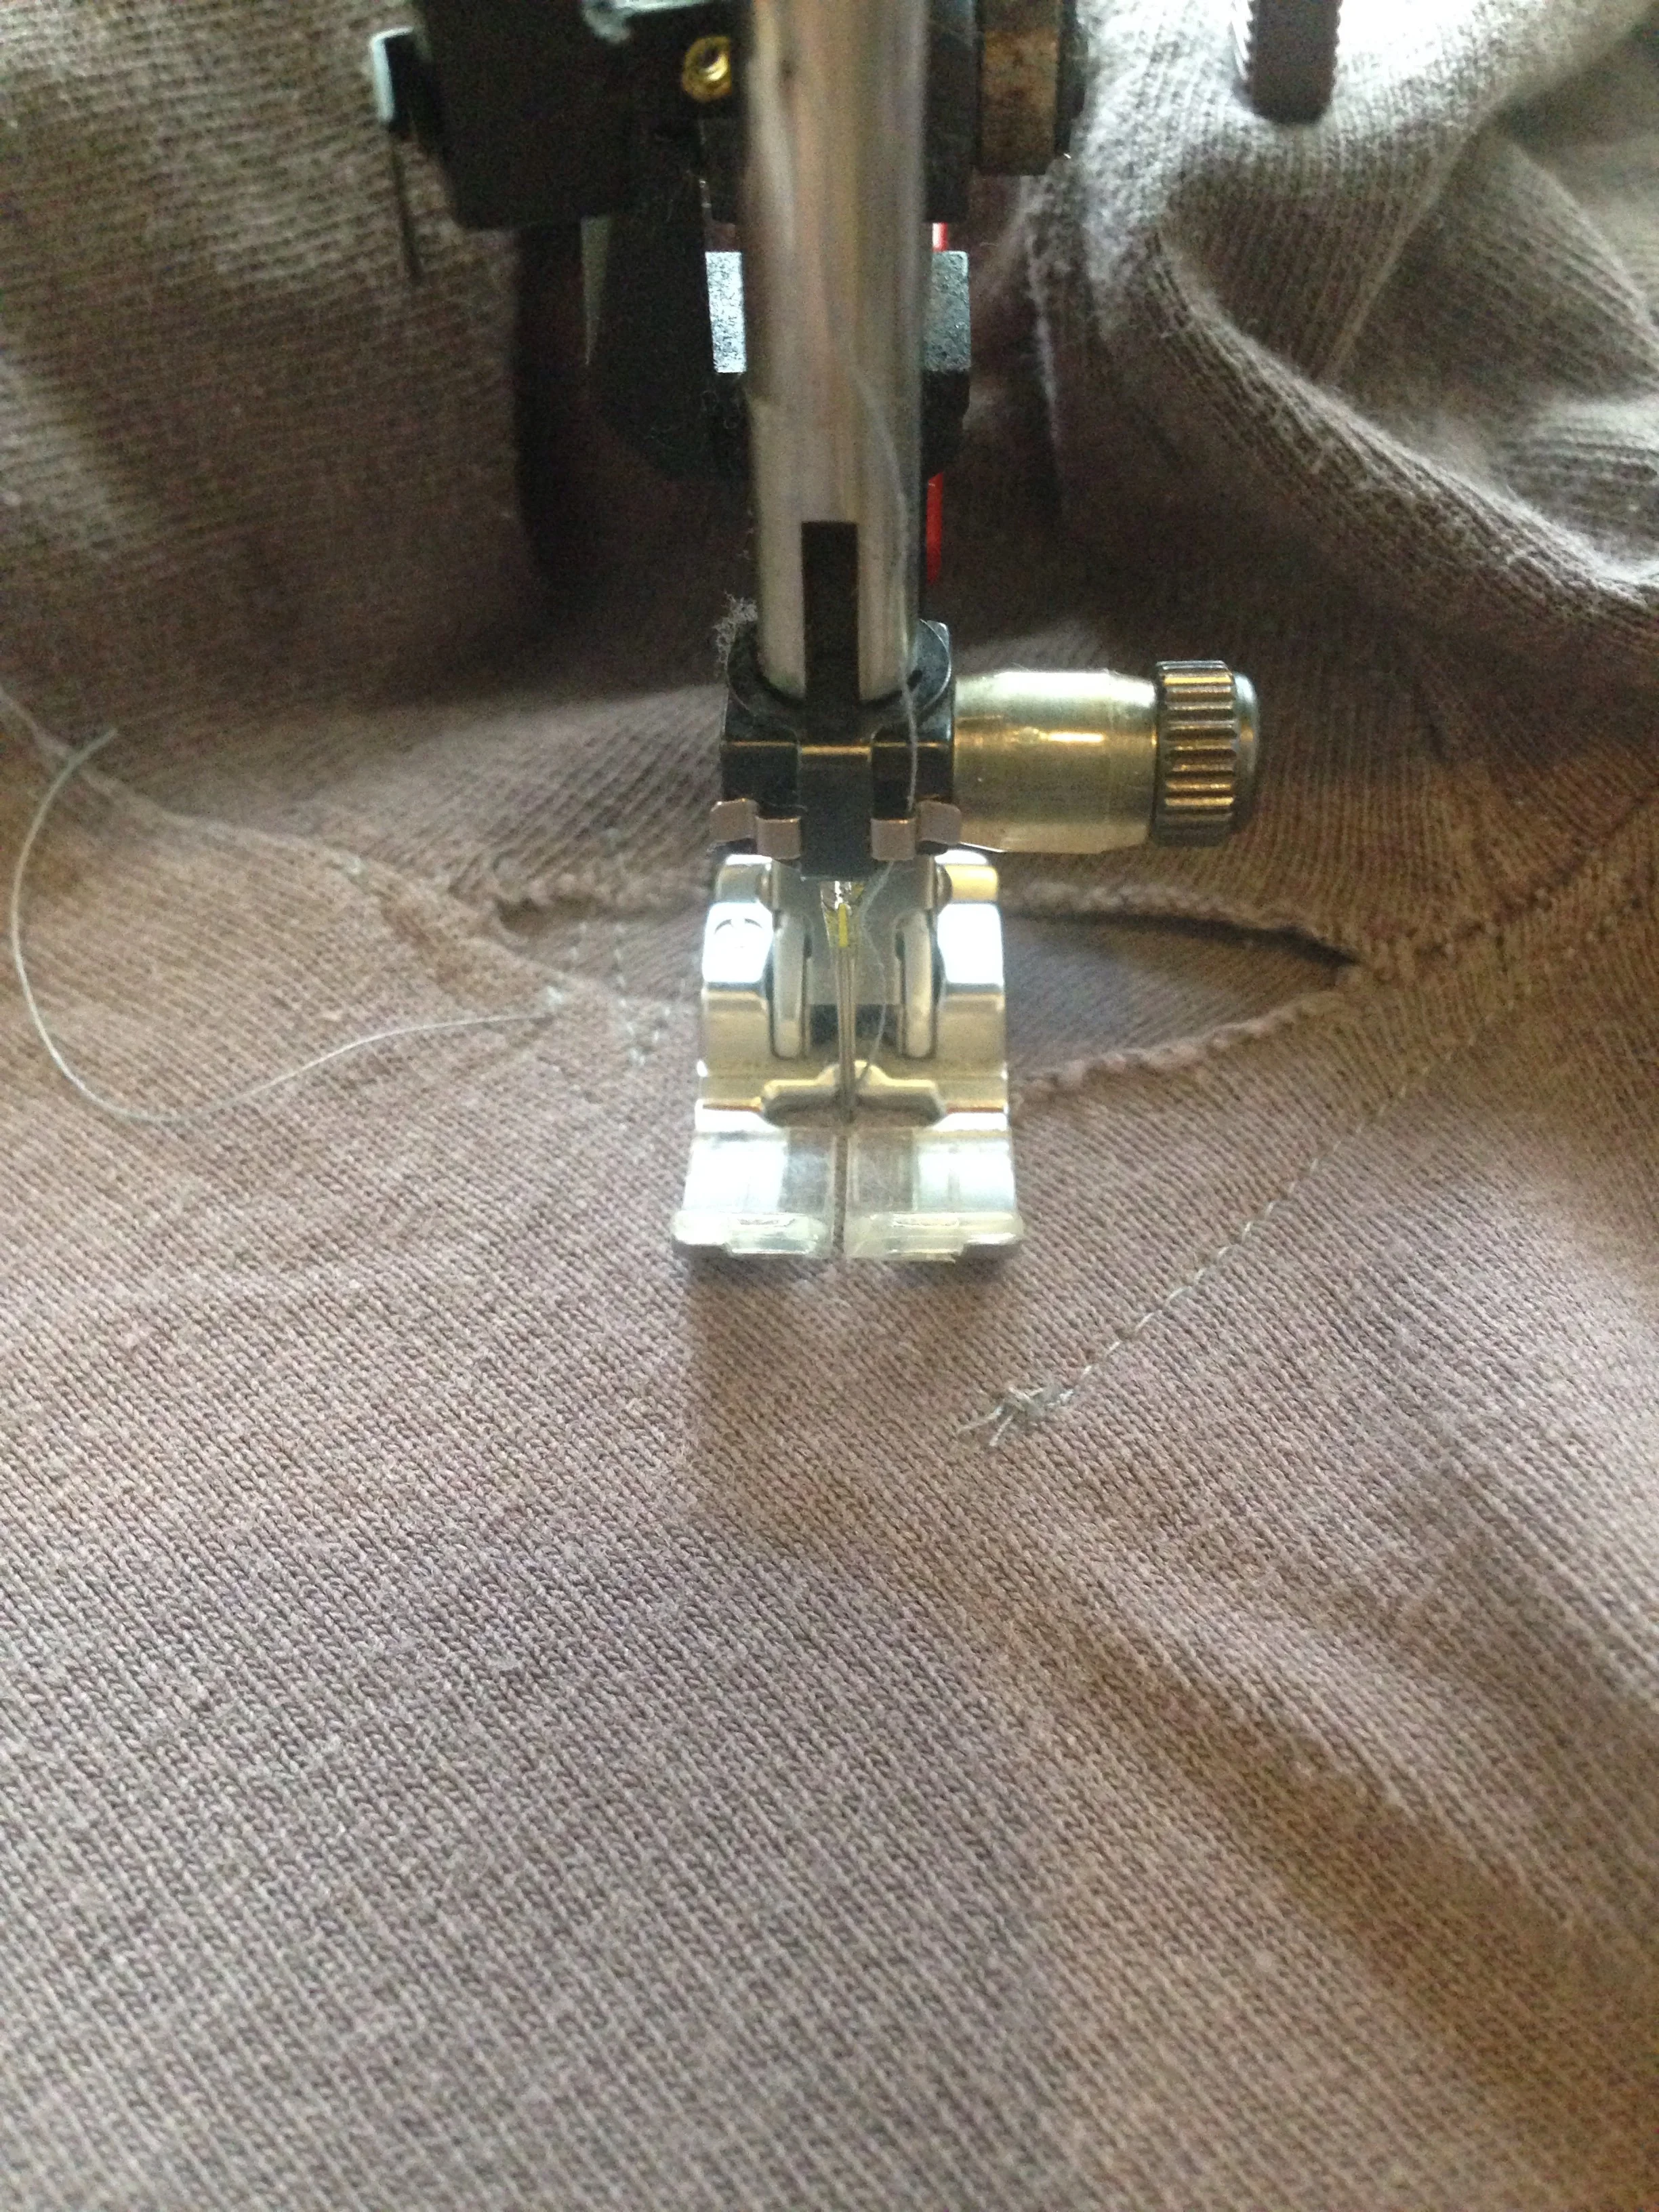
Turn the t-shirt inside out. I use the needle down function on my machine and stitch zig zags across the hole. This step does require a bit of awkward wrangling while turn the shirt around. Depending on your machine it might be easier to use the reverse button. You can really get experimental with this step - swirls, stars, and design you like as long as it quilts together the patch and the area around the hole.
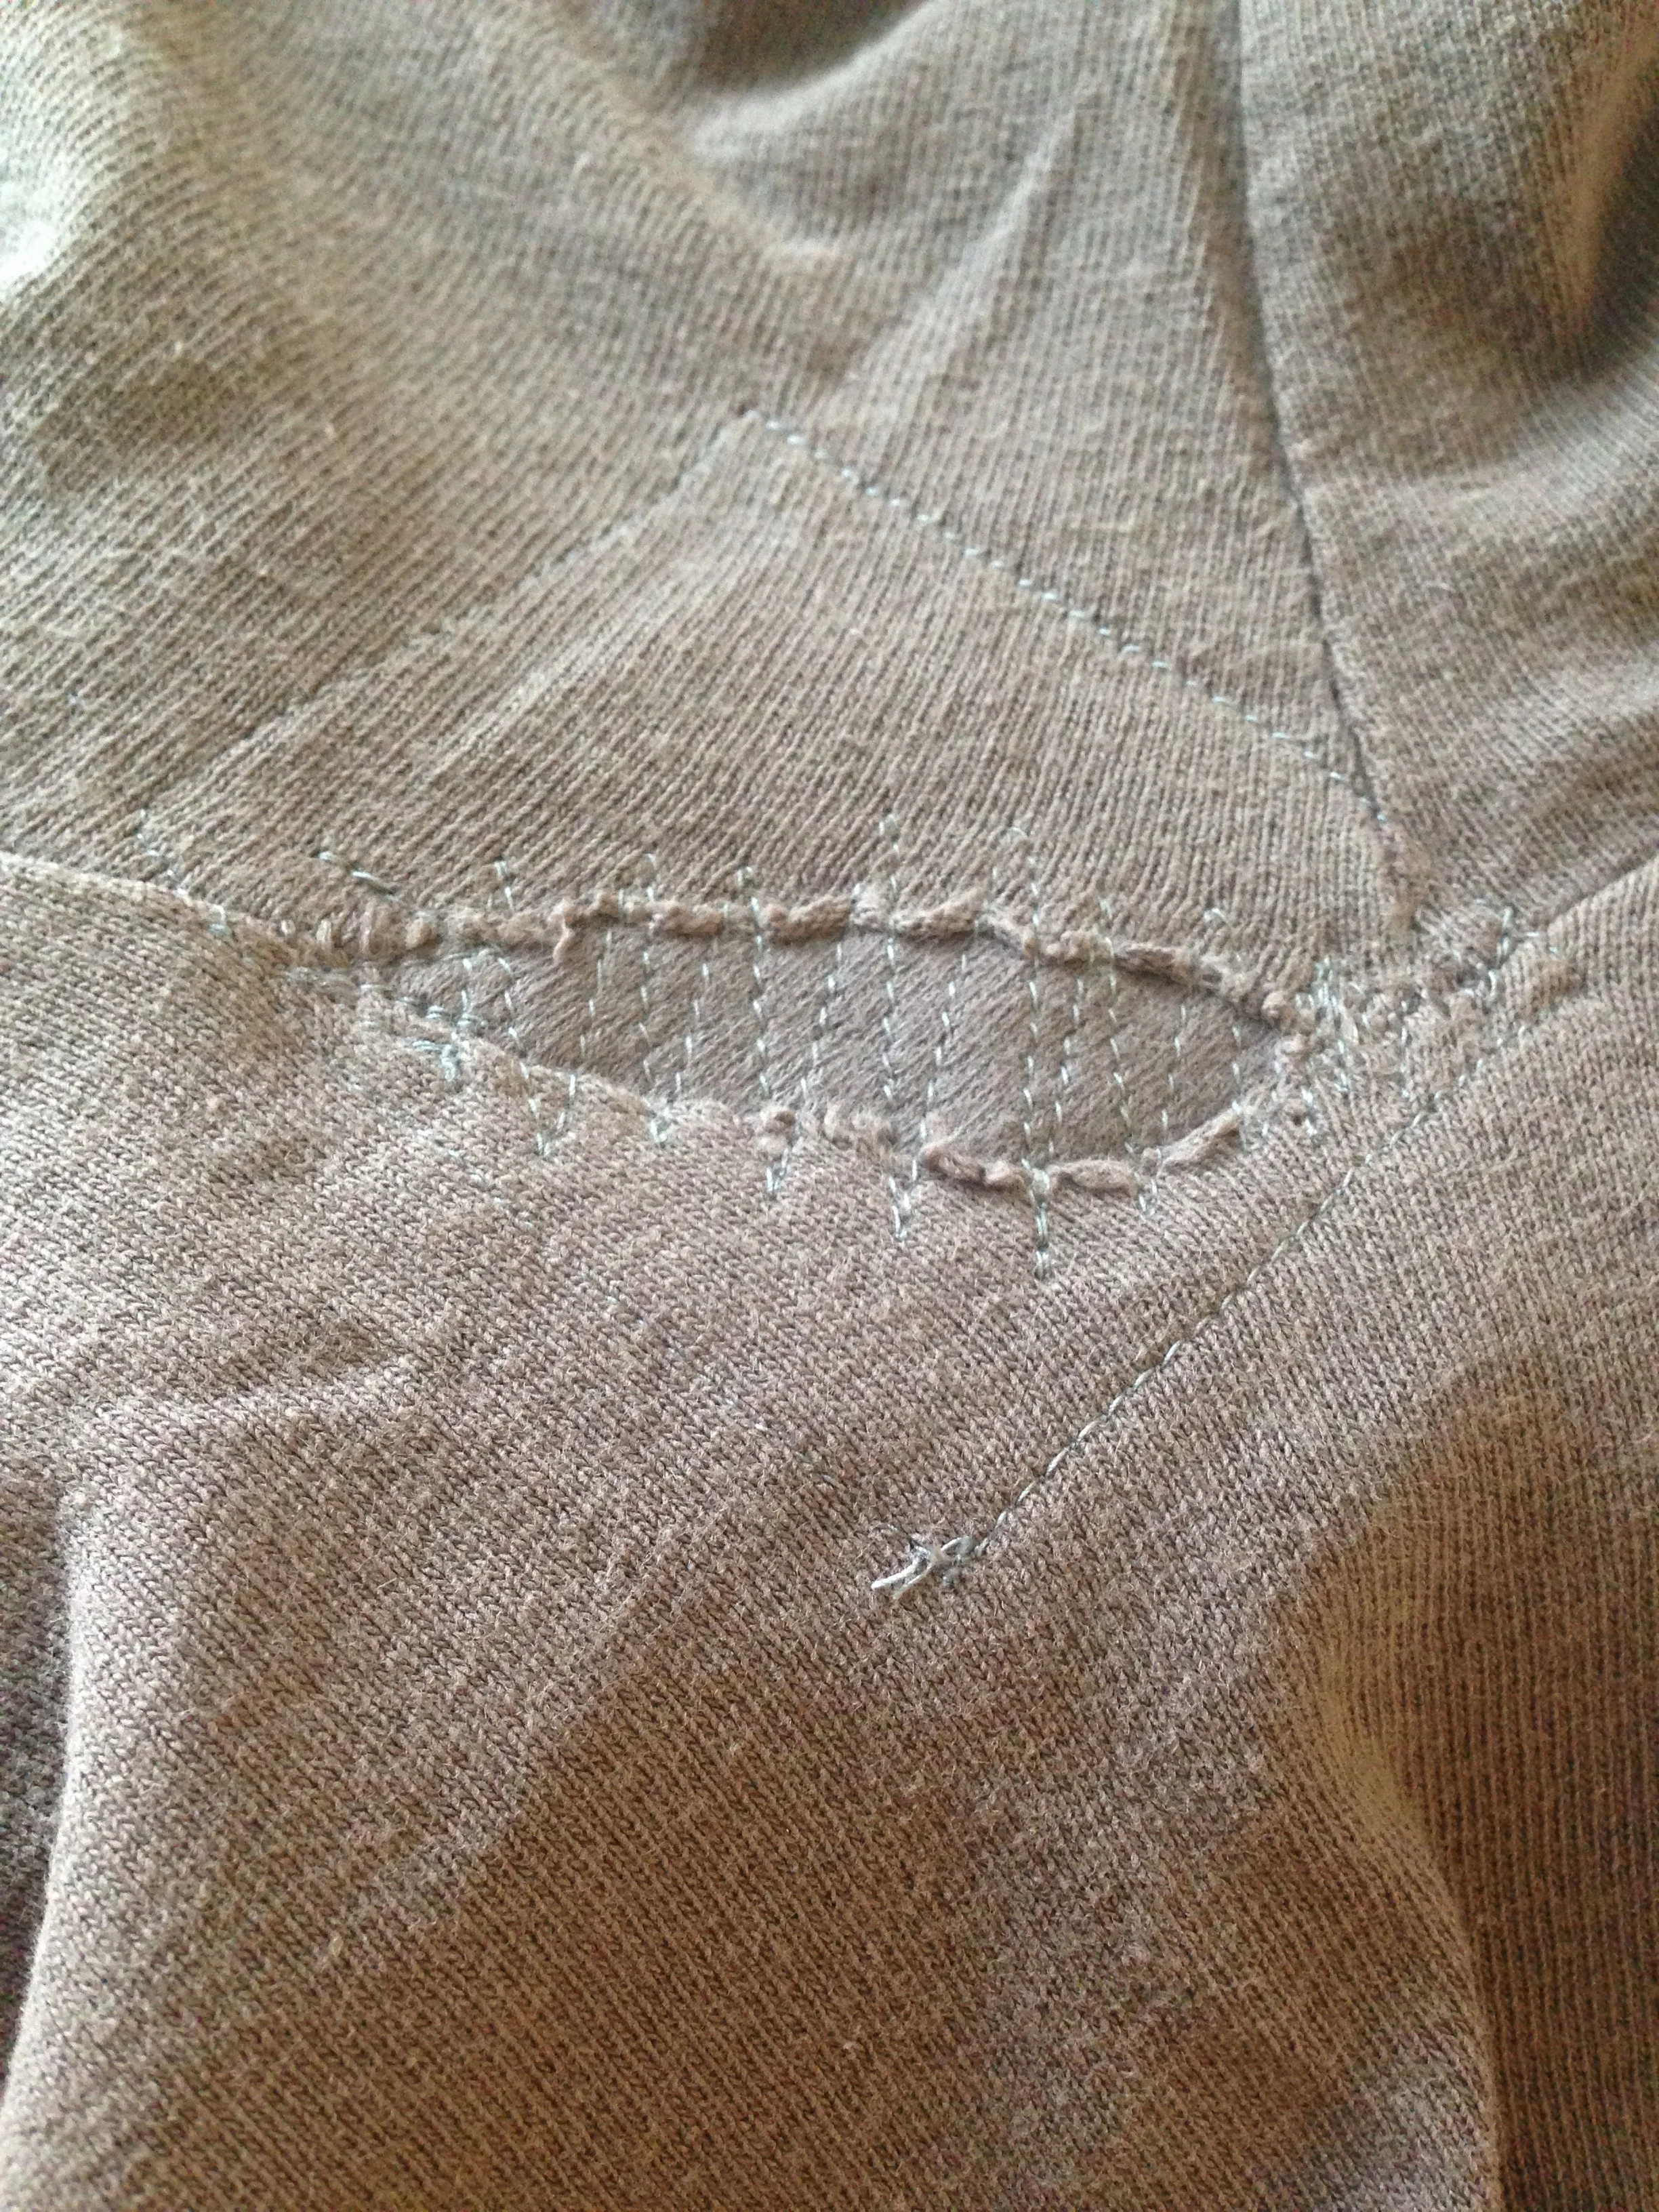
Because we're working with a knit fabric, we don't have to worry about finishing the edges of the hole. All you need to do is trim your threads and pat yourself on the back - your shirt can go back into rotation!