A Quilted Shawl
By Sarah
With a hankering for a fun project that would allow me to put my feet up, relax and hand stitch to eternity, or rather, hand stitch through an entire movie or two, was the inspiration for this warm and modern quilted shawl. Couch projects are the best, am I right? A layer of low-loft cotton batting, just where the circles are, gives it both insulation for added warmth, and volume for a little drama! If you are interested in making one for yourself or a loved one, directions follow.
Start with 2 1/4 yards (up to 3 yards depending on desired length) of a 45” width light weight material. To finish both cut ends; leaving the fabric folded how it came off the bolt, stitch down both of the cut ends using a 1/4” seam allowance. Then turn both ends out and press, then stitch using a 1/2” to 5/8” seam allowance. Then turn out again. You have just made a french seam. * Note: Leave the selvage be, as you need this long end open so you can insert the batting easily and if the selvage is nice looking there will be no need to close it up or finish it at all.
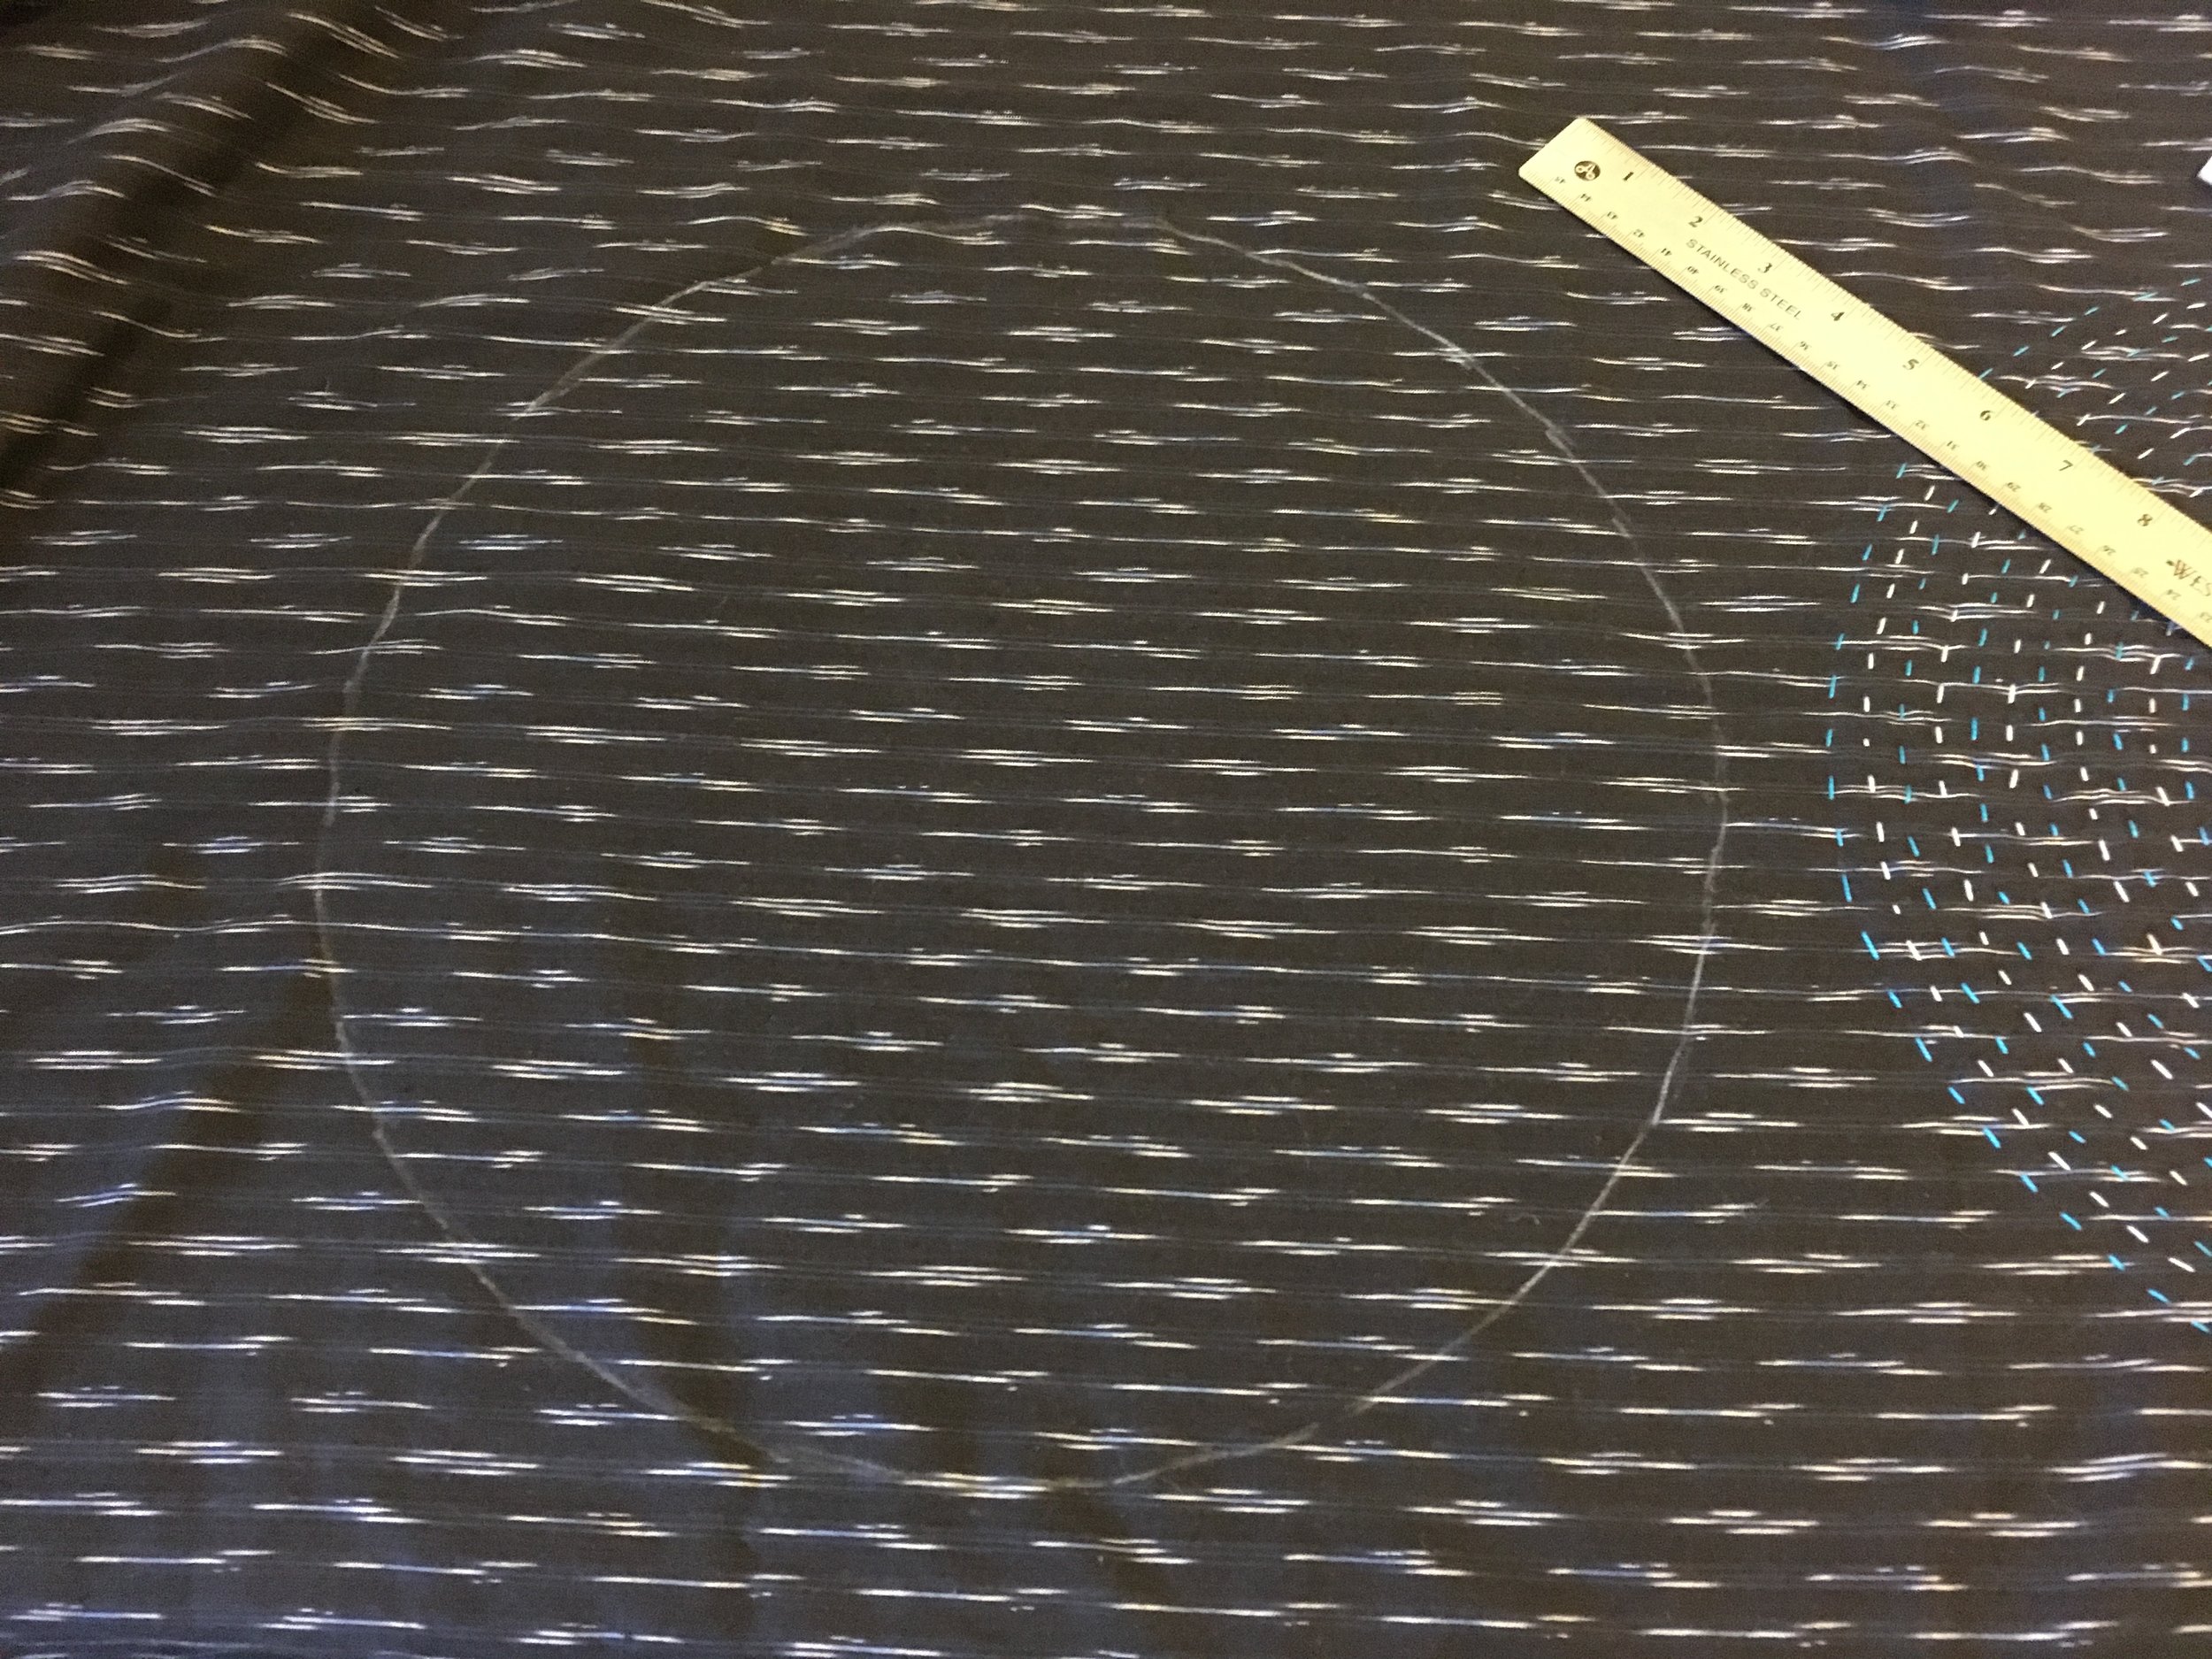
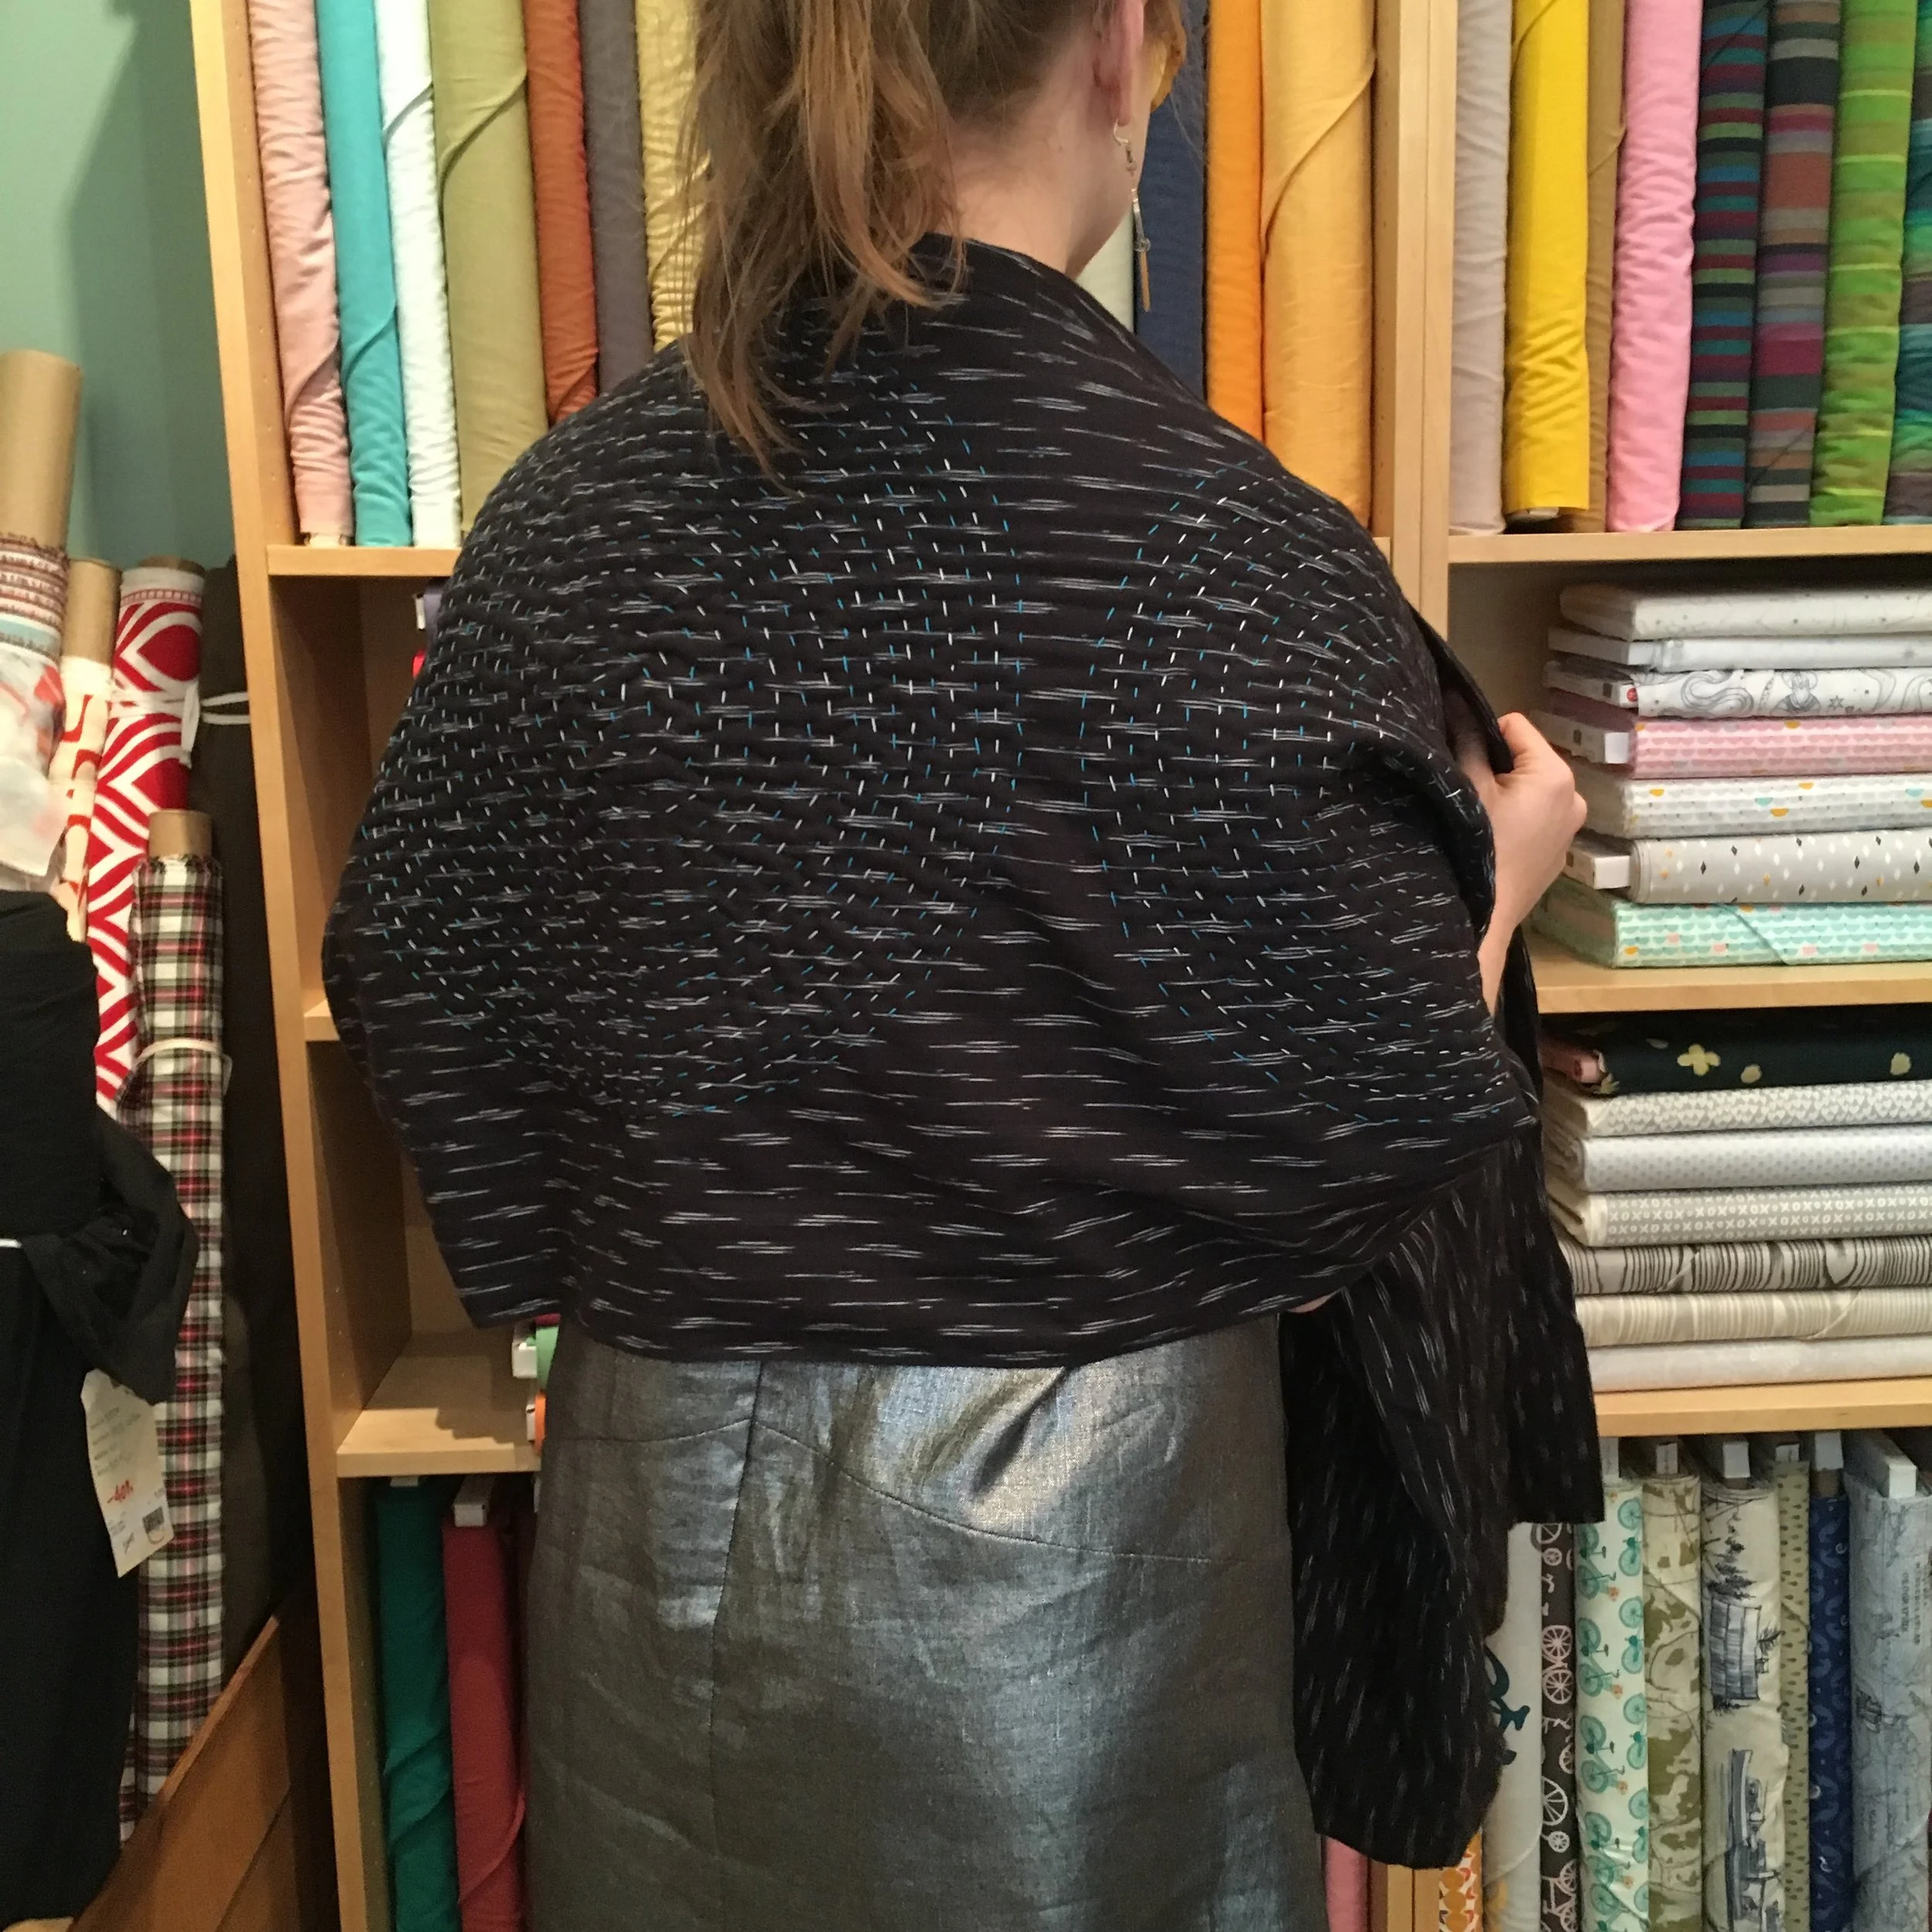
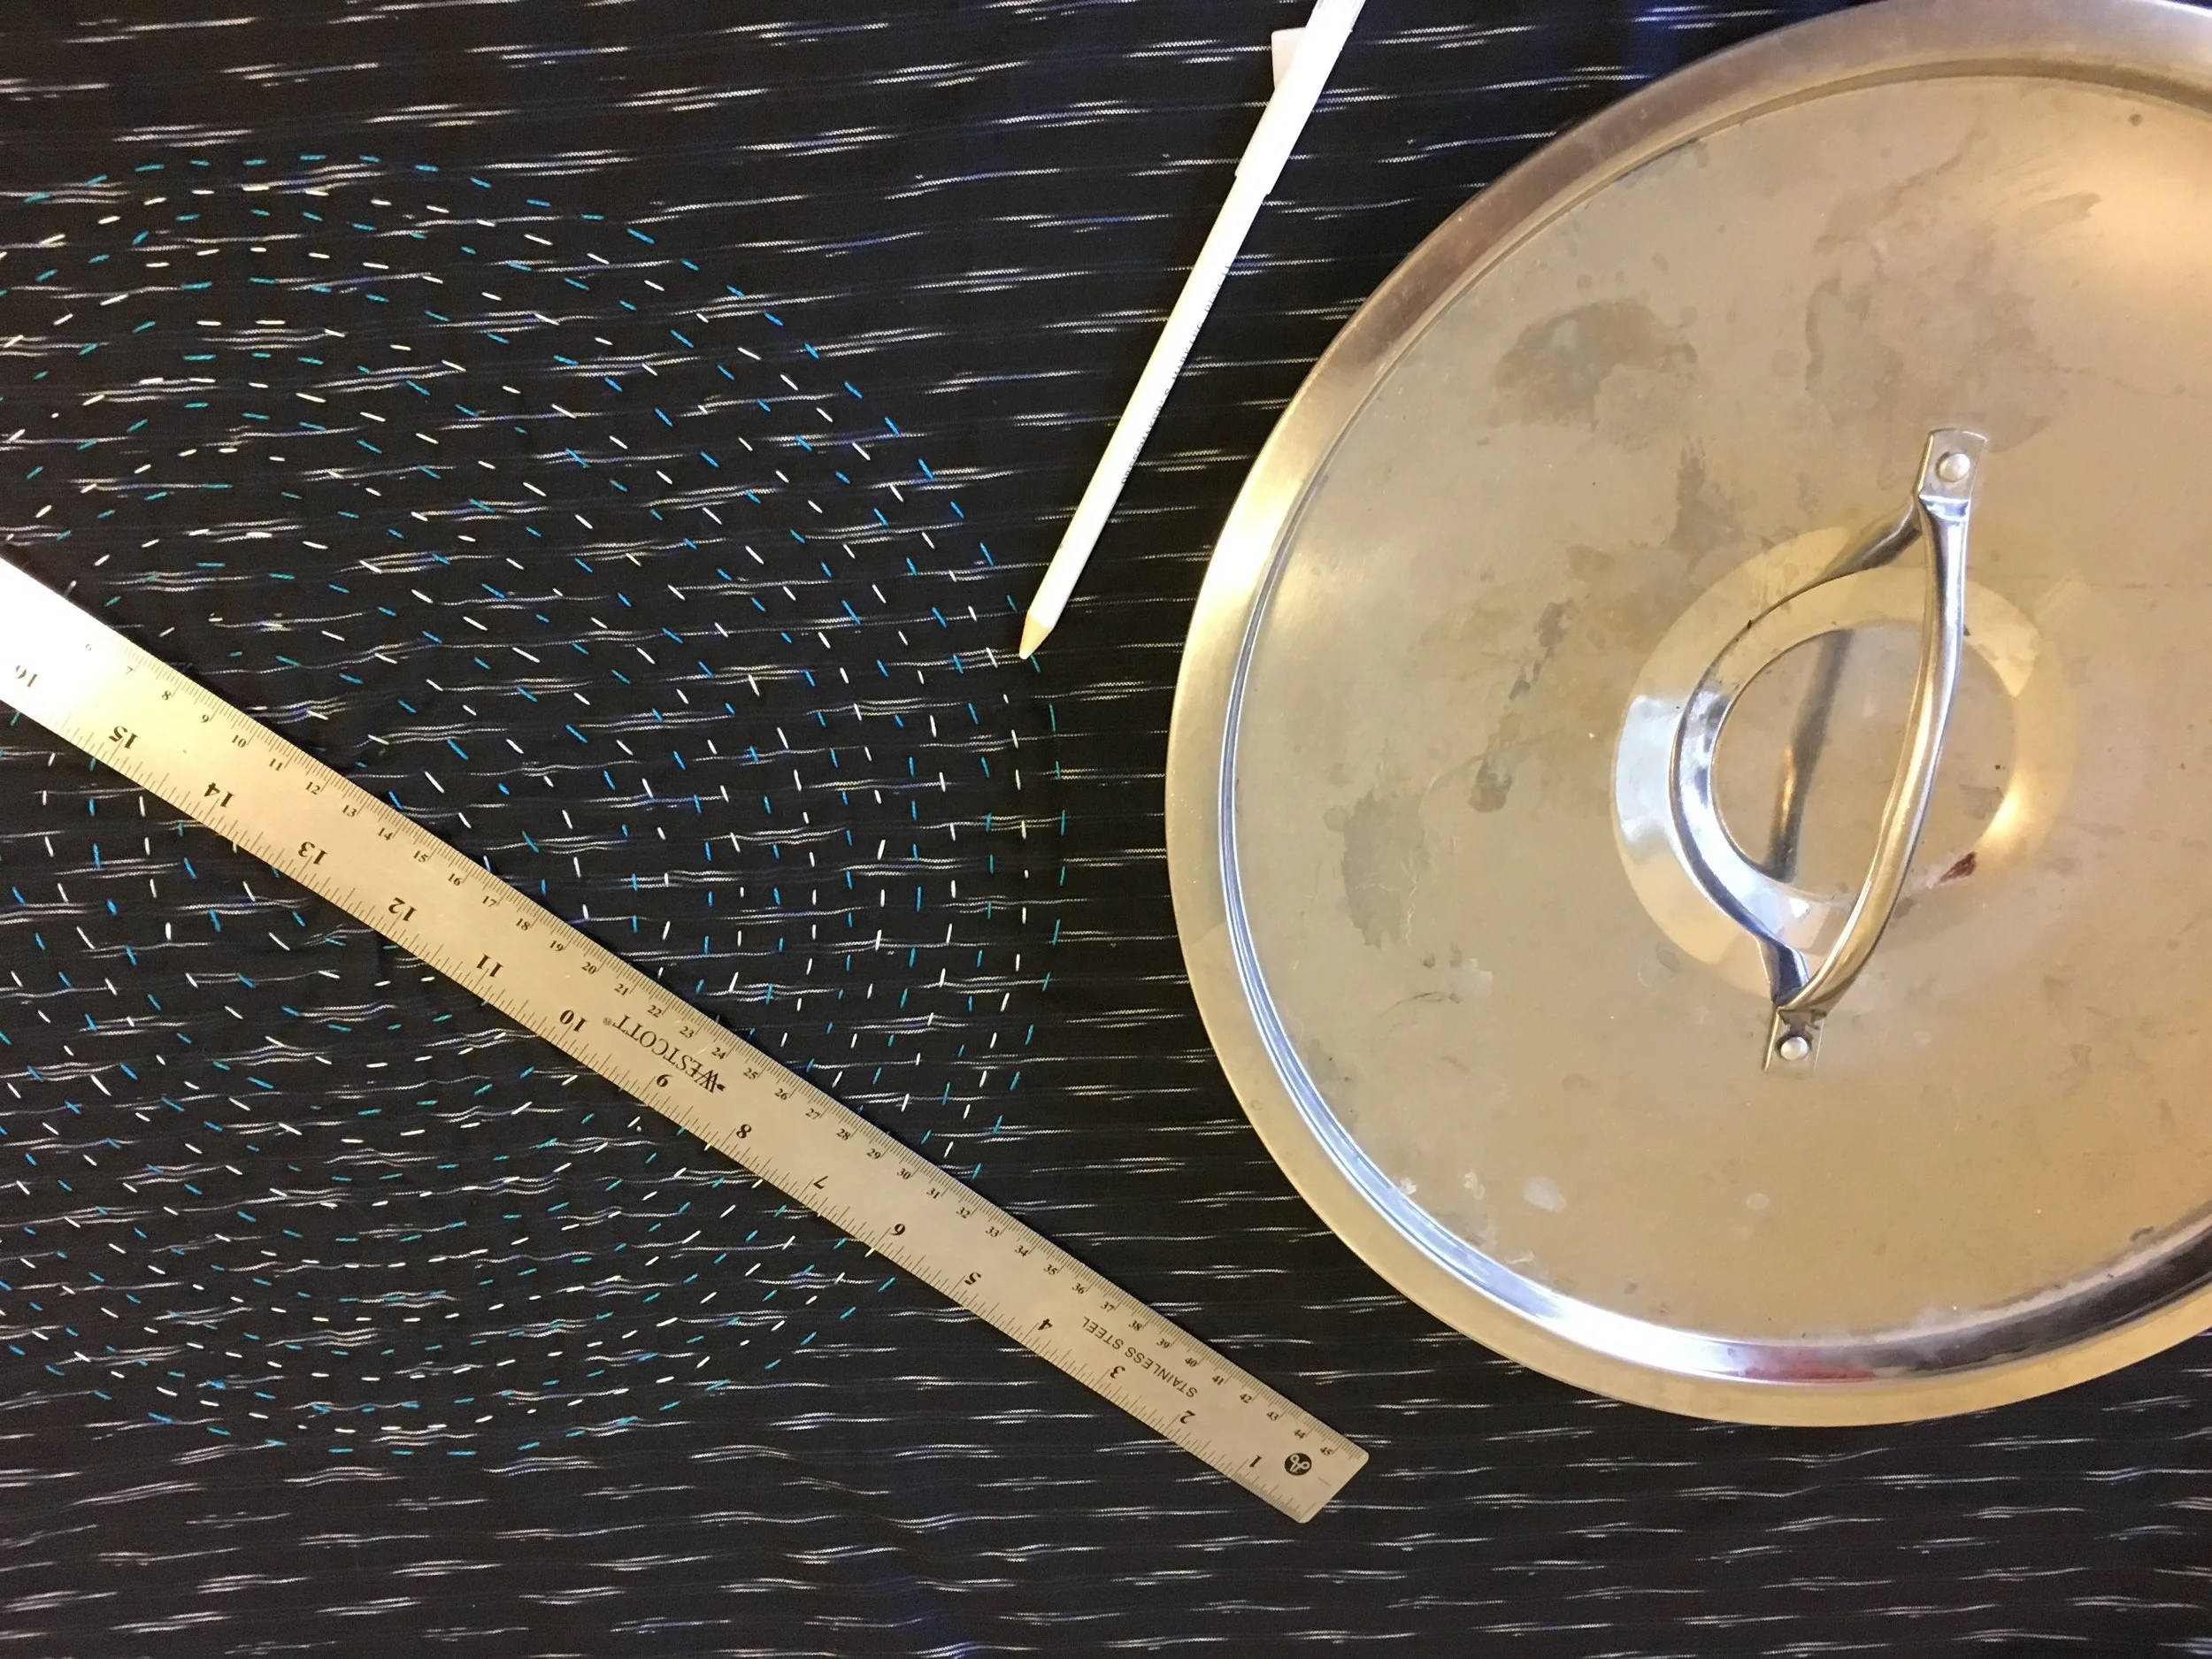
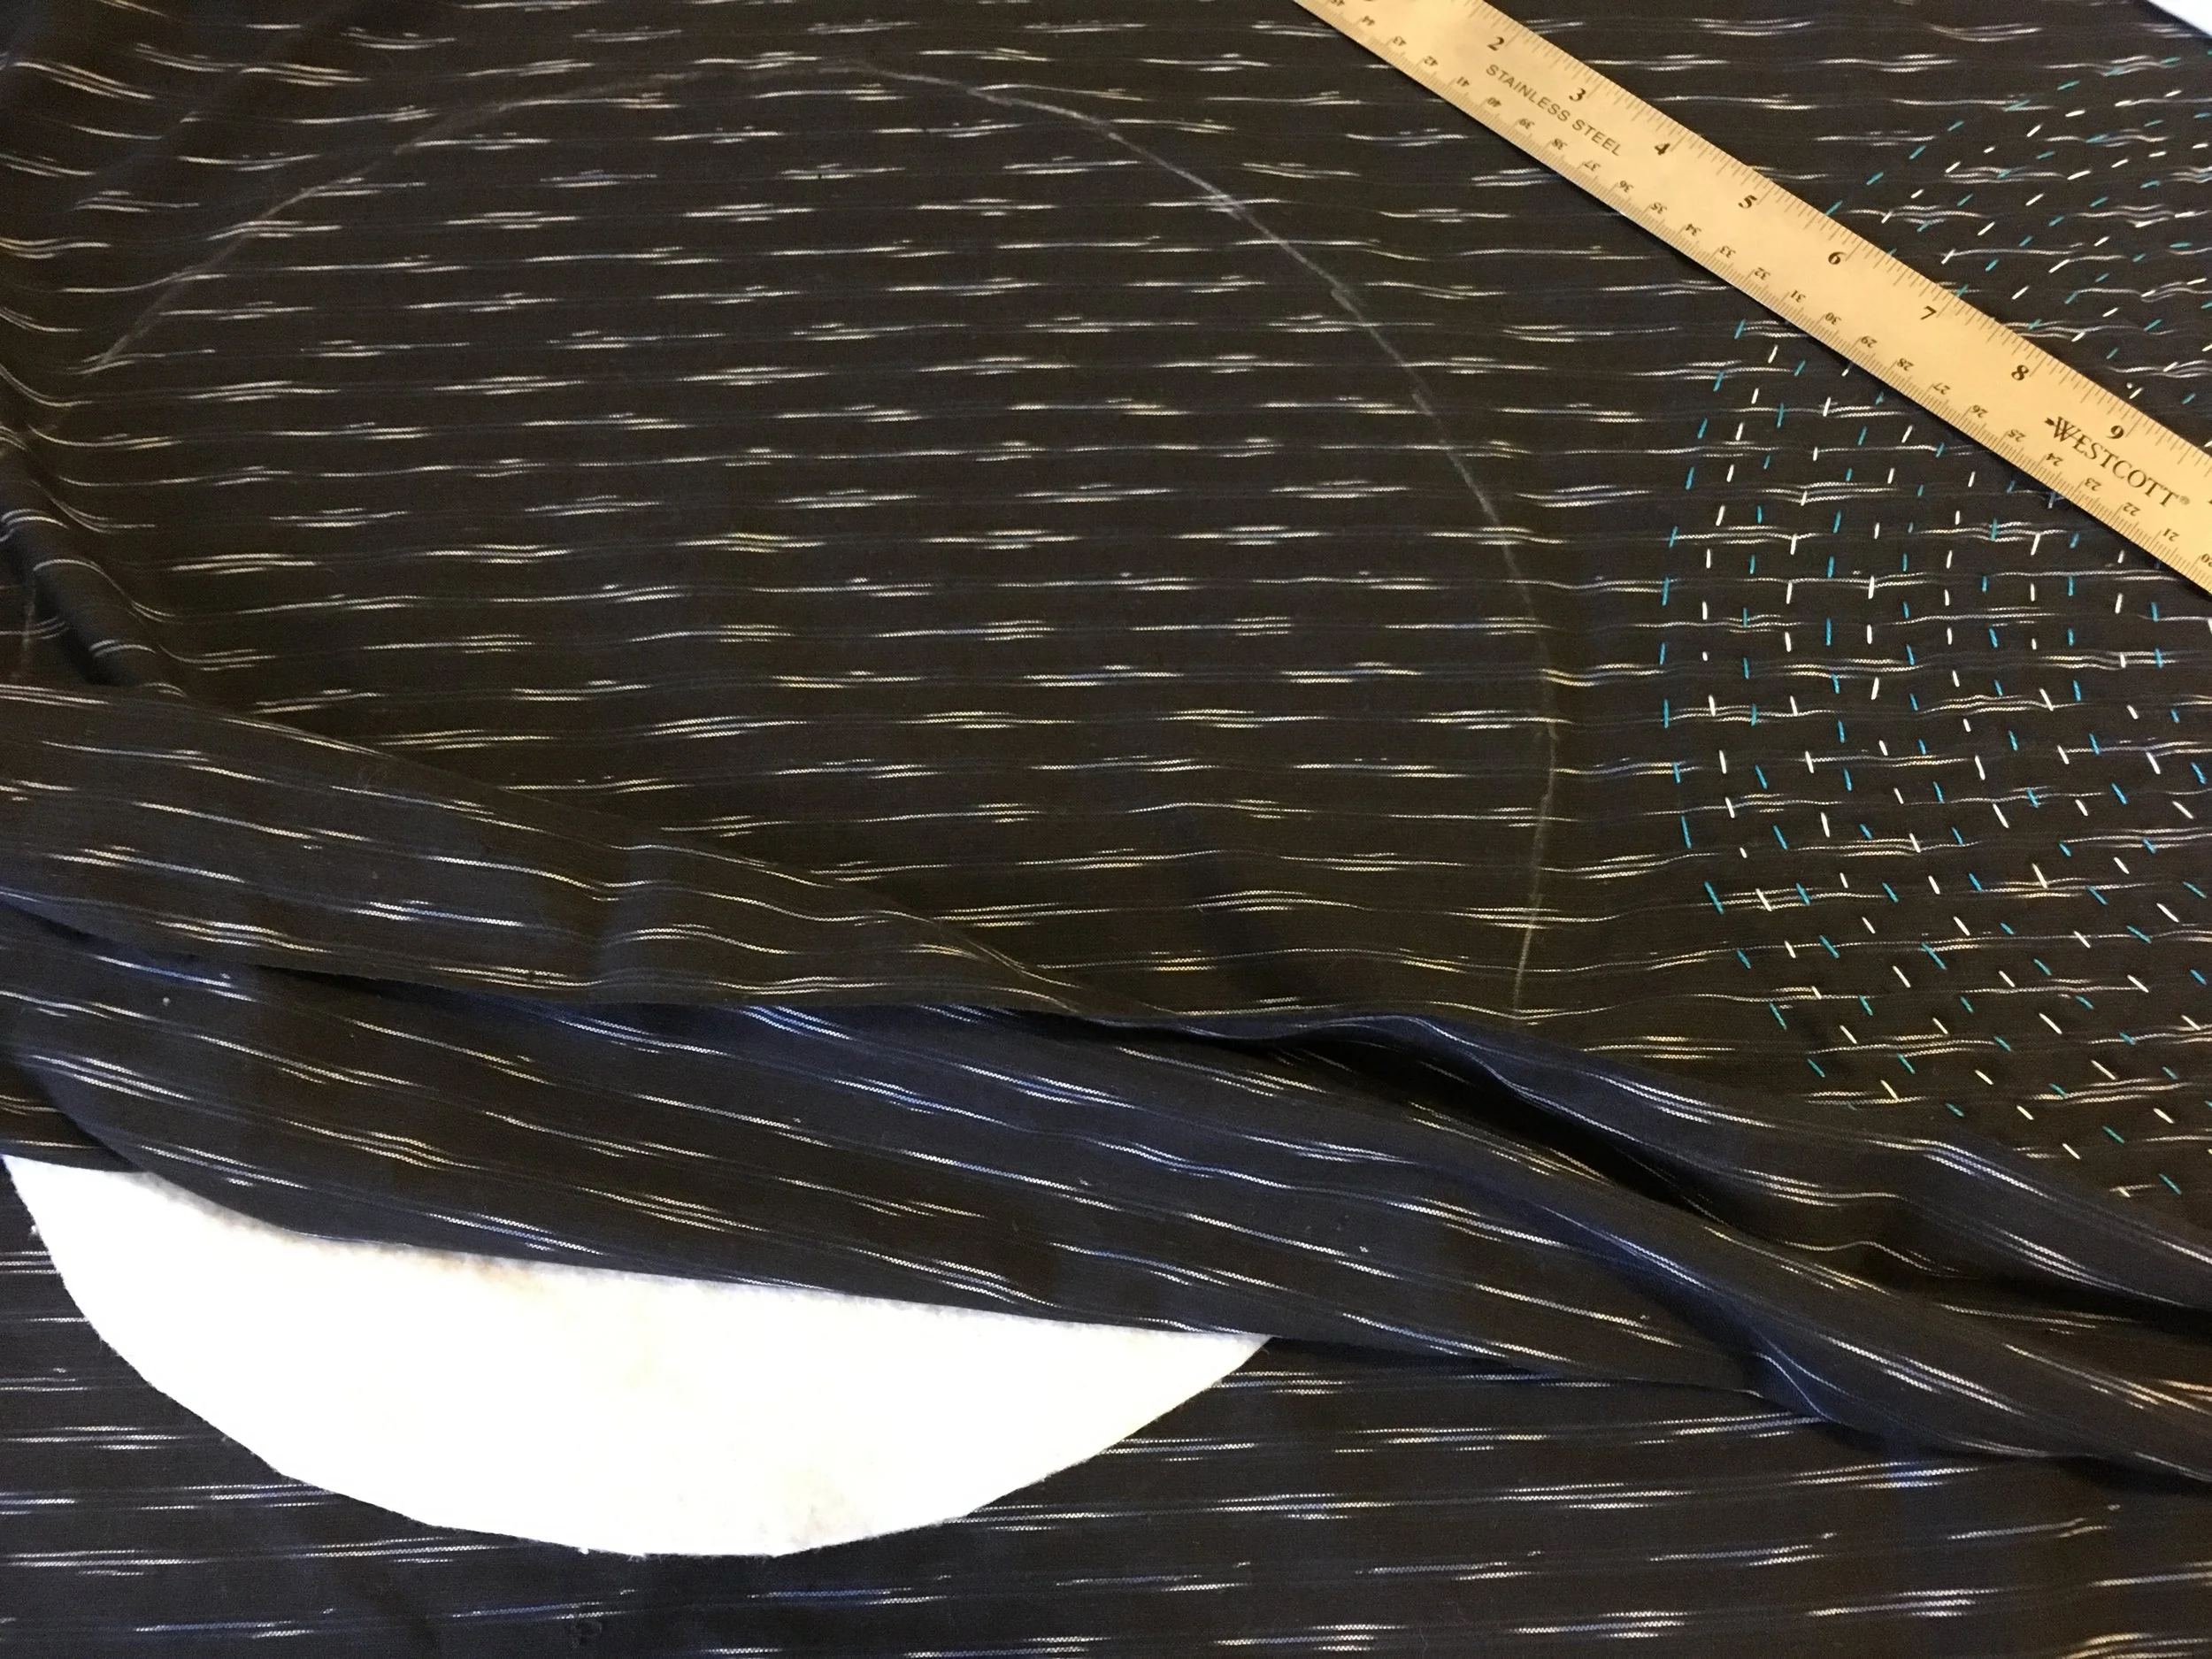
It is not pictured but the shawl actually has three quilted circles so that when worn, one will be centered on the back of the wearer and the other two circles will lay over both shoulders and upper arms. With fabric laid out flat measure and mark the placement of the circles so they are symmetrical and centered. For the circle template, I used a very large pot lid. If you do not have a large object laying around to help you draw a circle you can always use the old string and pencil trick.
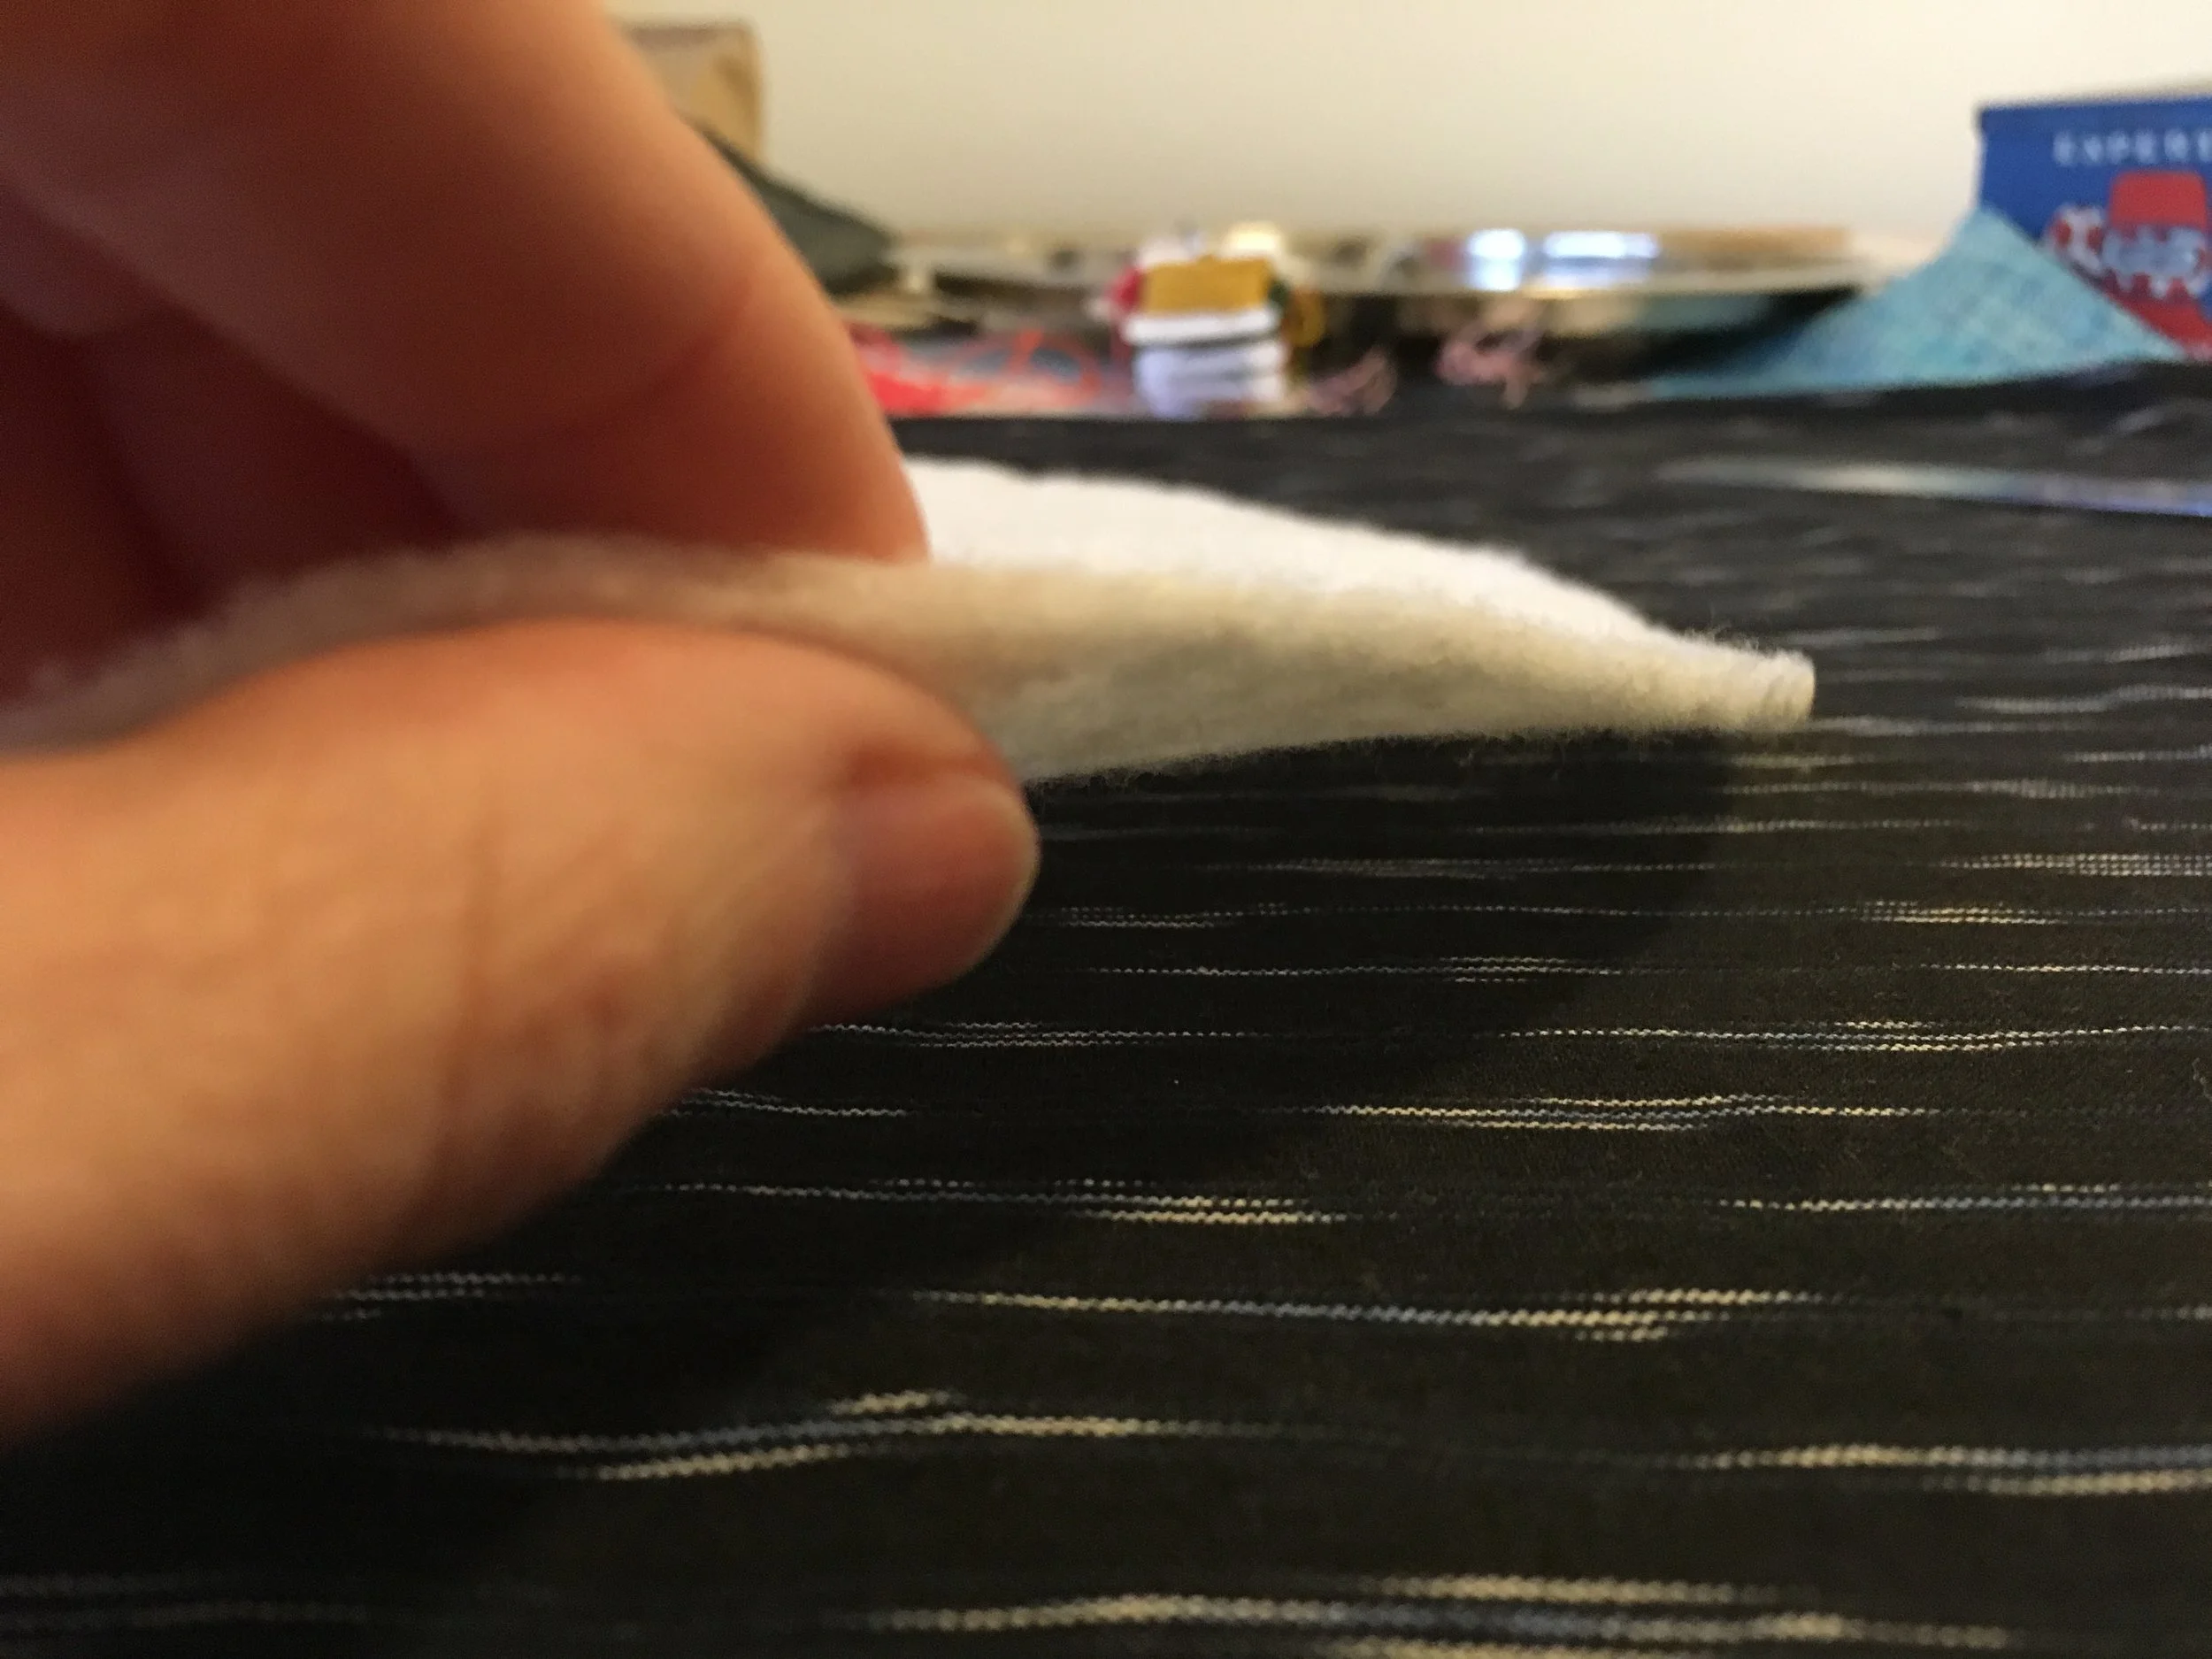
Then cut three pieces of batting the same size as marked circles. Since the selvage edge was left open, you can easily place the three circles of batting in-between the layers and line them up under the marked circles.
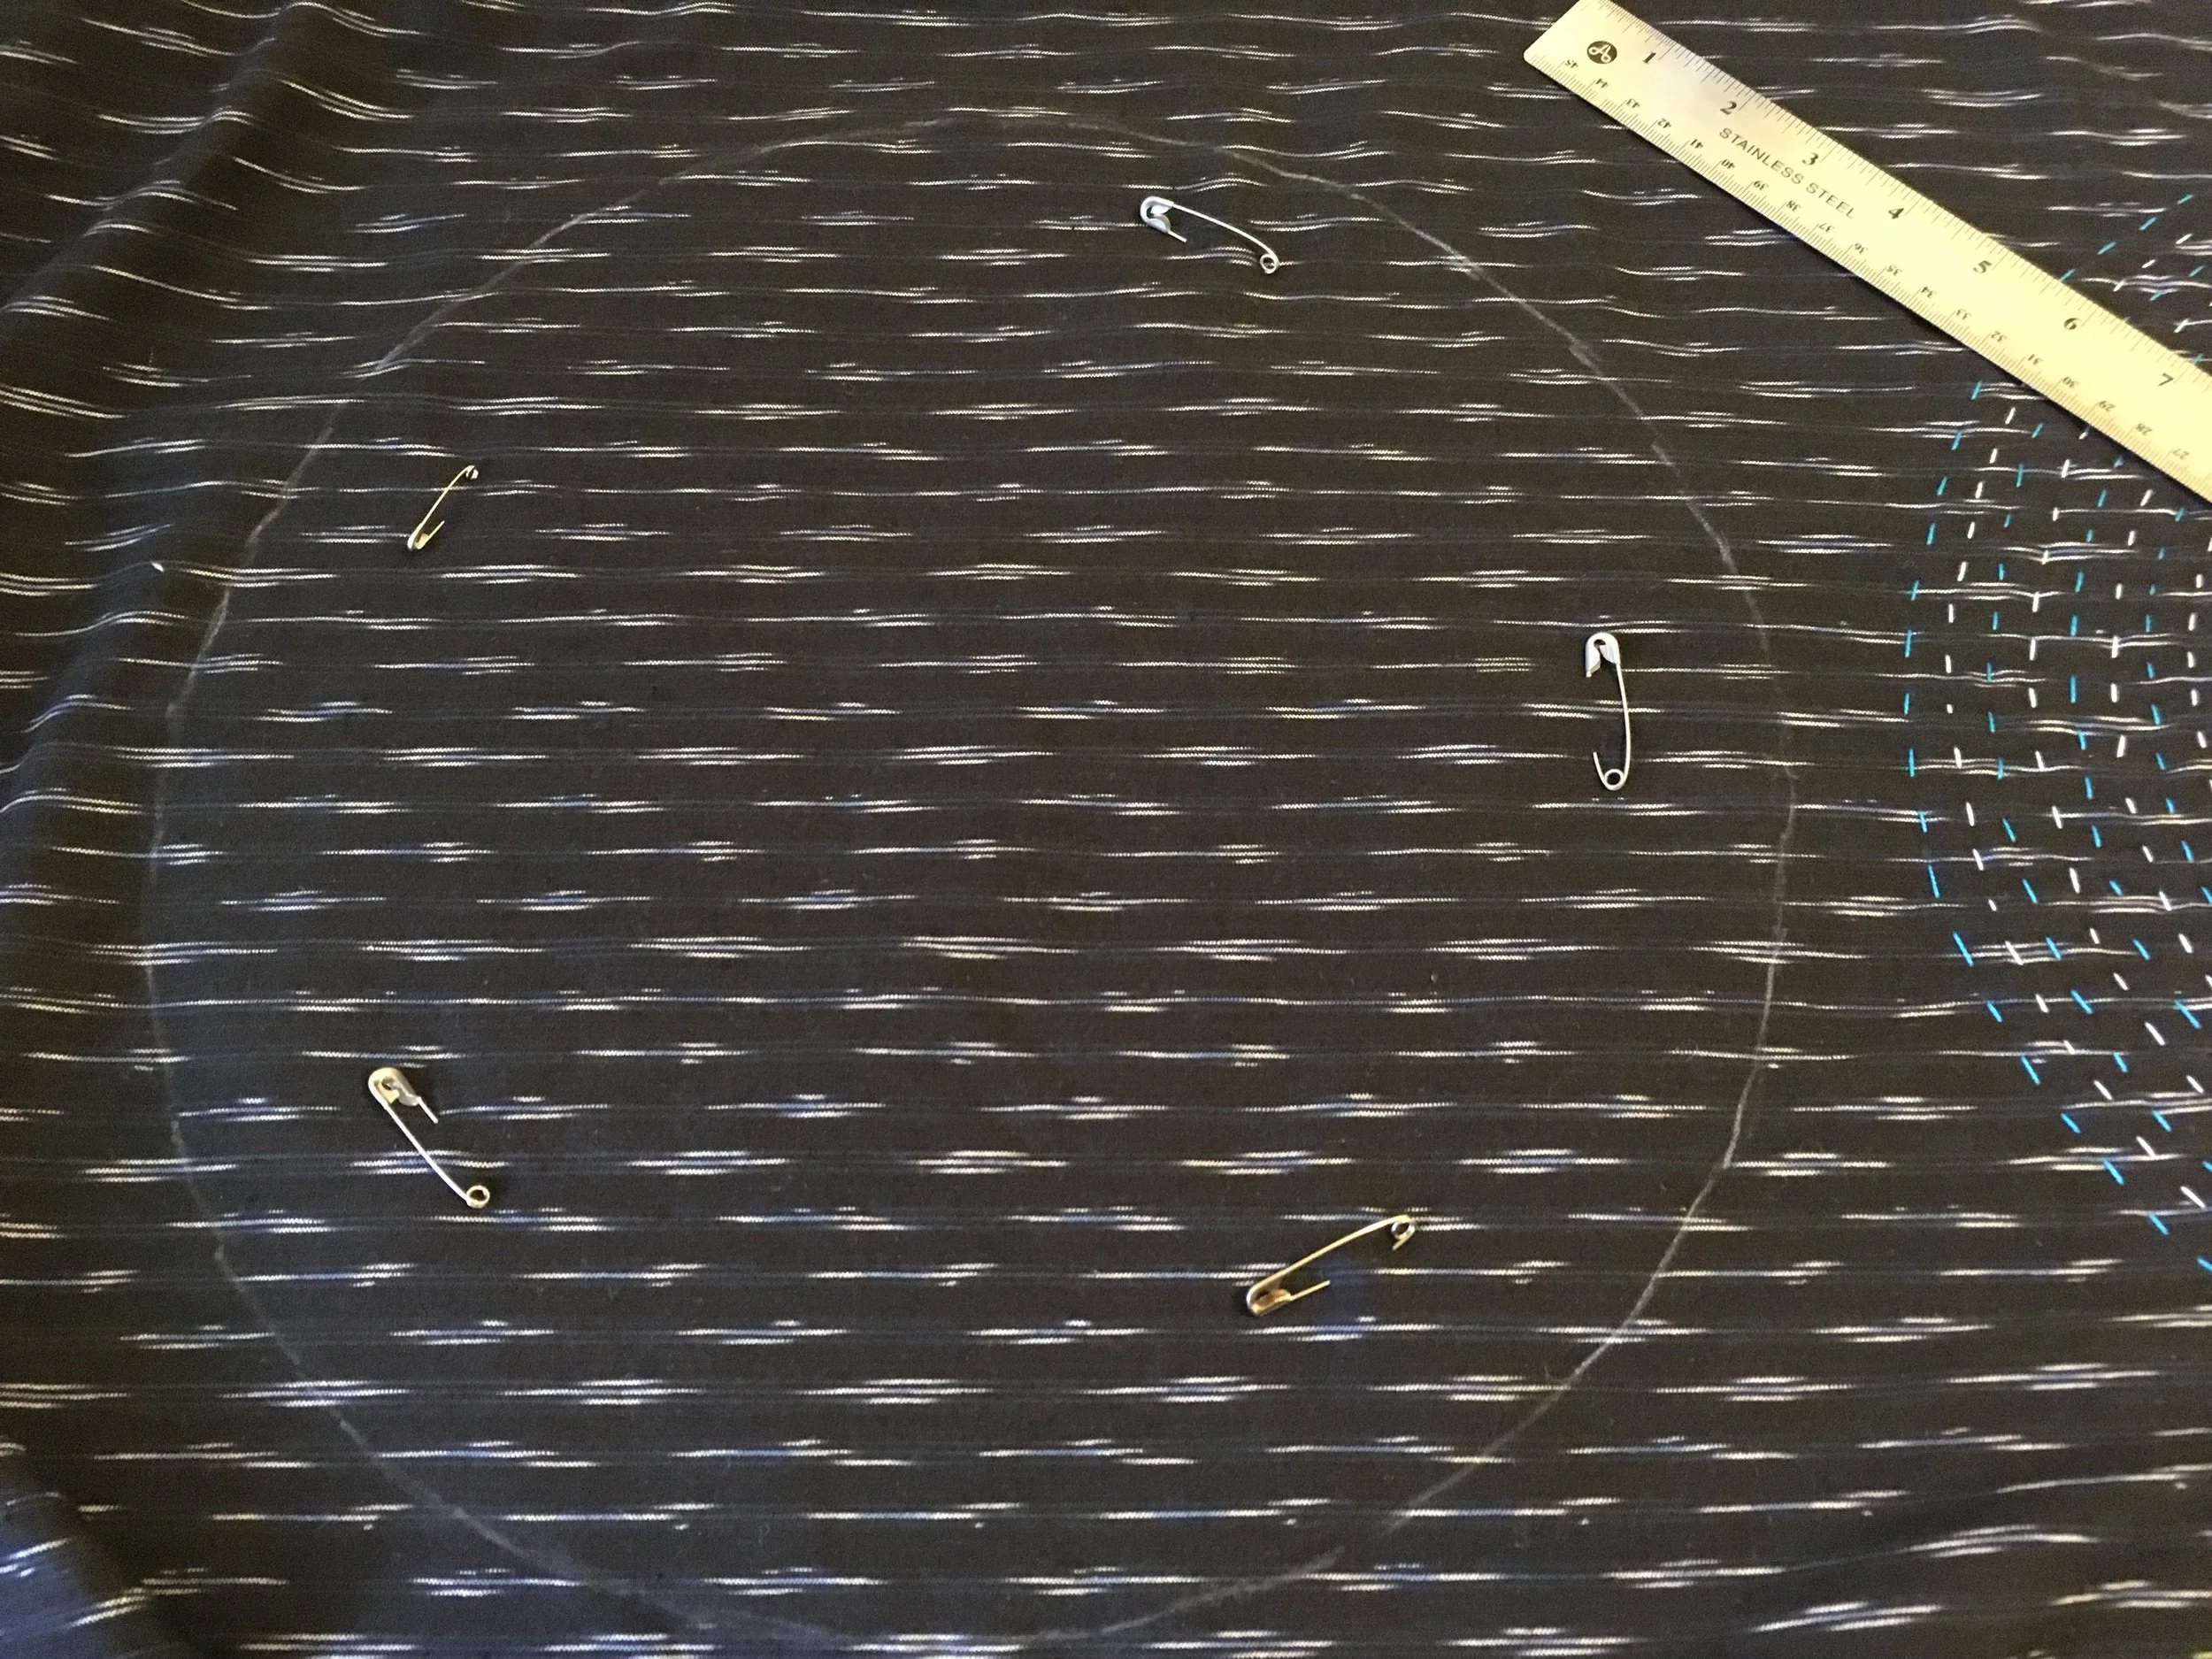
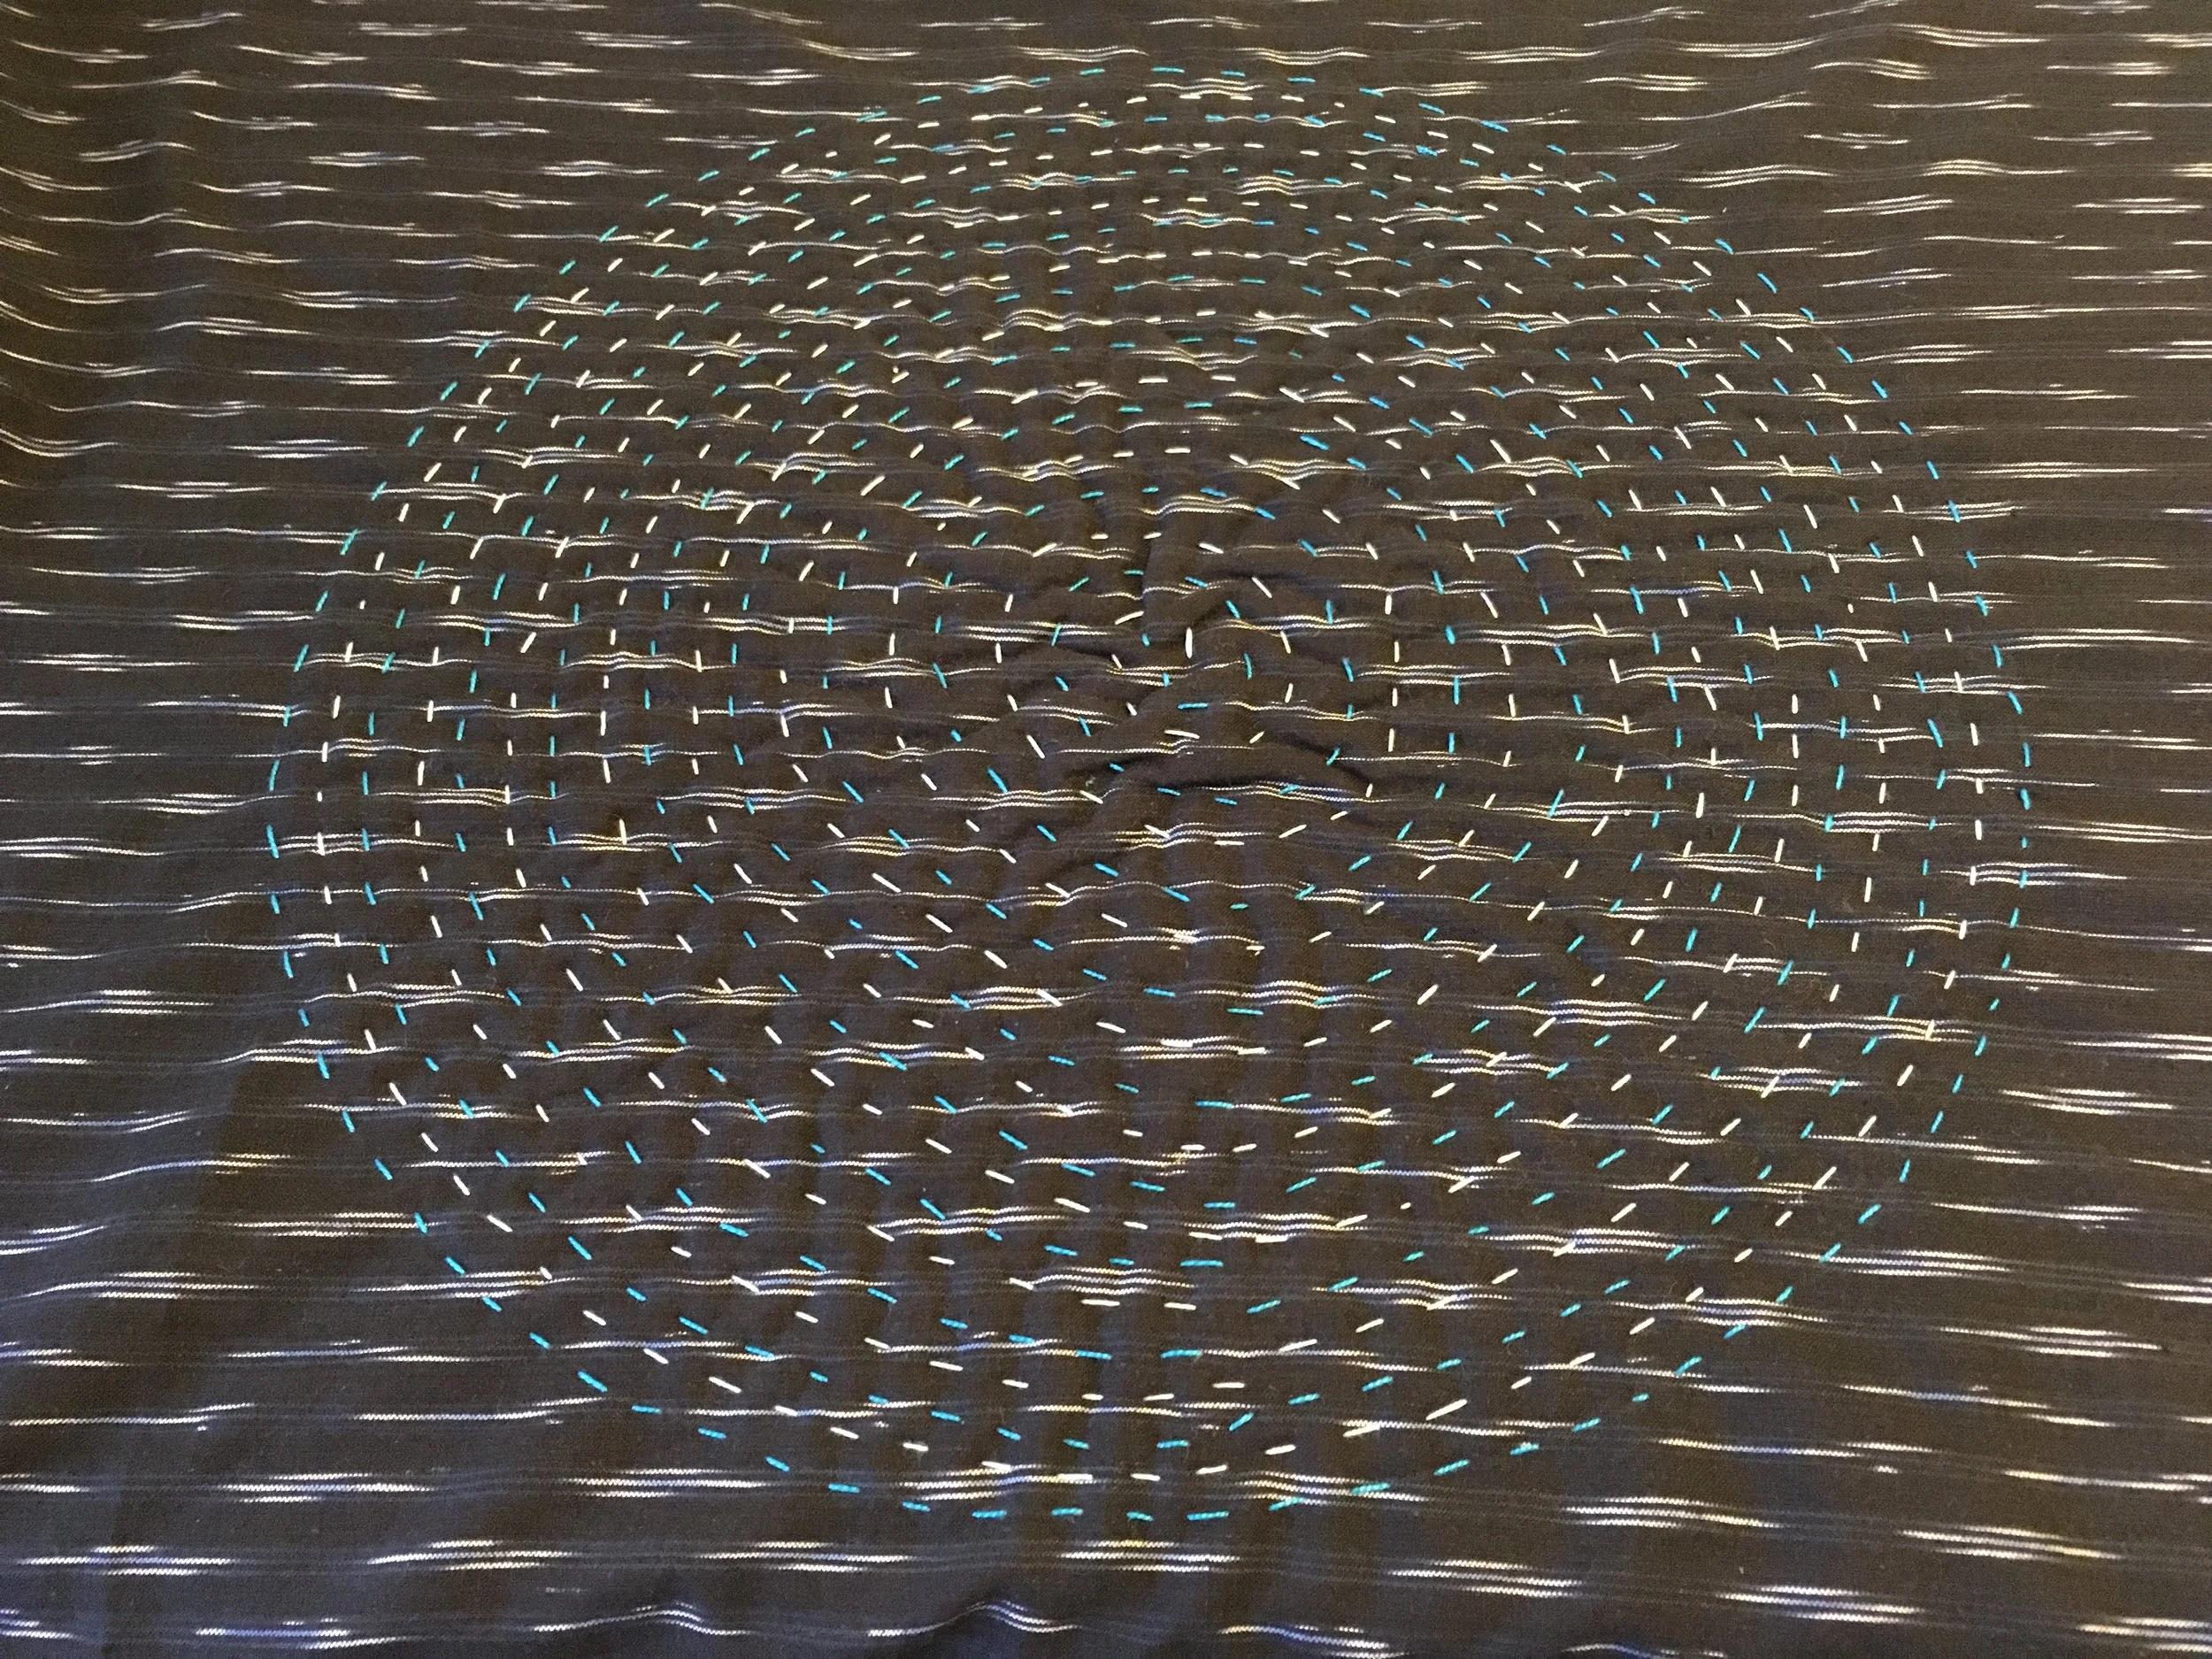
Then safety pin these in place. Grab some Perle Cotton or embroidery floss and free hand your stitches into circles alternating colors of floss and working inwards. I am not a perfectionist so my stitches are a little wonky but I do not mind. It’s the overall effect I’m concerned with. As you work towards the center, move your safety pins also towards the center. Or, you may want to go ahead and safety pin the dickens out of the circle so it will lay nice and flat once complete. I didn’t do that with the first circle I quilted and it made a slight mound in the center.
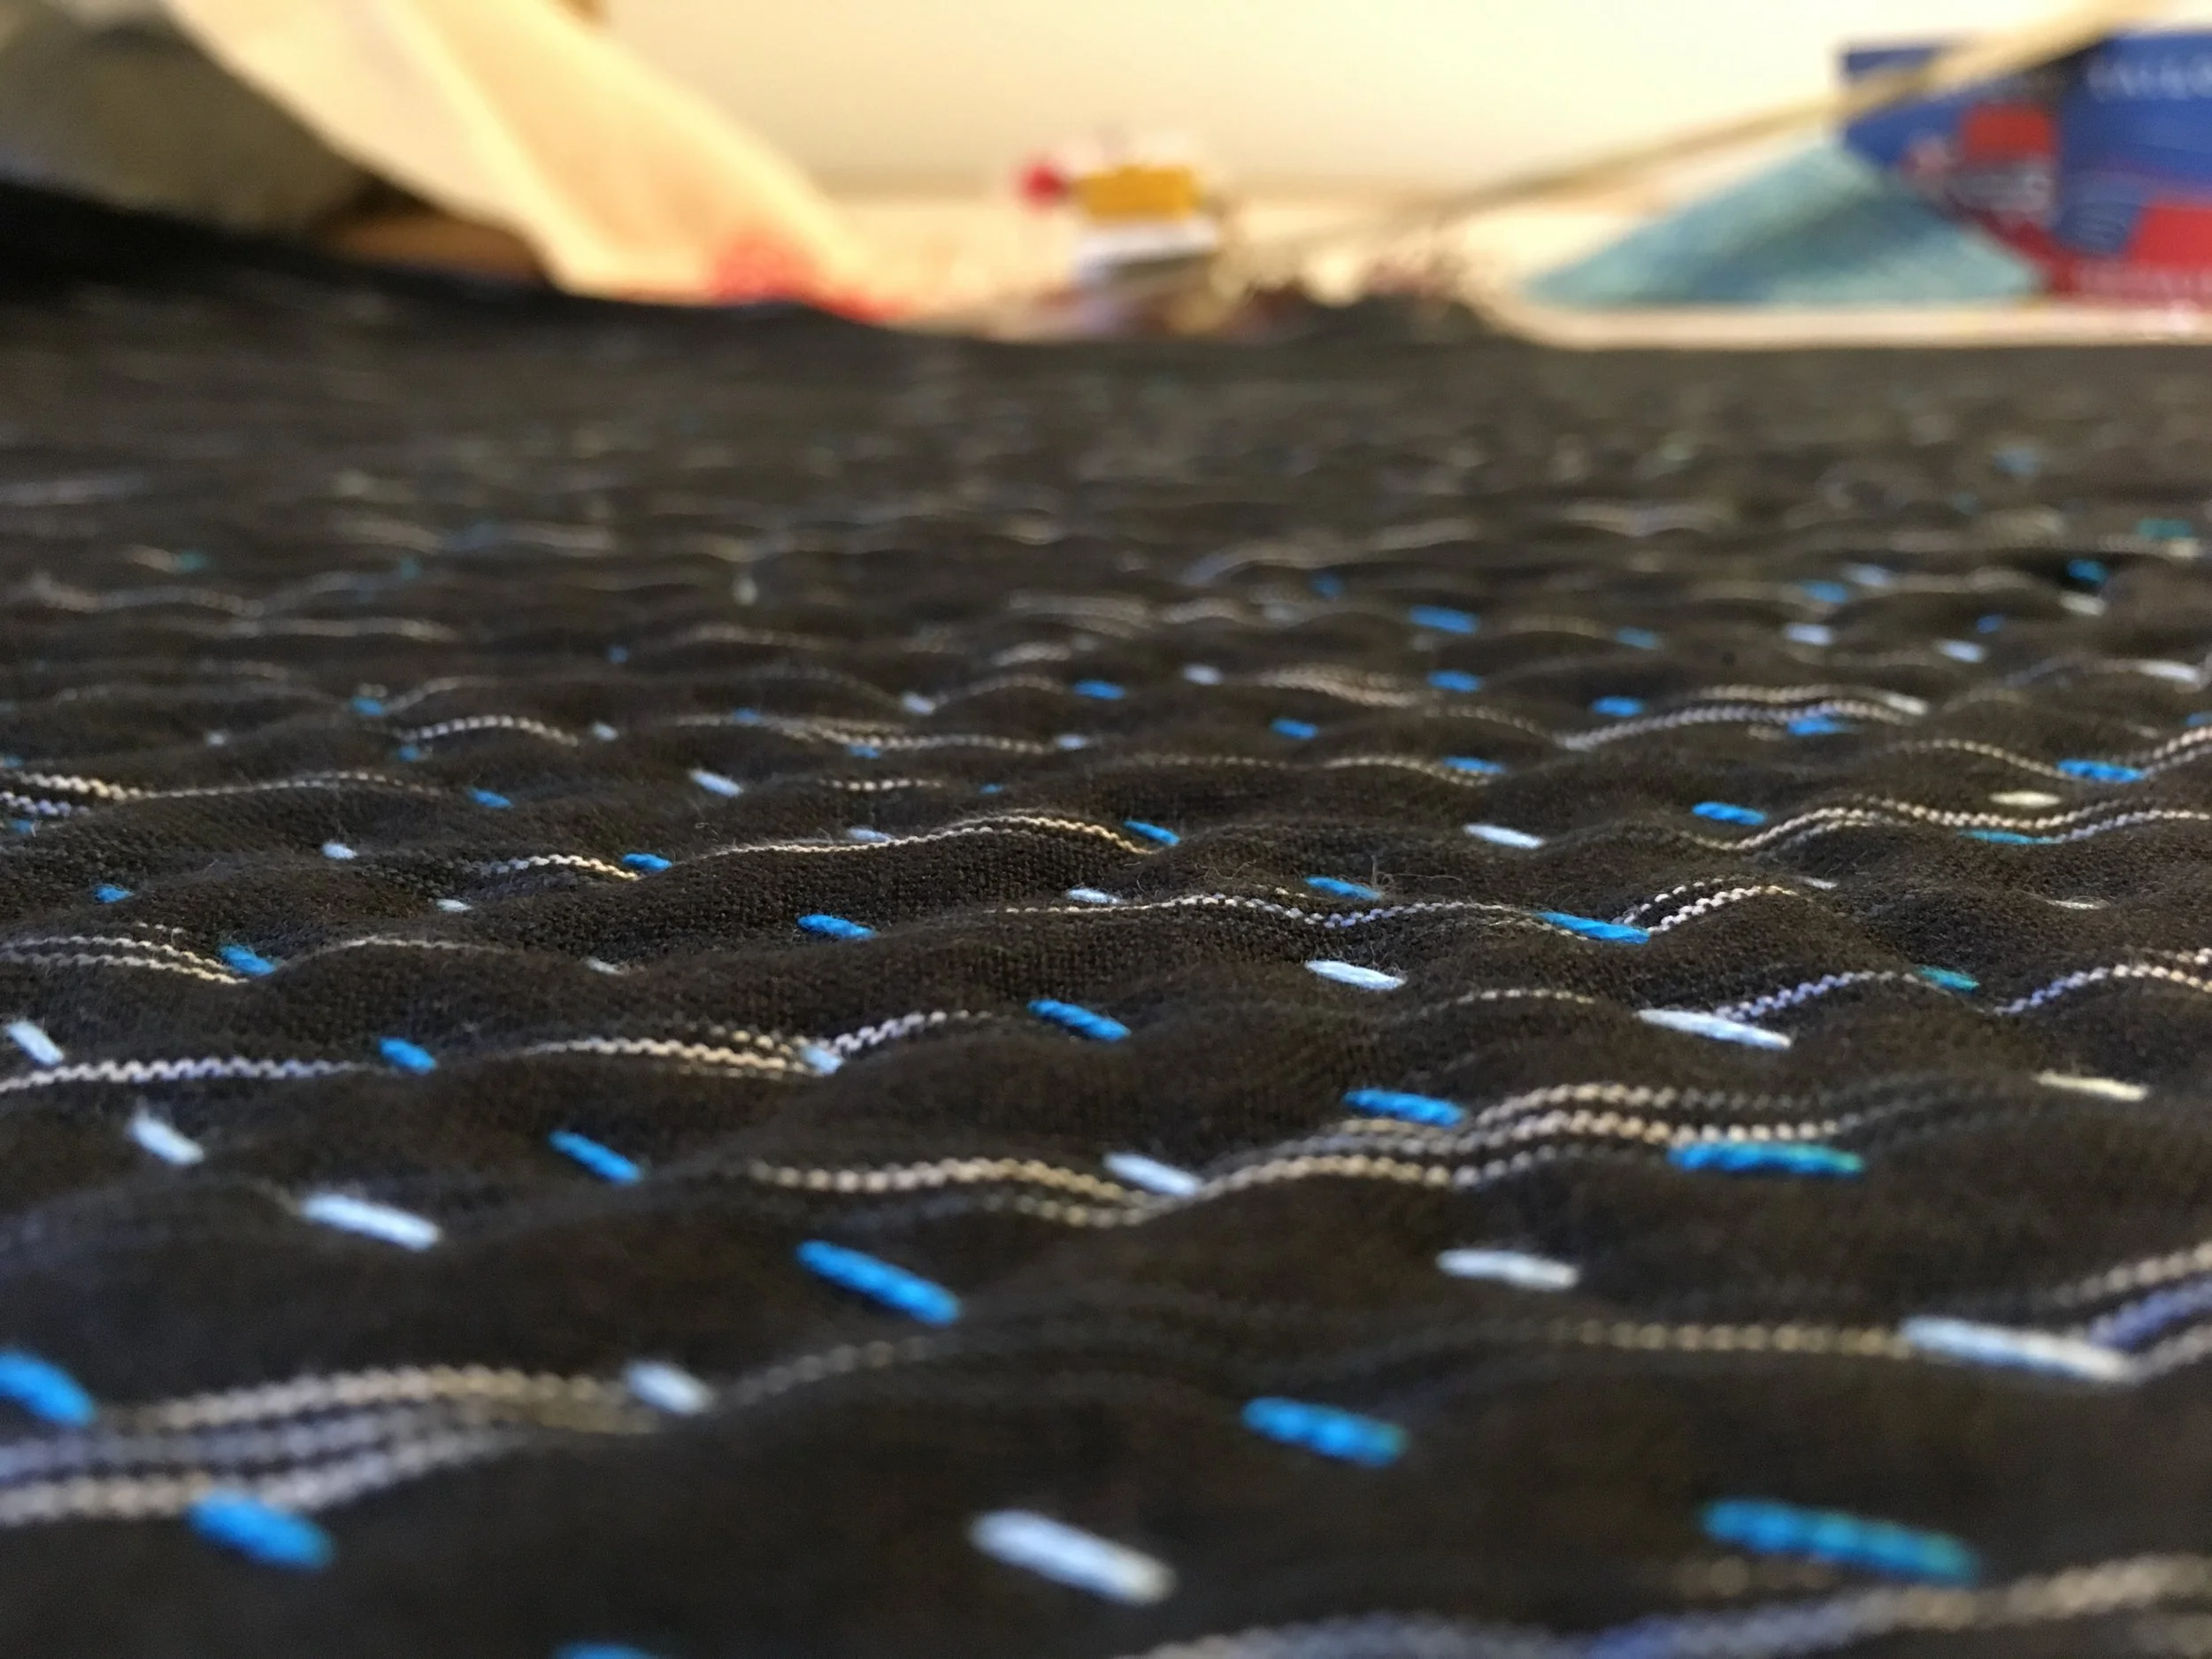
After all three circles are filled in with your beautiful stitch work, you are done and now you must get up off that couch and wear it out! Hope you enjoy this project and maybe it will inspire you to come up with your own stitching pattern, hmmm, like overlapping triangles, circles and squares in different colors on a solid shot cotton, oh man, now I want to make another one!