A Little Sundress
By Sarah

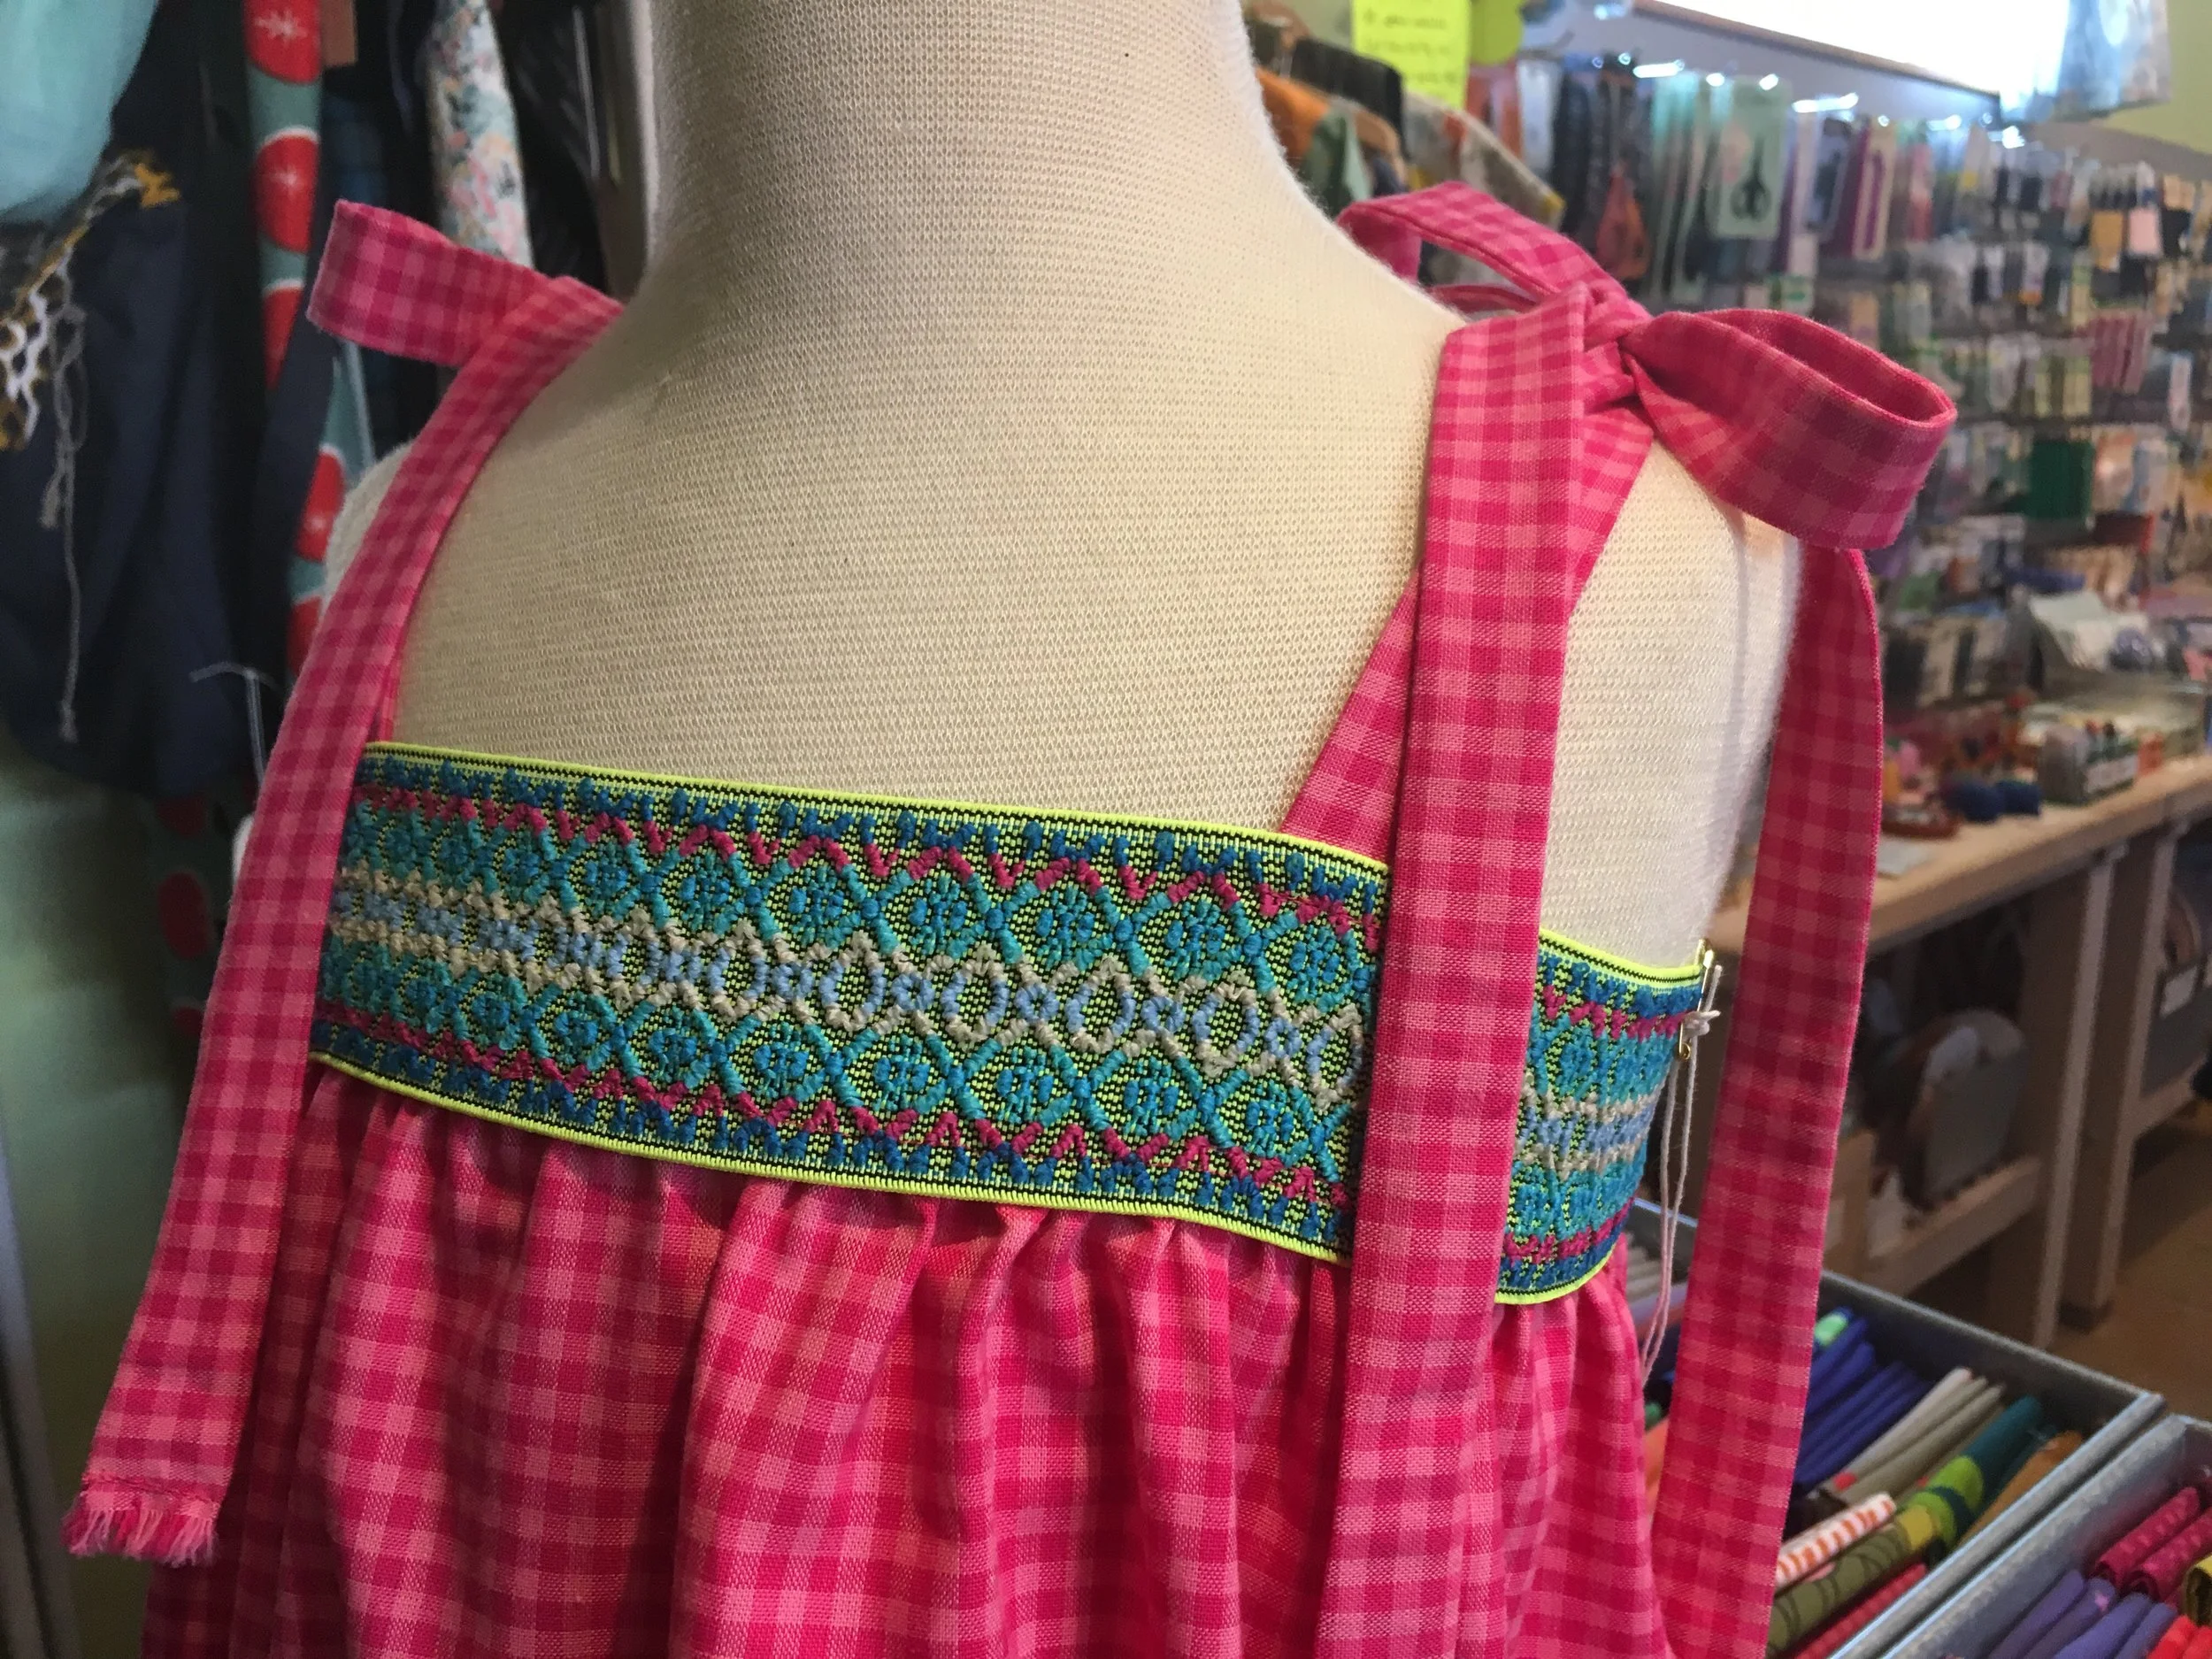
This is hands down one of the easiest dresses you could make for a little girl. It may also double as a shirt for a taller or older child. The one I whipped up would likely fit a child with the chest size of 26", roughly. It is made from an organic cotton homespun by Cloud 9 in a bright pink. We have other colors and styles to choose from, all of which would go well with this fun textured elastic.
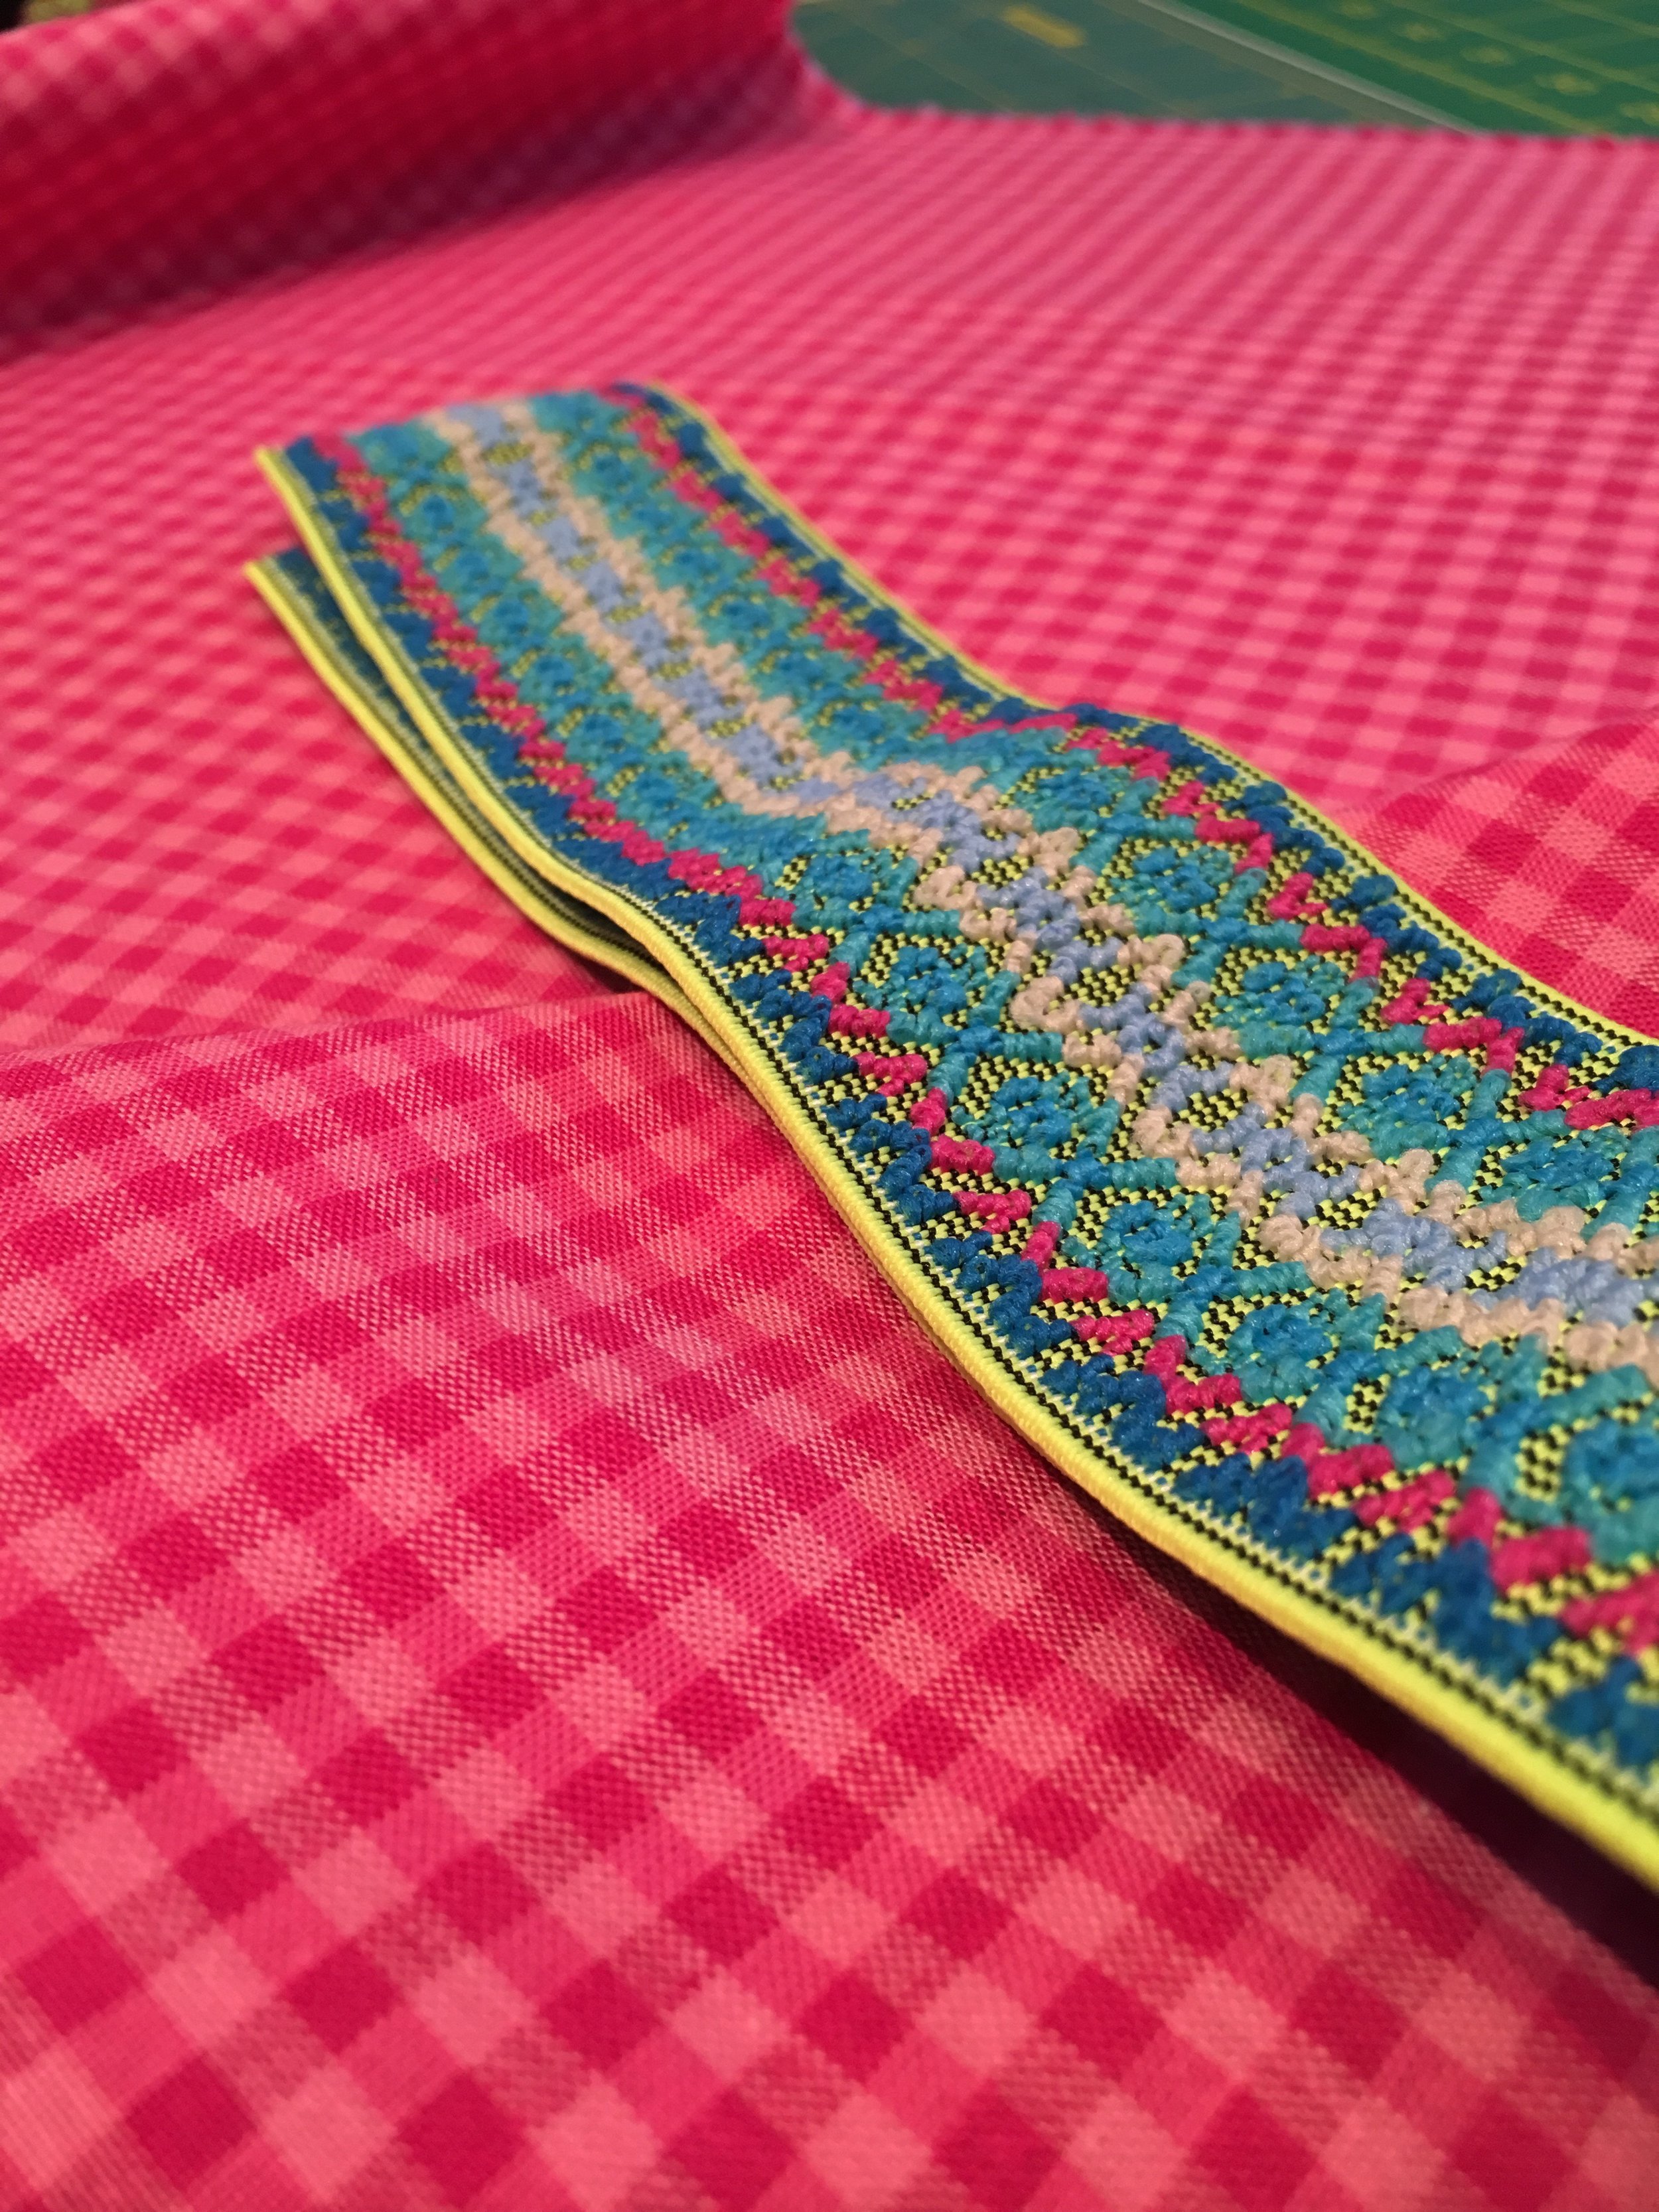
This cutie requires 5/8ths yard of fabric and 5/8ths yard of wide decorative elastic, that's it! When determining yardage use a two to one ratio of fabric length to elastic length. So my fabric length (the edge that will be sewed to the elastic) measures 44" and my elastic piece measures 22". This particular dress size ended up being a no-waste dress in that all materials were used, with no scraps left over. If you were making a different size and ended up with left over fabric consider adding pockets or ruffles to cut down on waste.
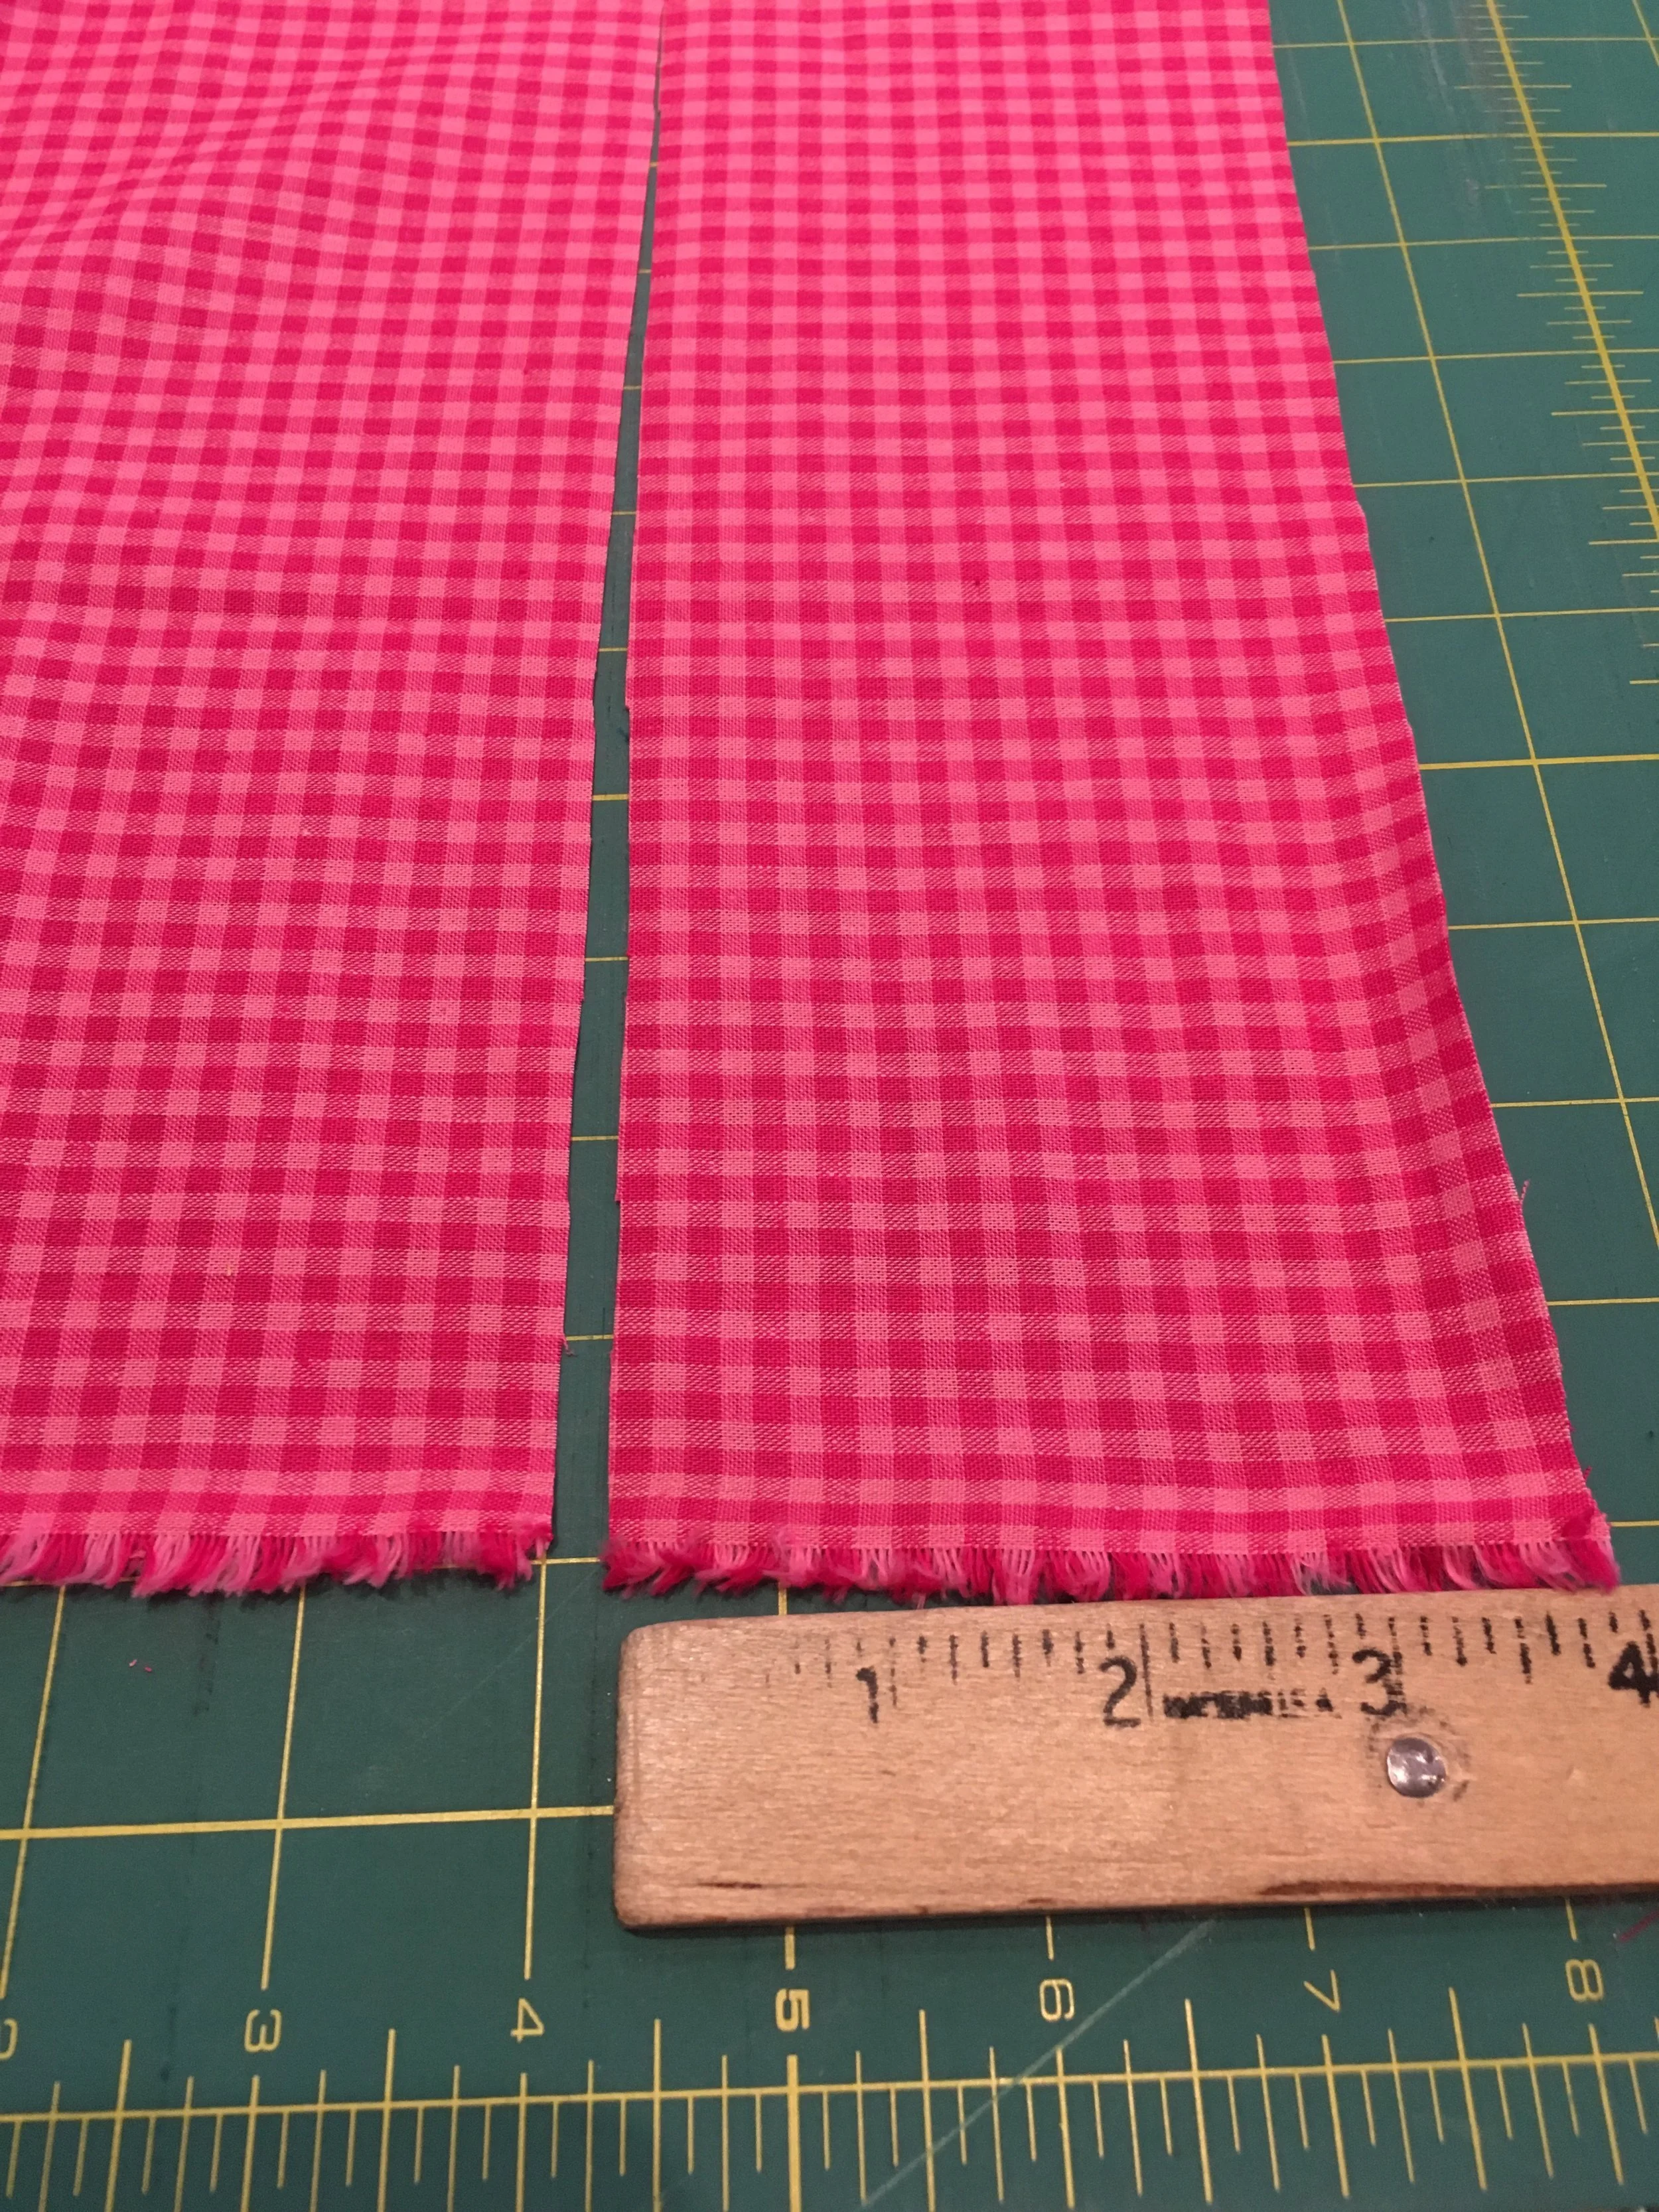
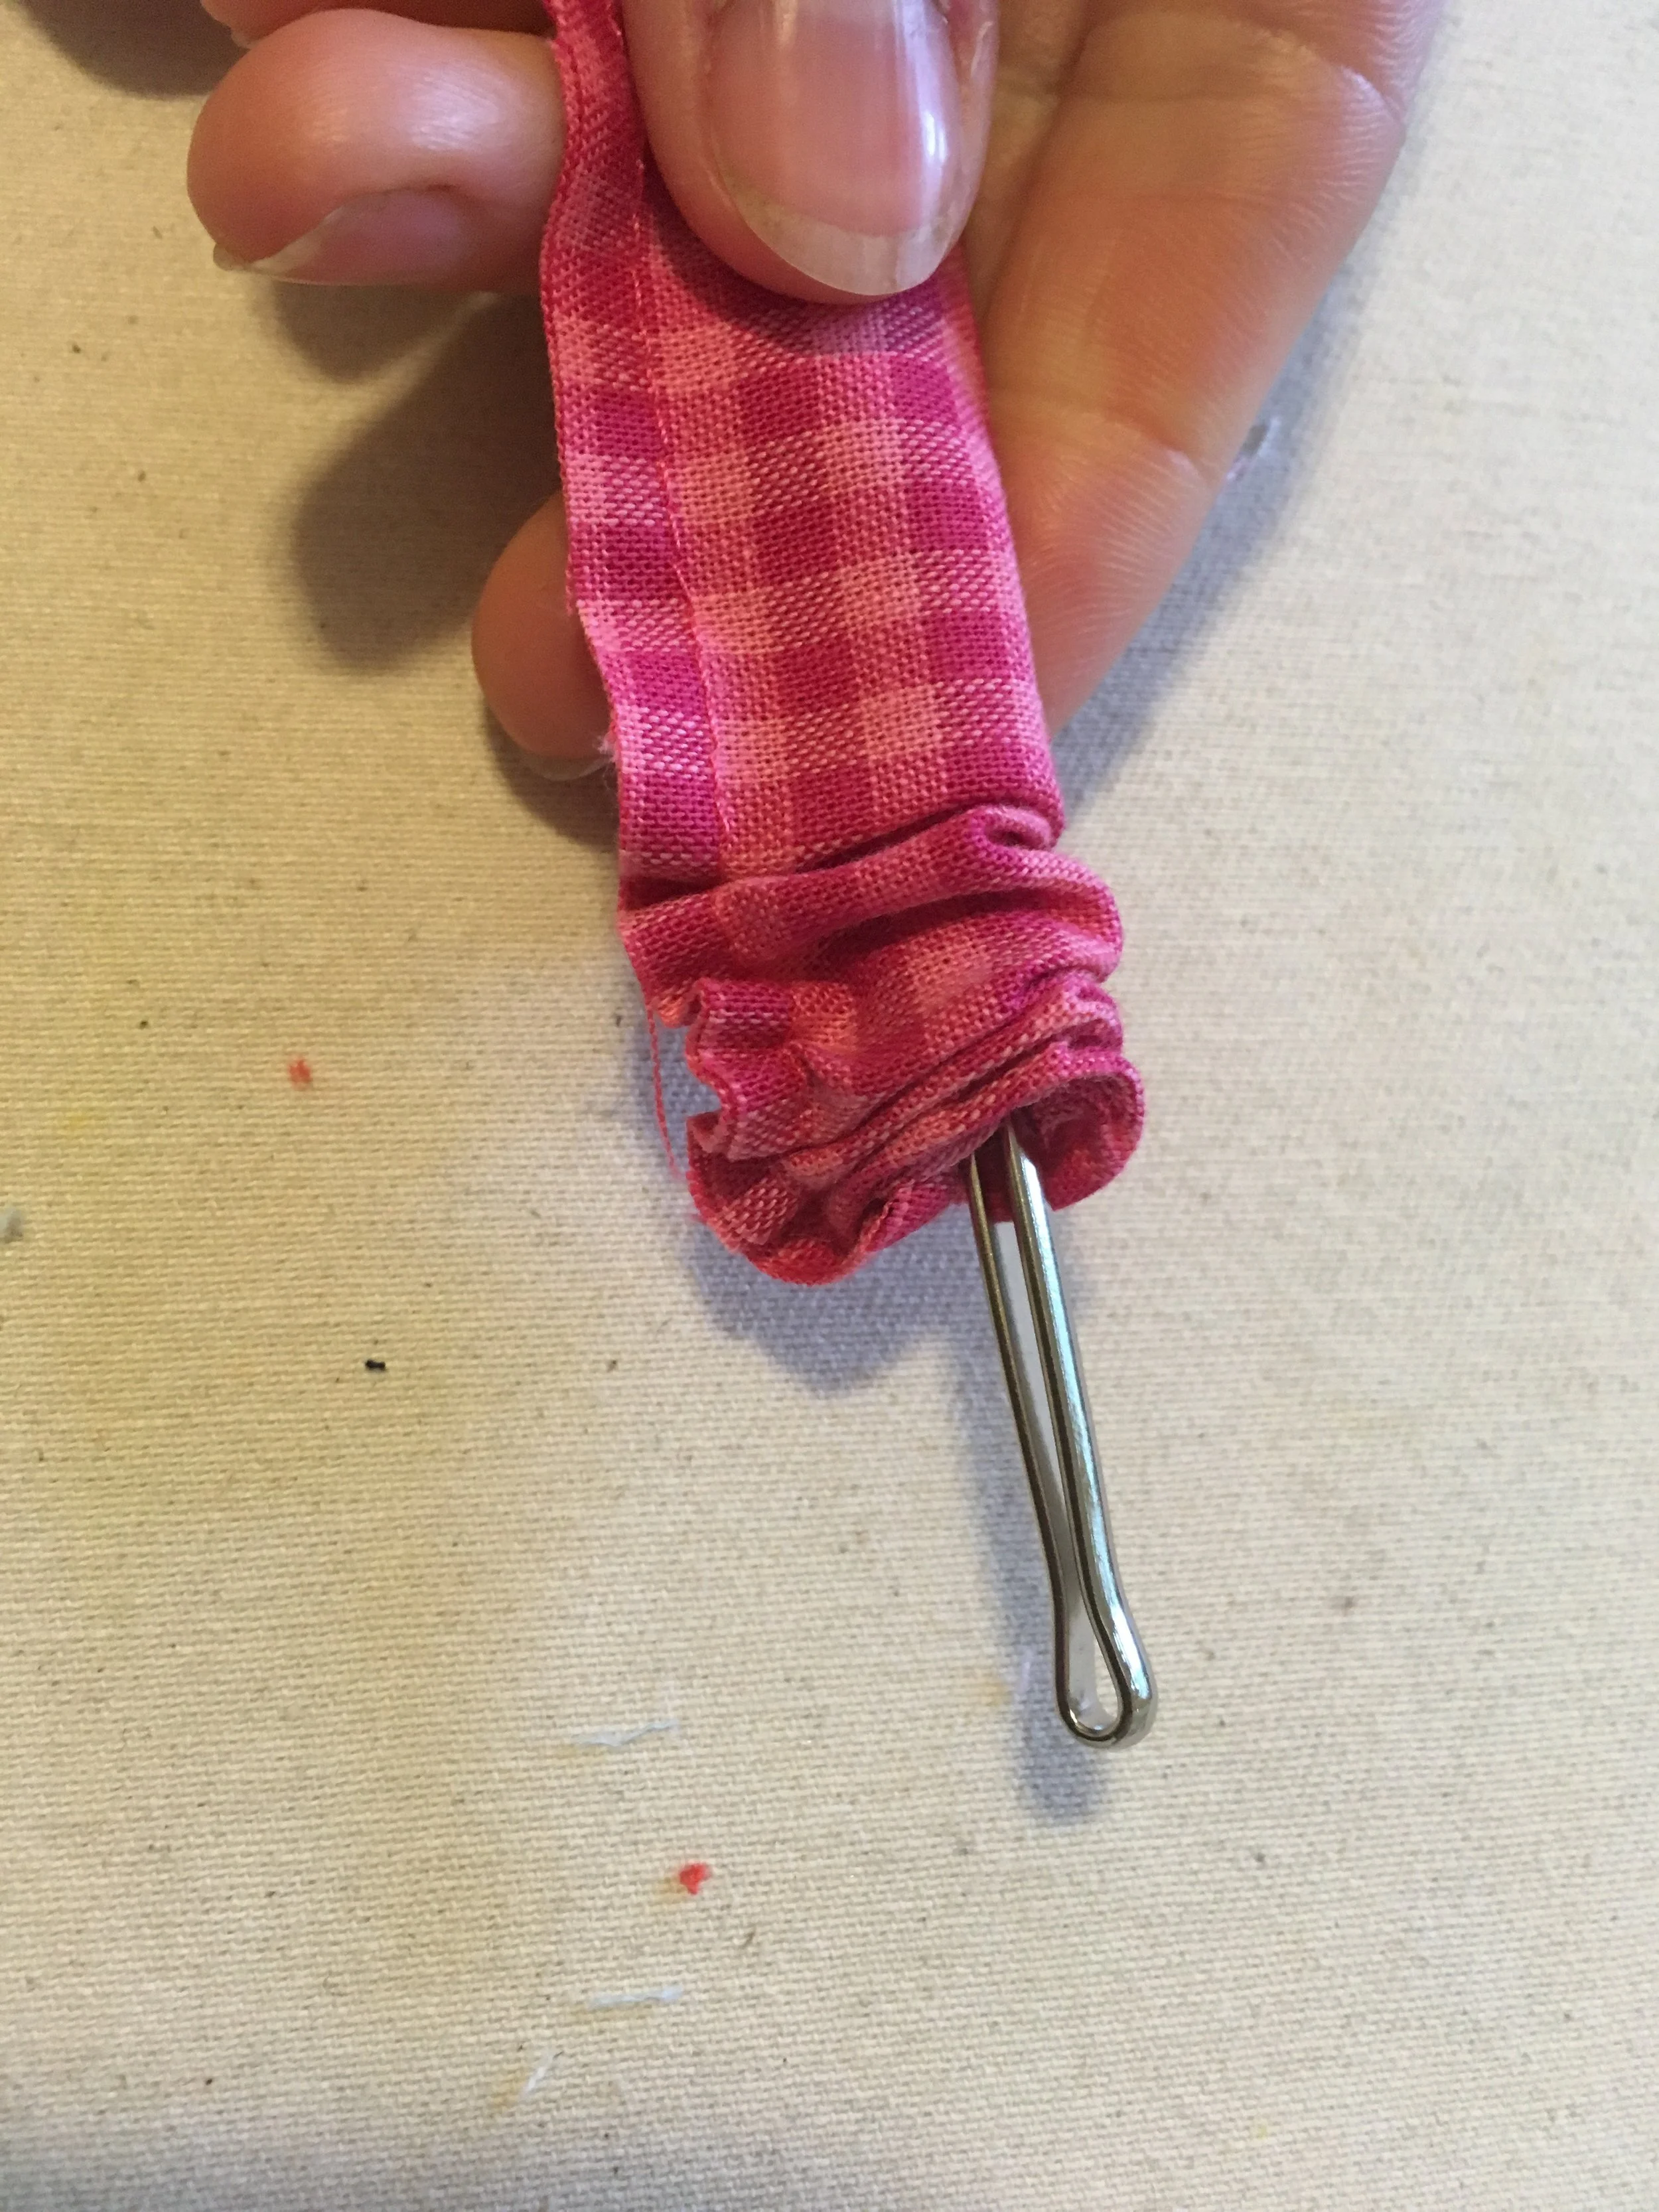
Cut 4" from one end of the fabric and then cut that in half lengthwise and then cut those two pieces in half widthwise. You will end up with four pieces approx. 2" by 22", these will be the ties. Fold each one of these in half, lengthwise, and stitch up that long raw edge using a 1/4" seam allowance.
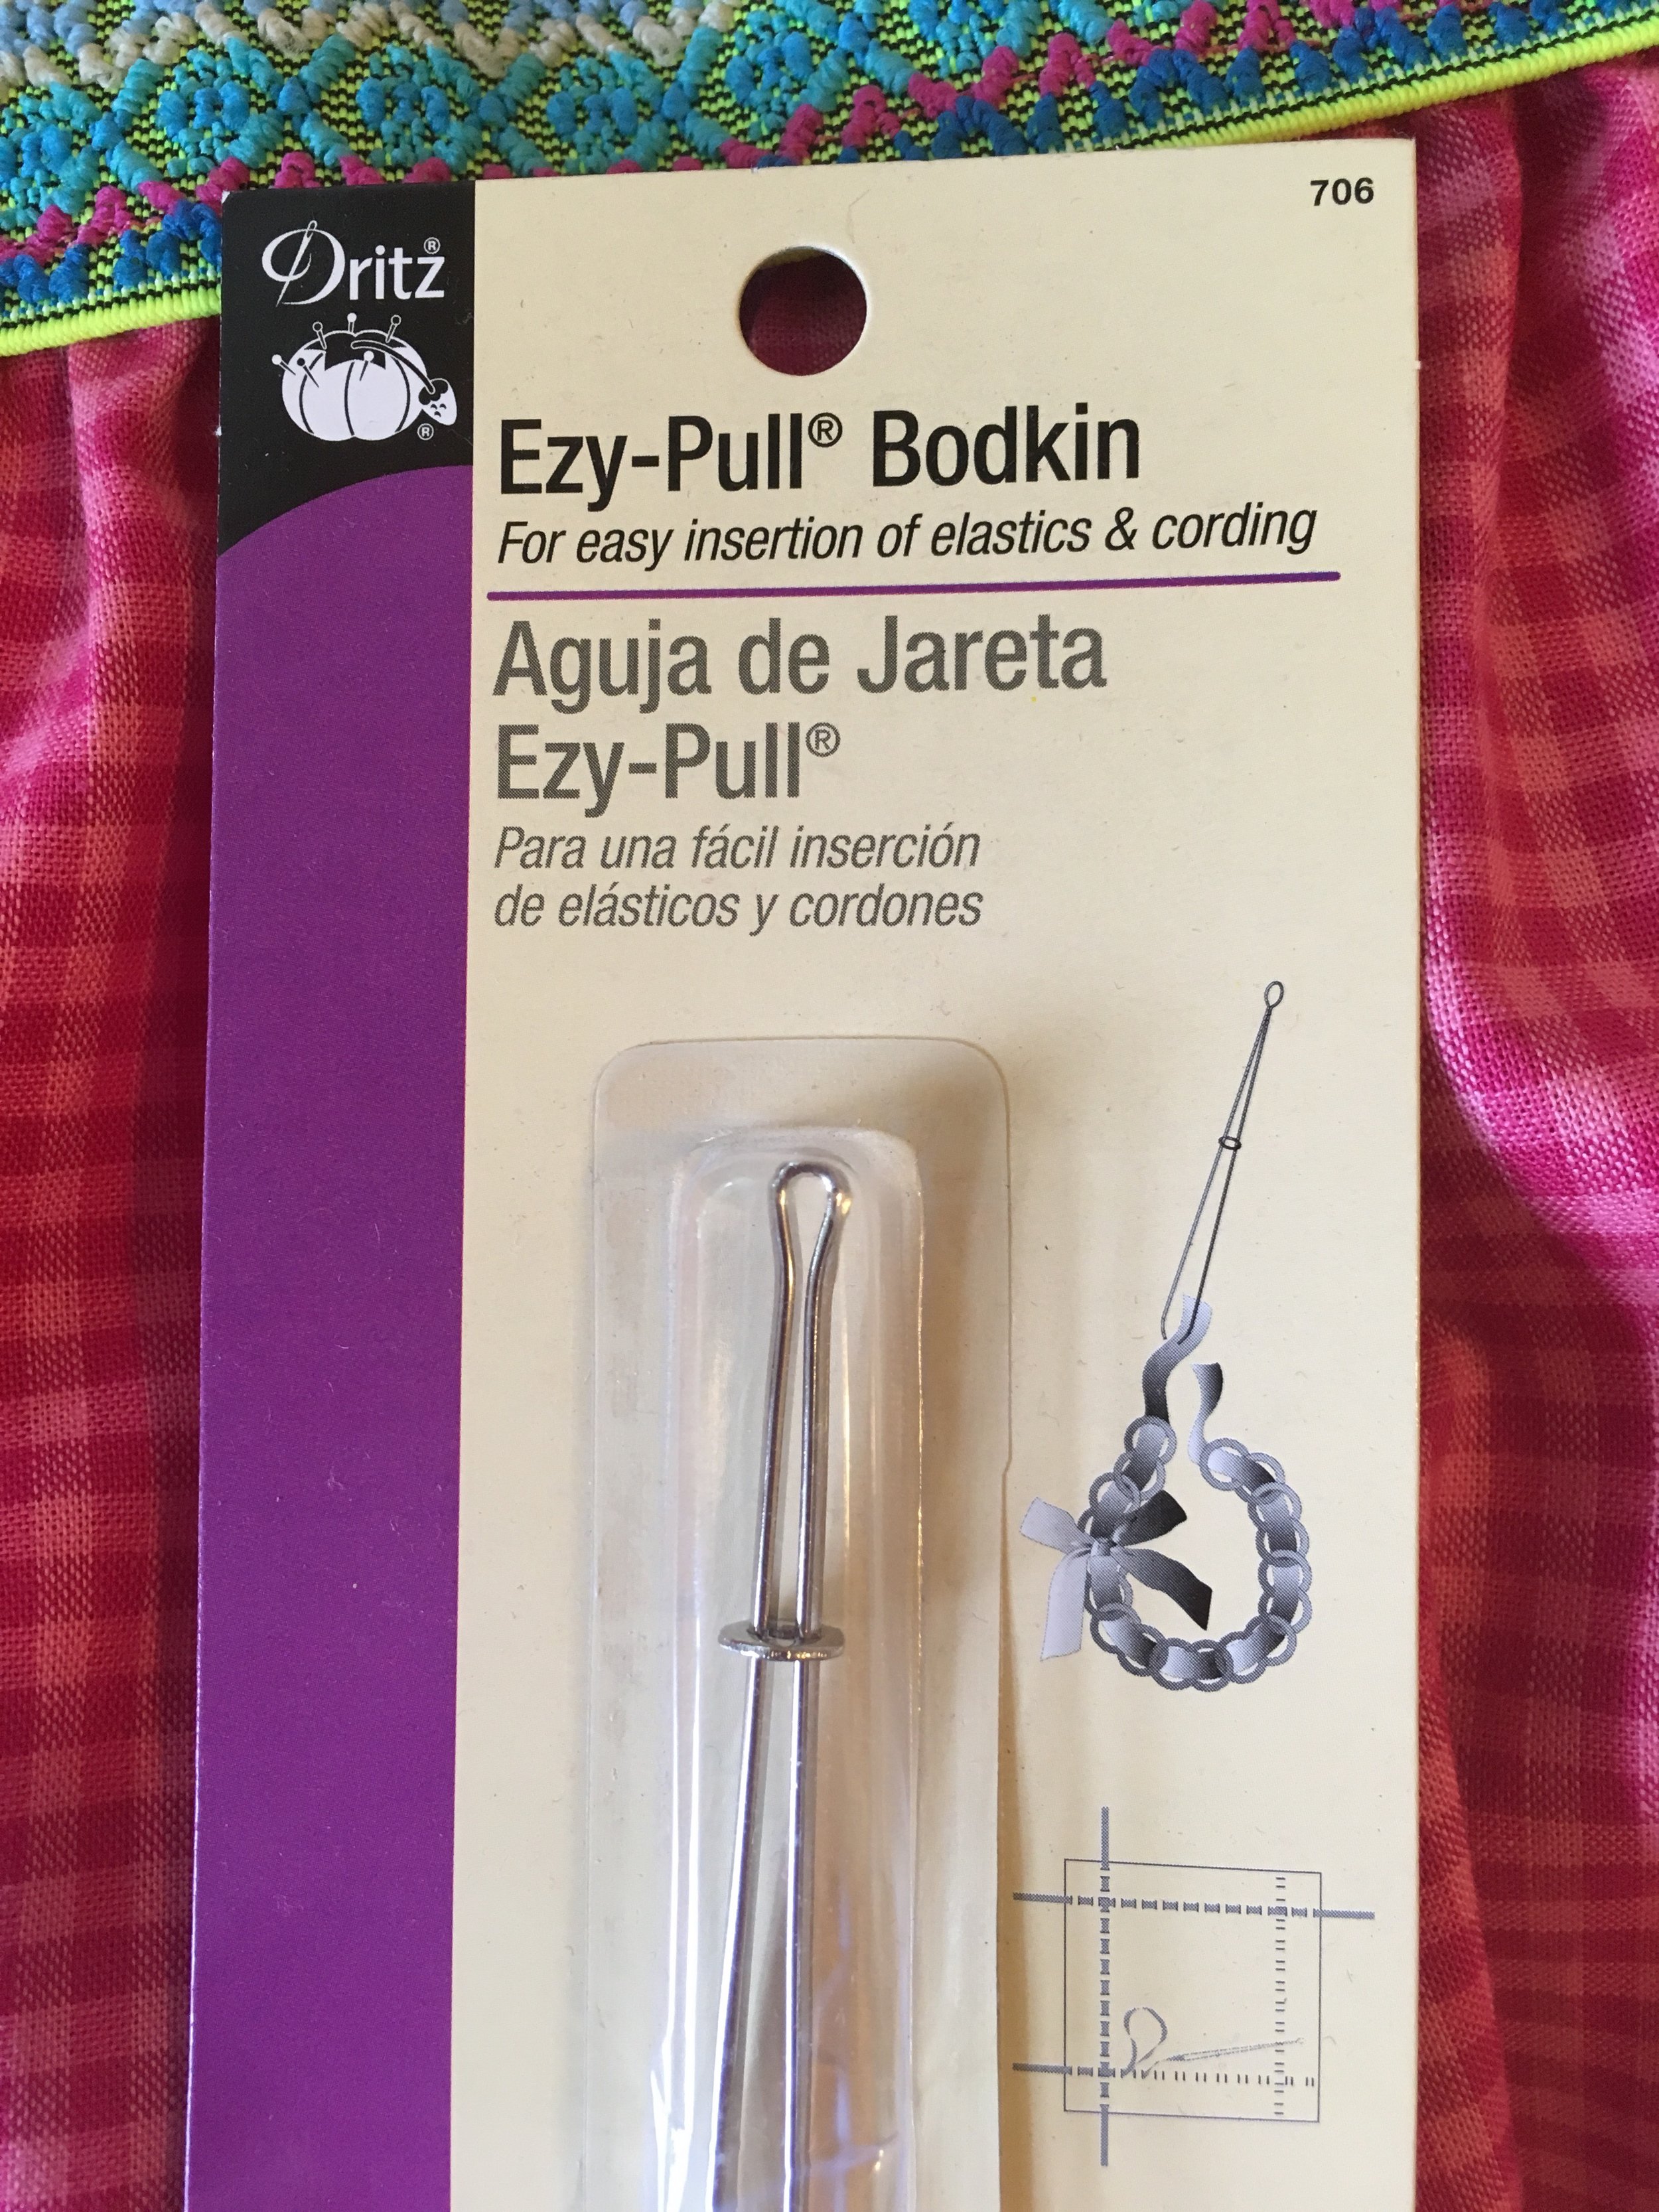
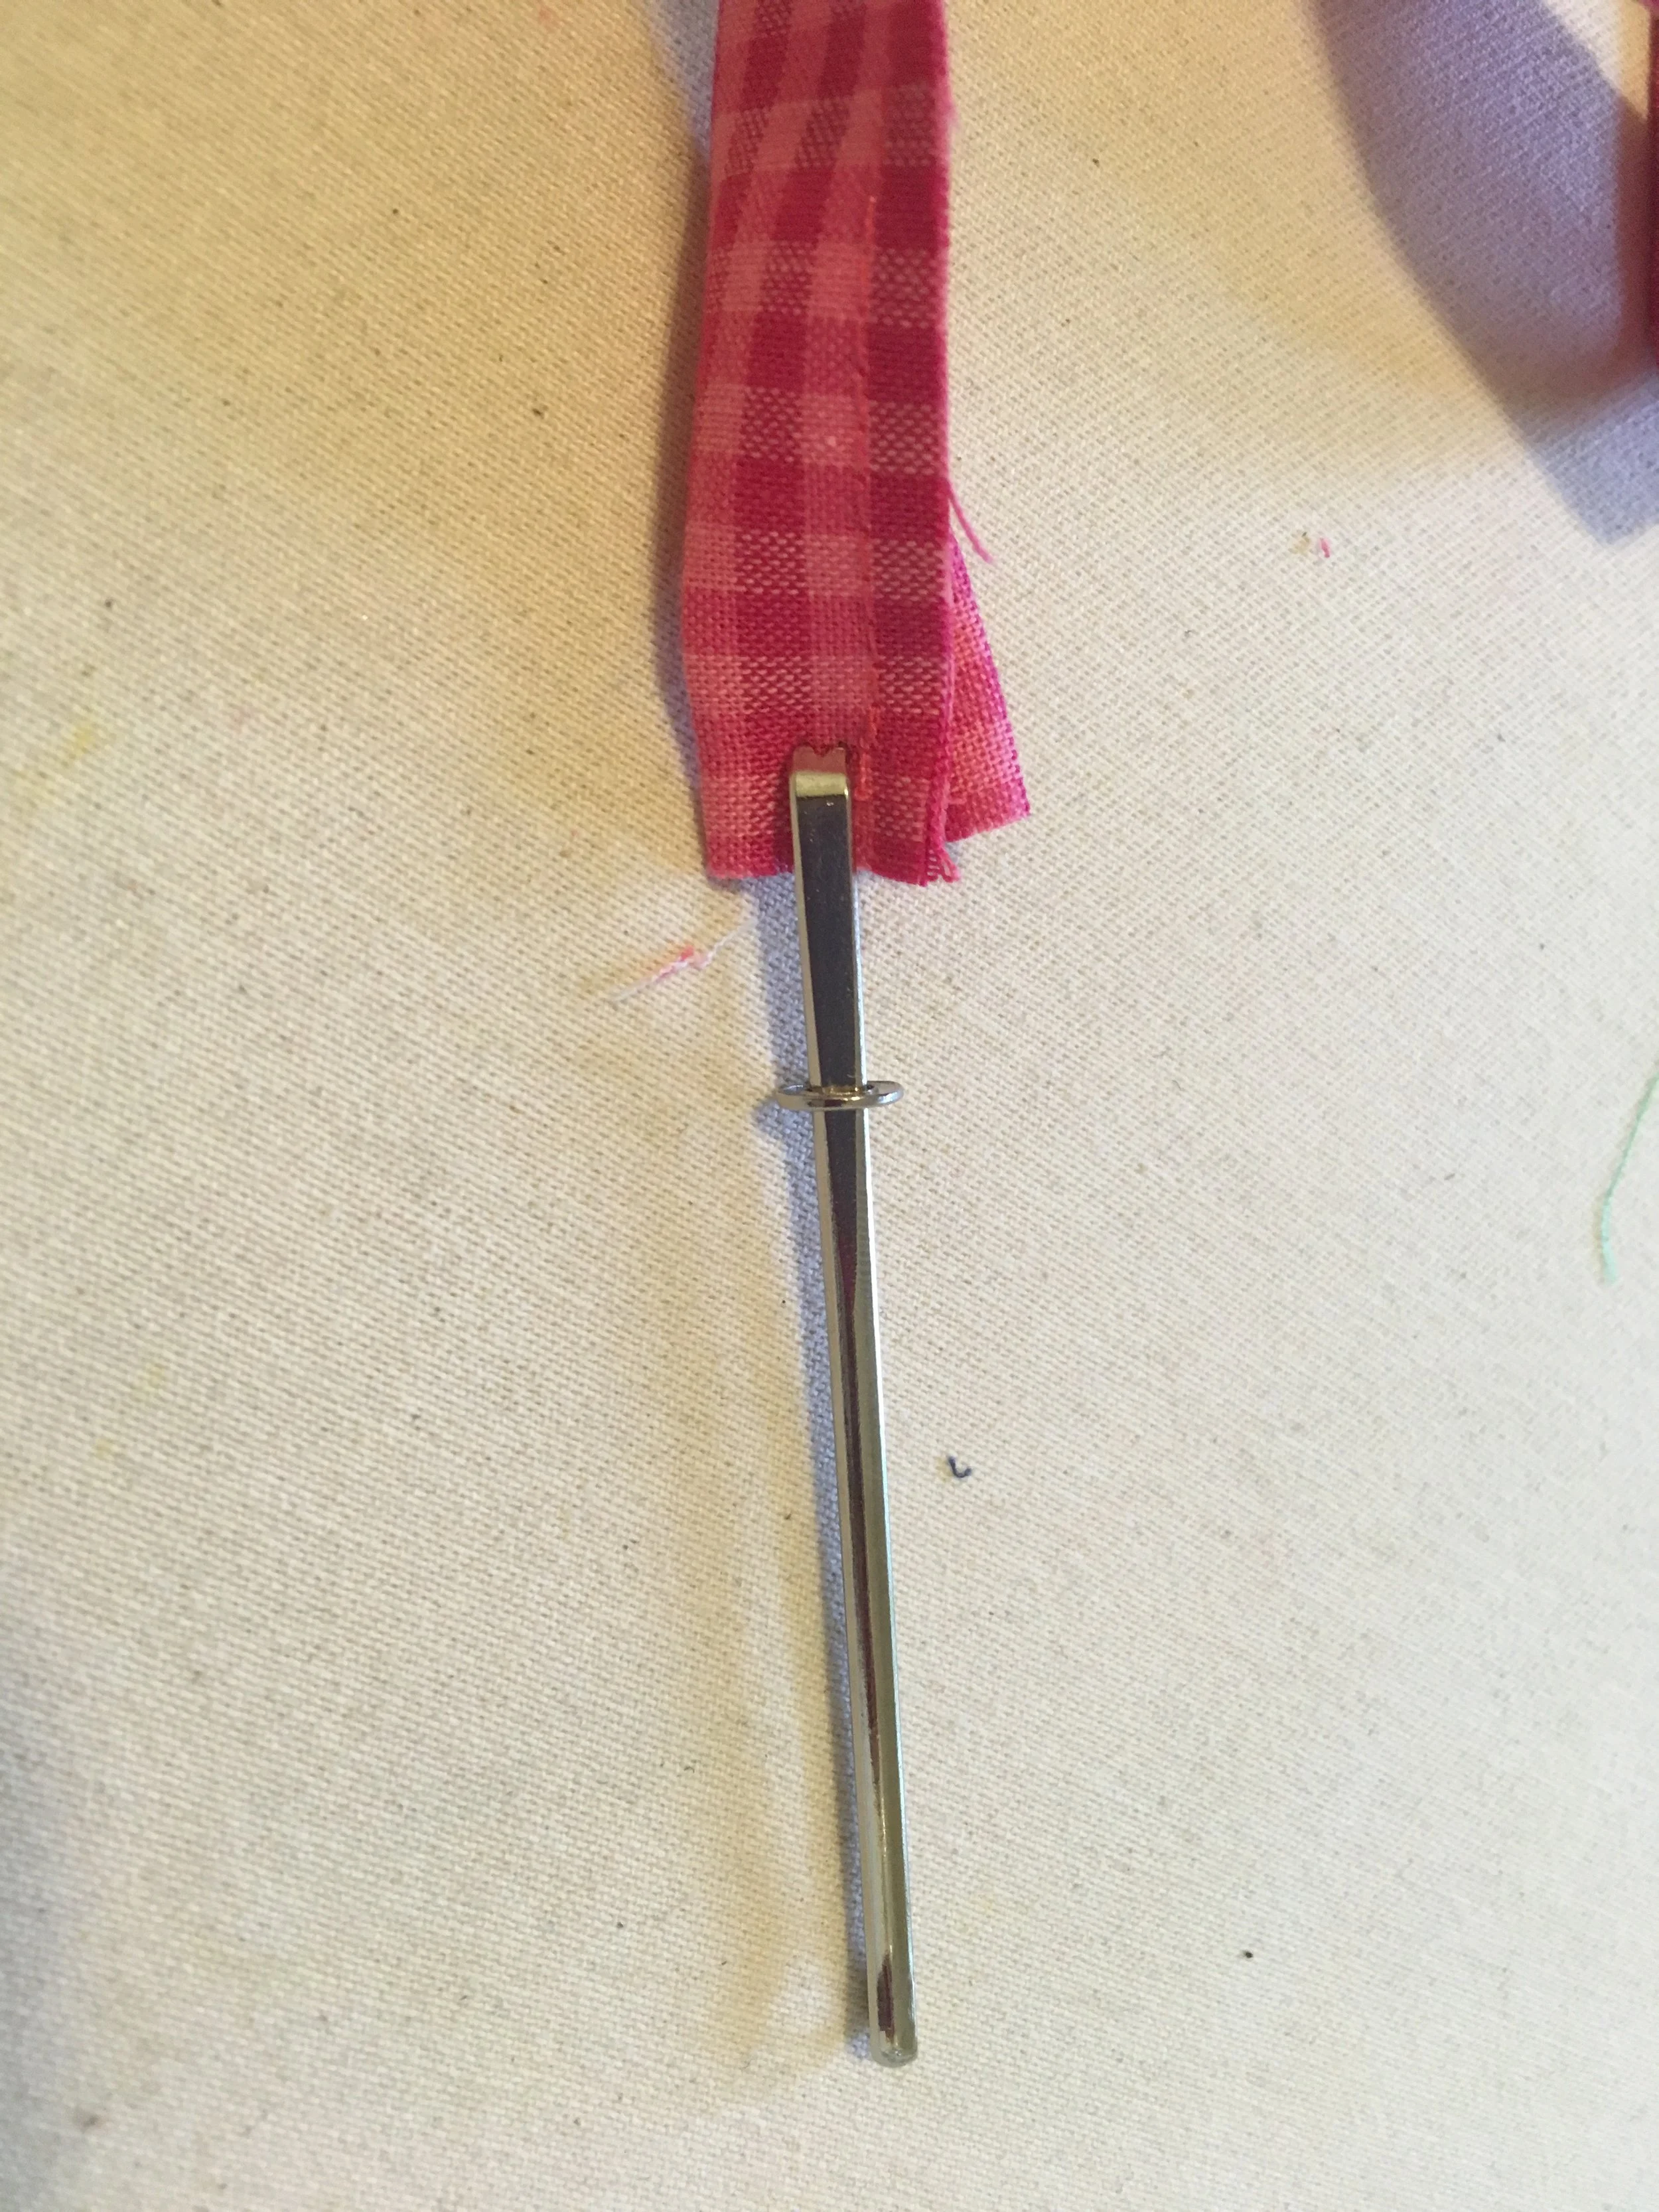
Then using this simple yet super handy and inexpensive tool named the Easy-Pull Bodkin by Dritz, pinch one end of a tie and then finagle it so that it goes through the tube. This will turn it right side out. Do this to all ties. Tube turning couldn't be easier with a bodkin and they are superior to the safety pin when running elastic or cording through a casing. It's a great tool to have on hand.
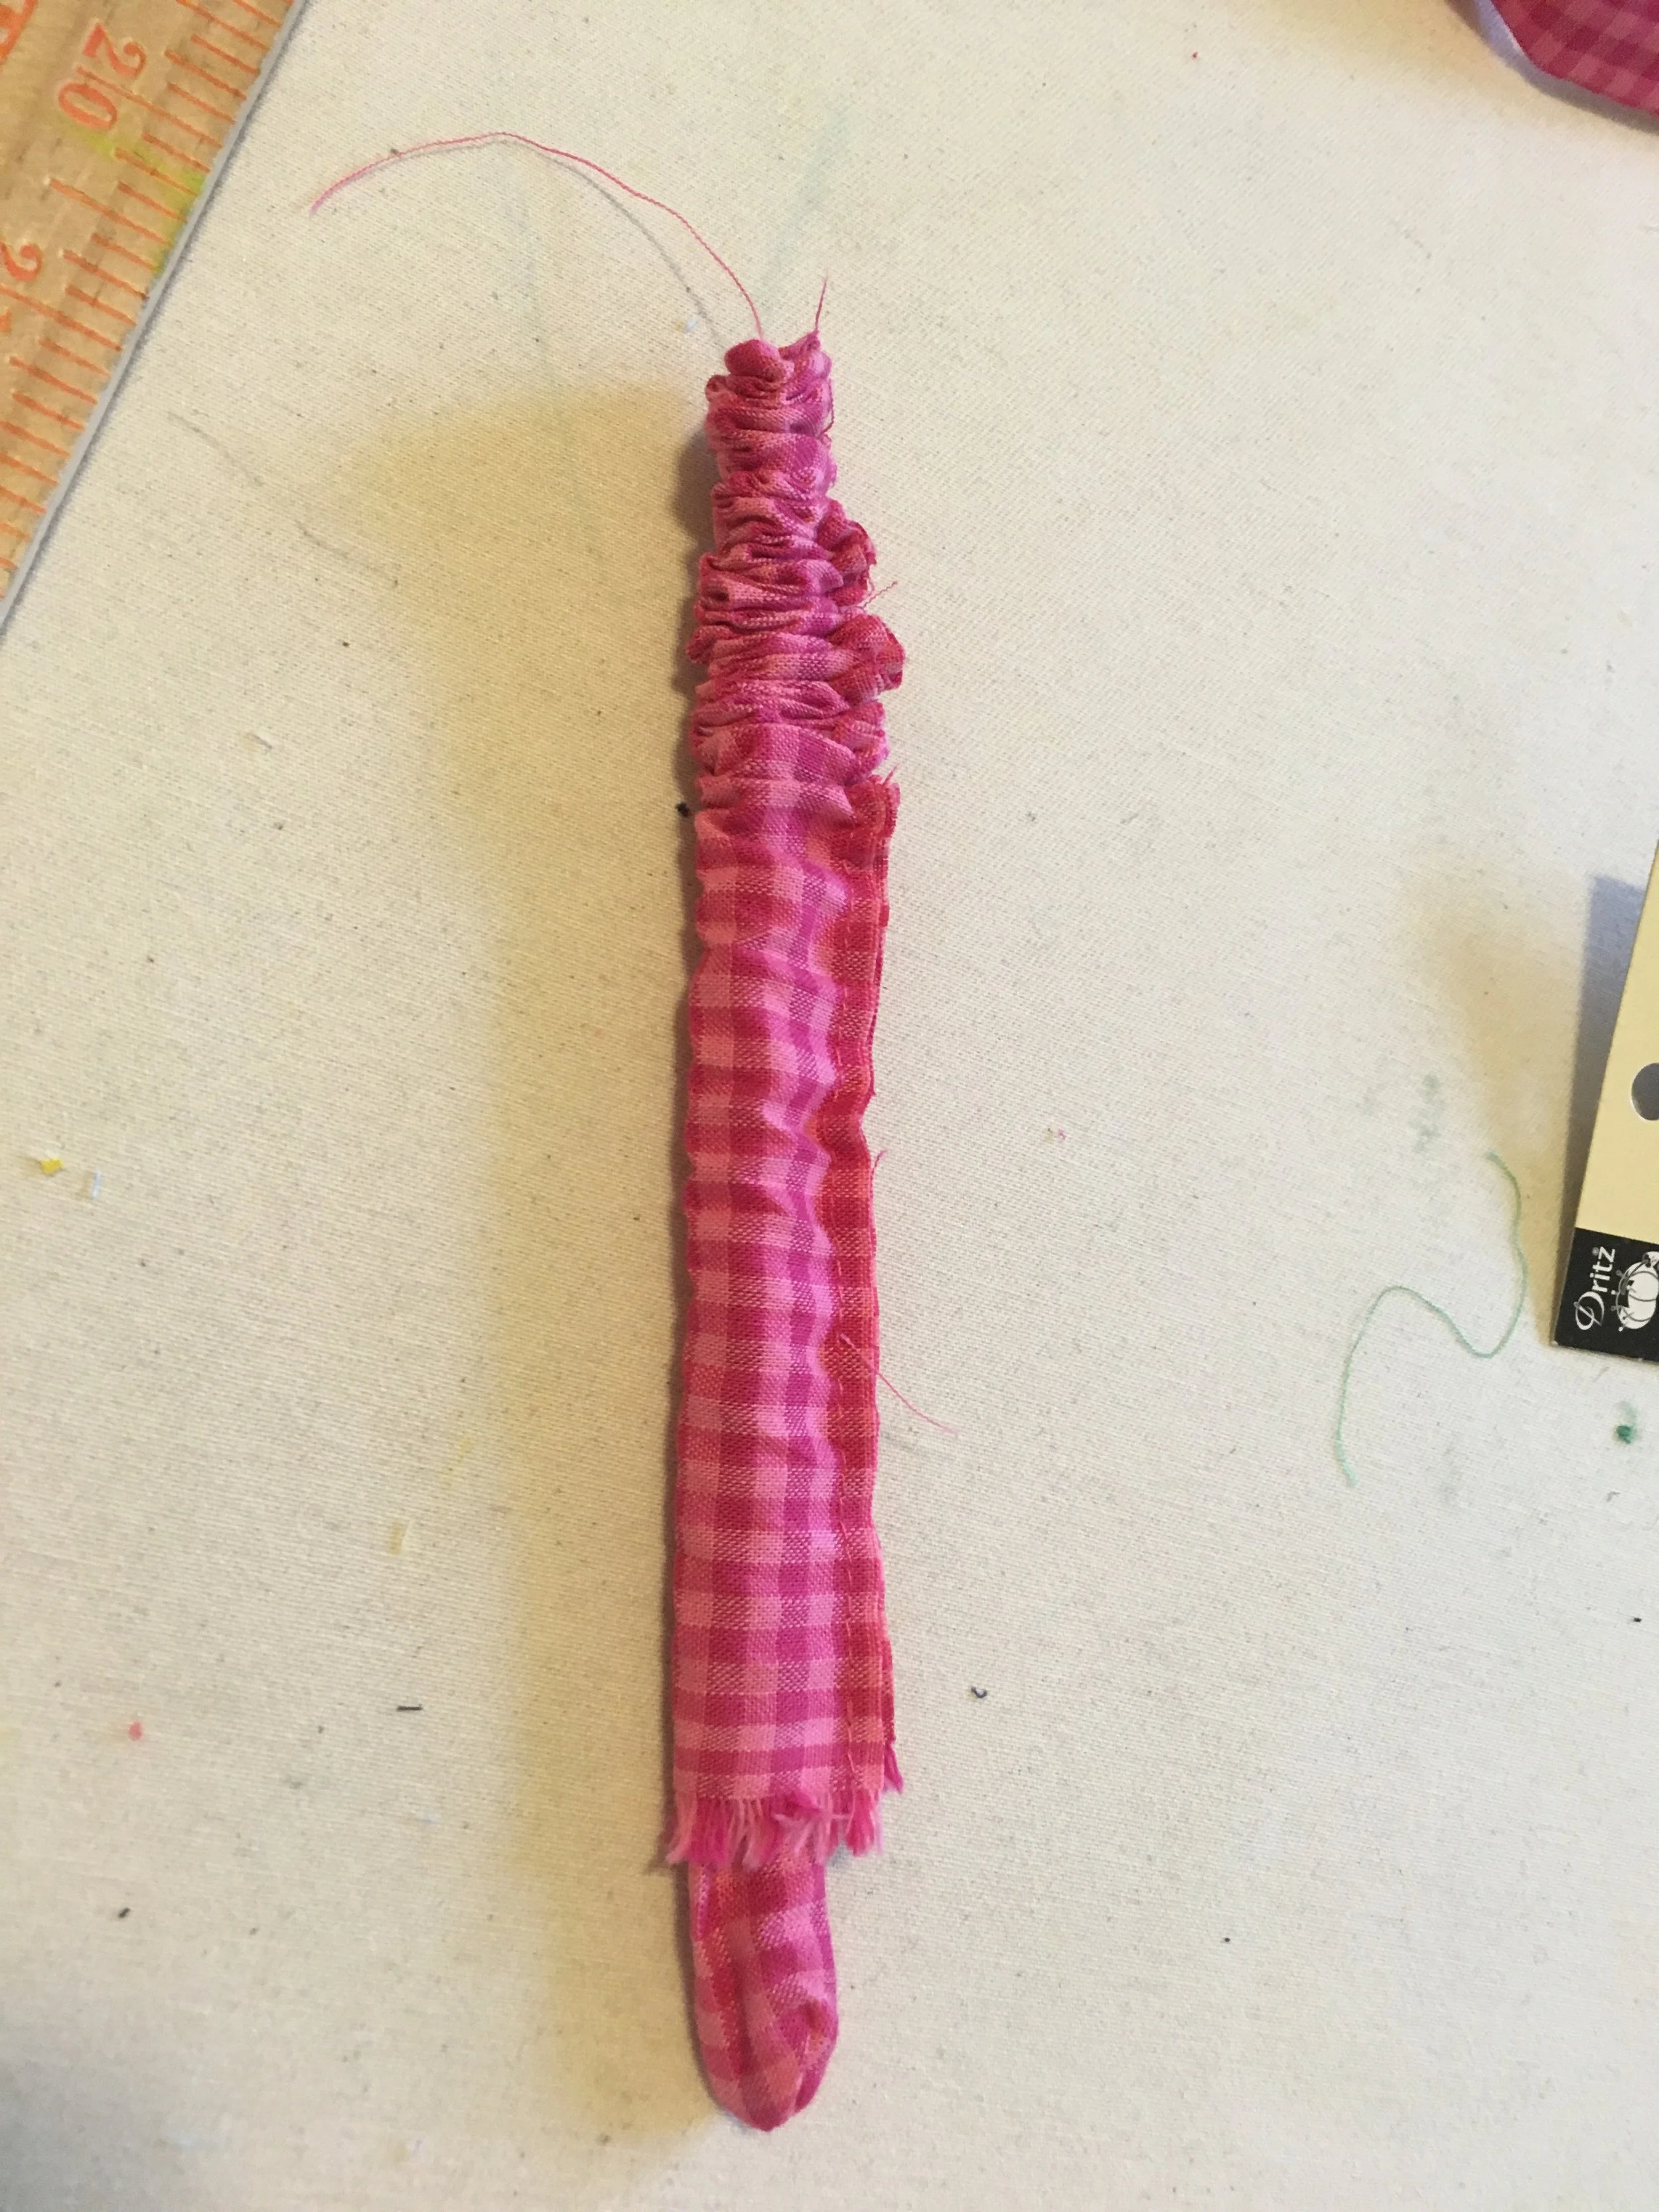
Once you pull it all the way through give it a good steamy press of the iron. I chose to leave the neatly provided selvages exposed, all I did was run a line of stitching close to the selvages just to help keep the ties flat. You can finish them however you prefer. Next, overlap the elastic and stitch together with a dense zigzag stitch on both raw ends. Take your 44" fabric piece and fold it like it was when it was on the bolt, stitch along selvage edges using a 5/8" seam allowance, press seam open and then hem the dress. Now, go ahead and finish the raw edge (that which will be attached to the elastic) with a over-lock stitch of some sort to prevent future fraying.
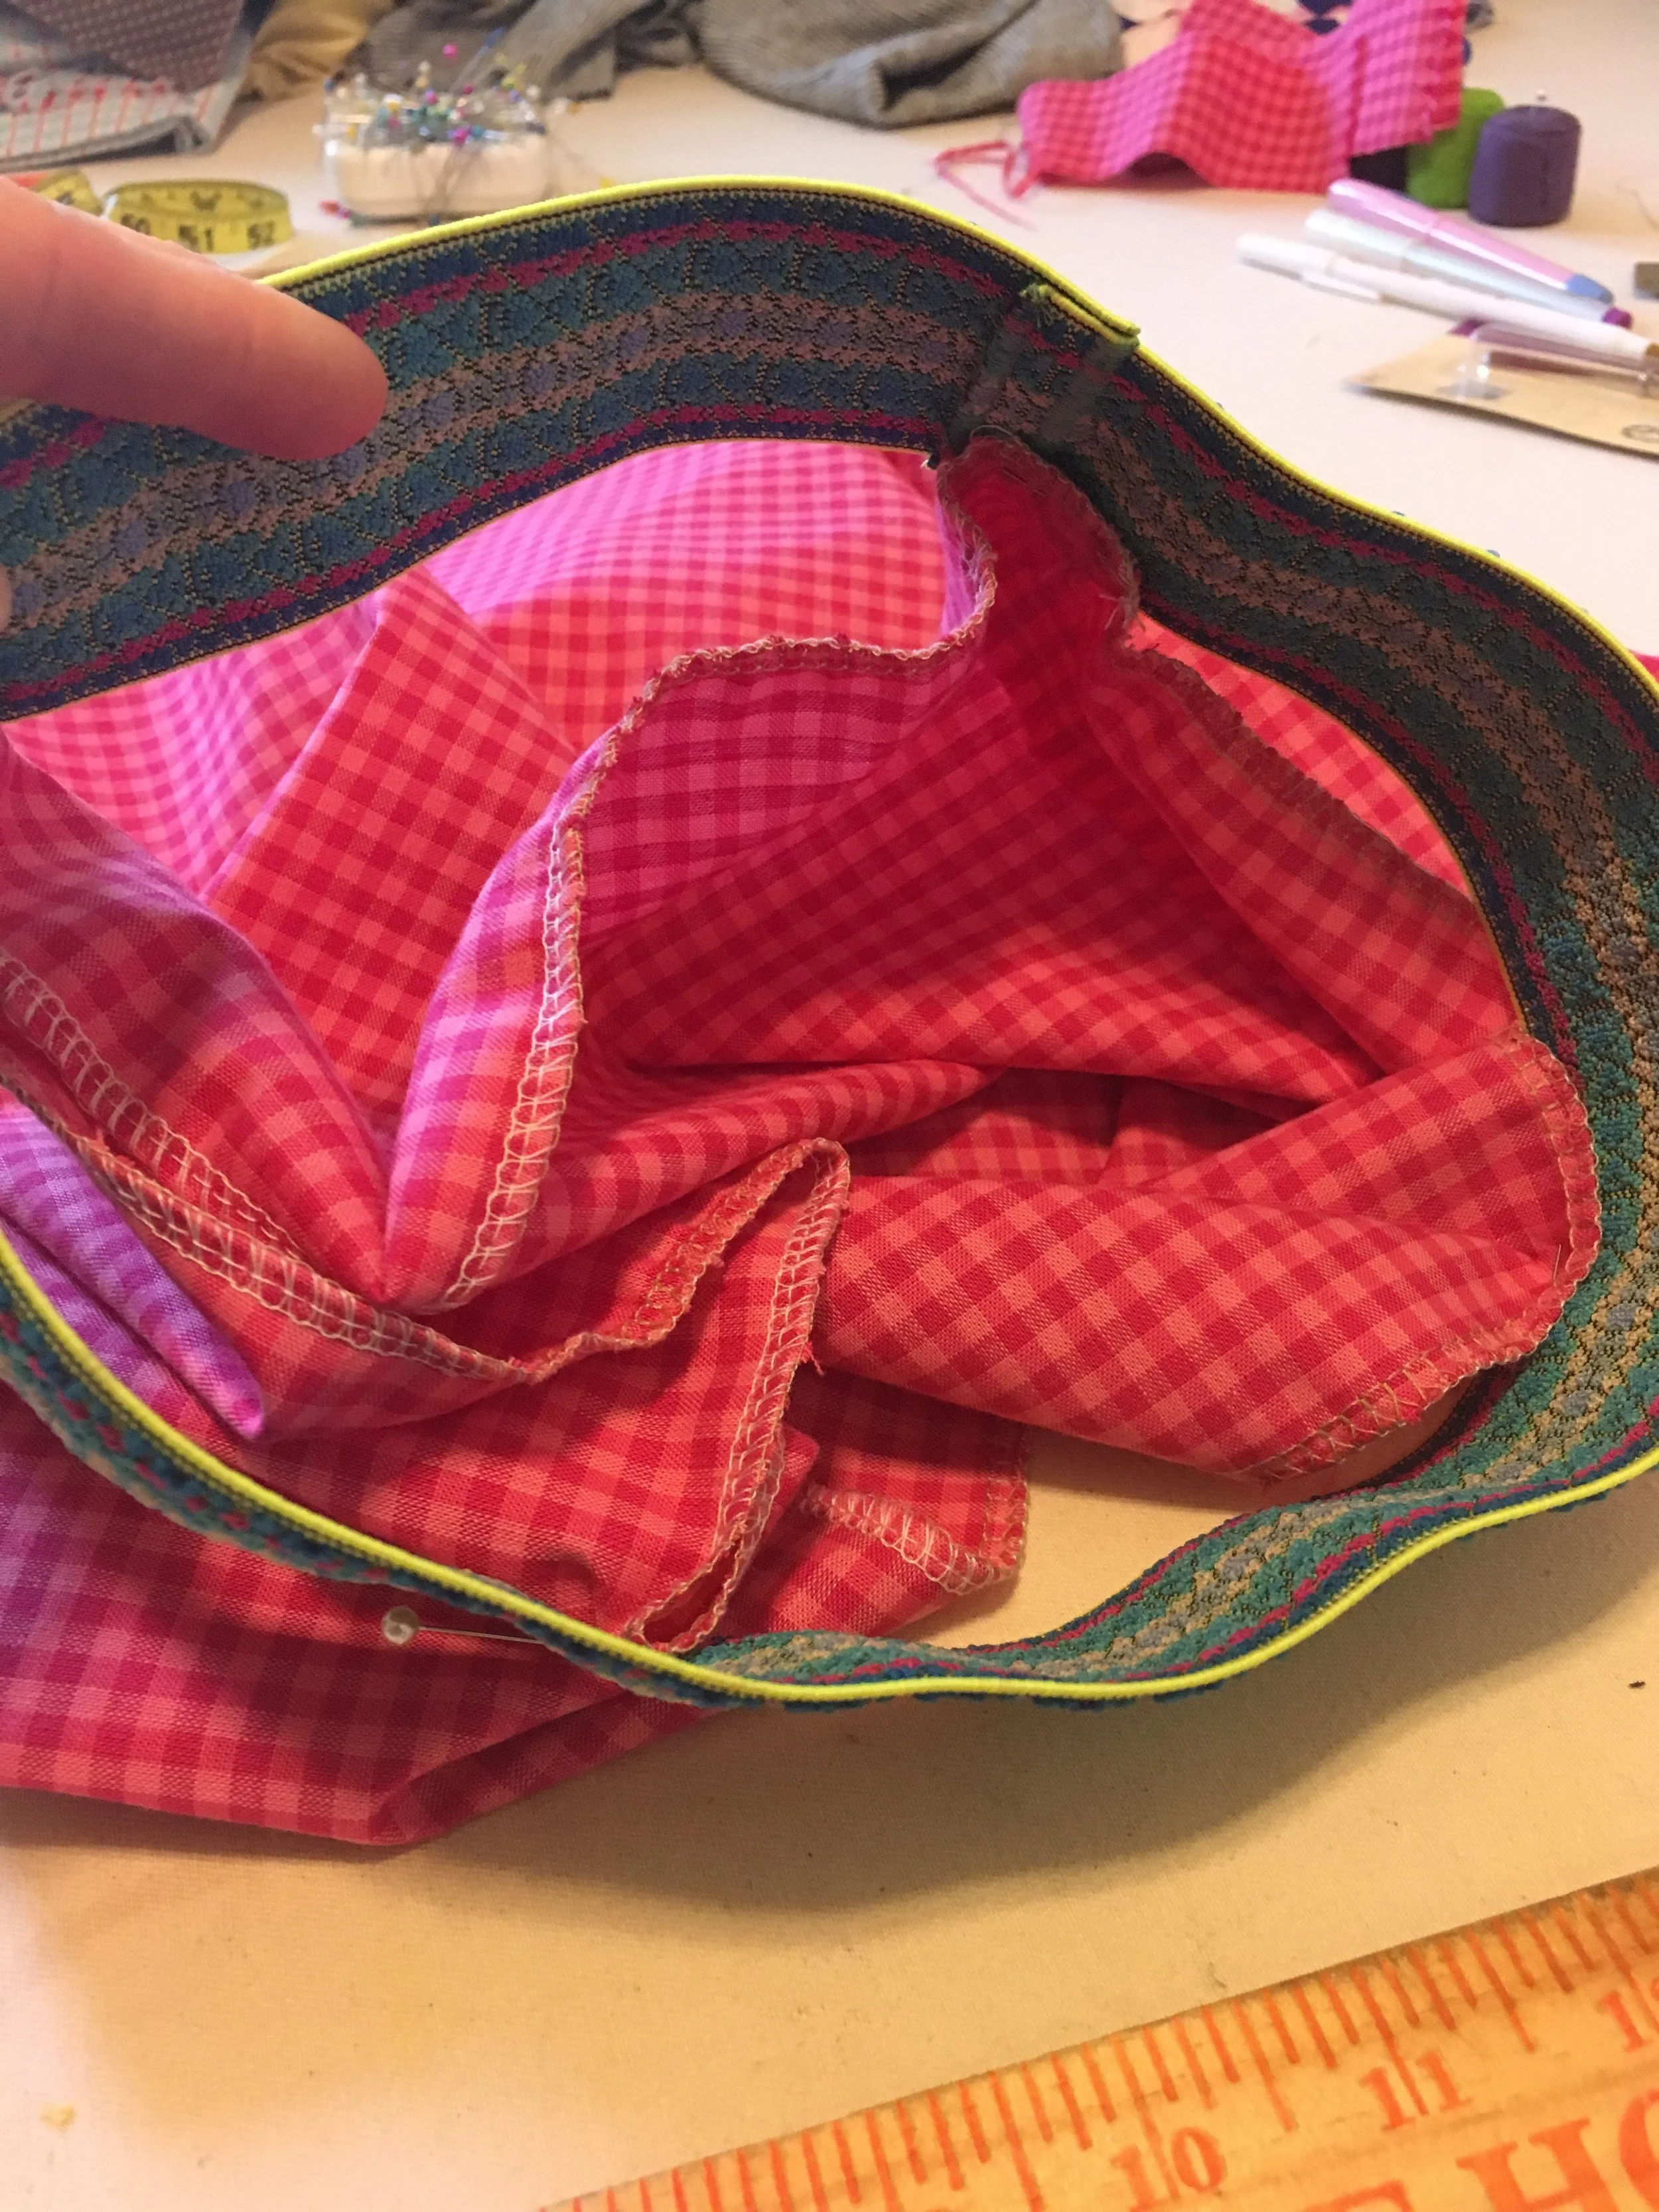
Now, evenly fit the elastic to the dress by dividing both rounds (elastic and dress) into fourths, marking those fourths, pining each opposing fourth together. This will ensure even gathering all the way around. At your machine, stitch the two together by stretching the elastic over the fabric so that there is no gathering of the dress fabric. Do one quarter section at a time and be careful in keeping the edges fairly even with one another. If you have trouble with this you may want to go ahead and put several more dividing pins in so that you can keep the two materials more evenly lined up.
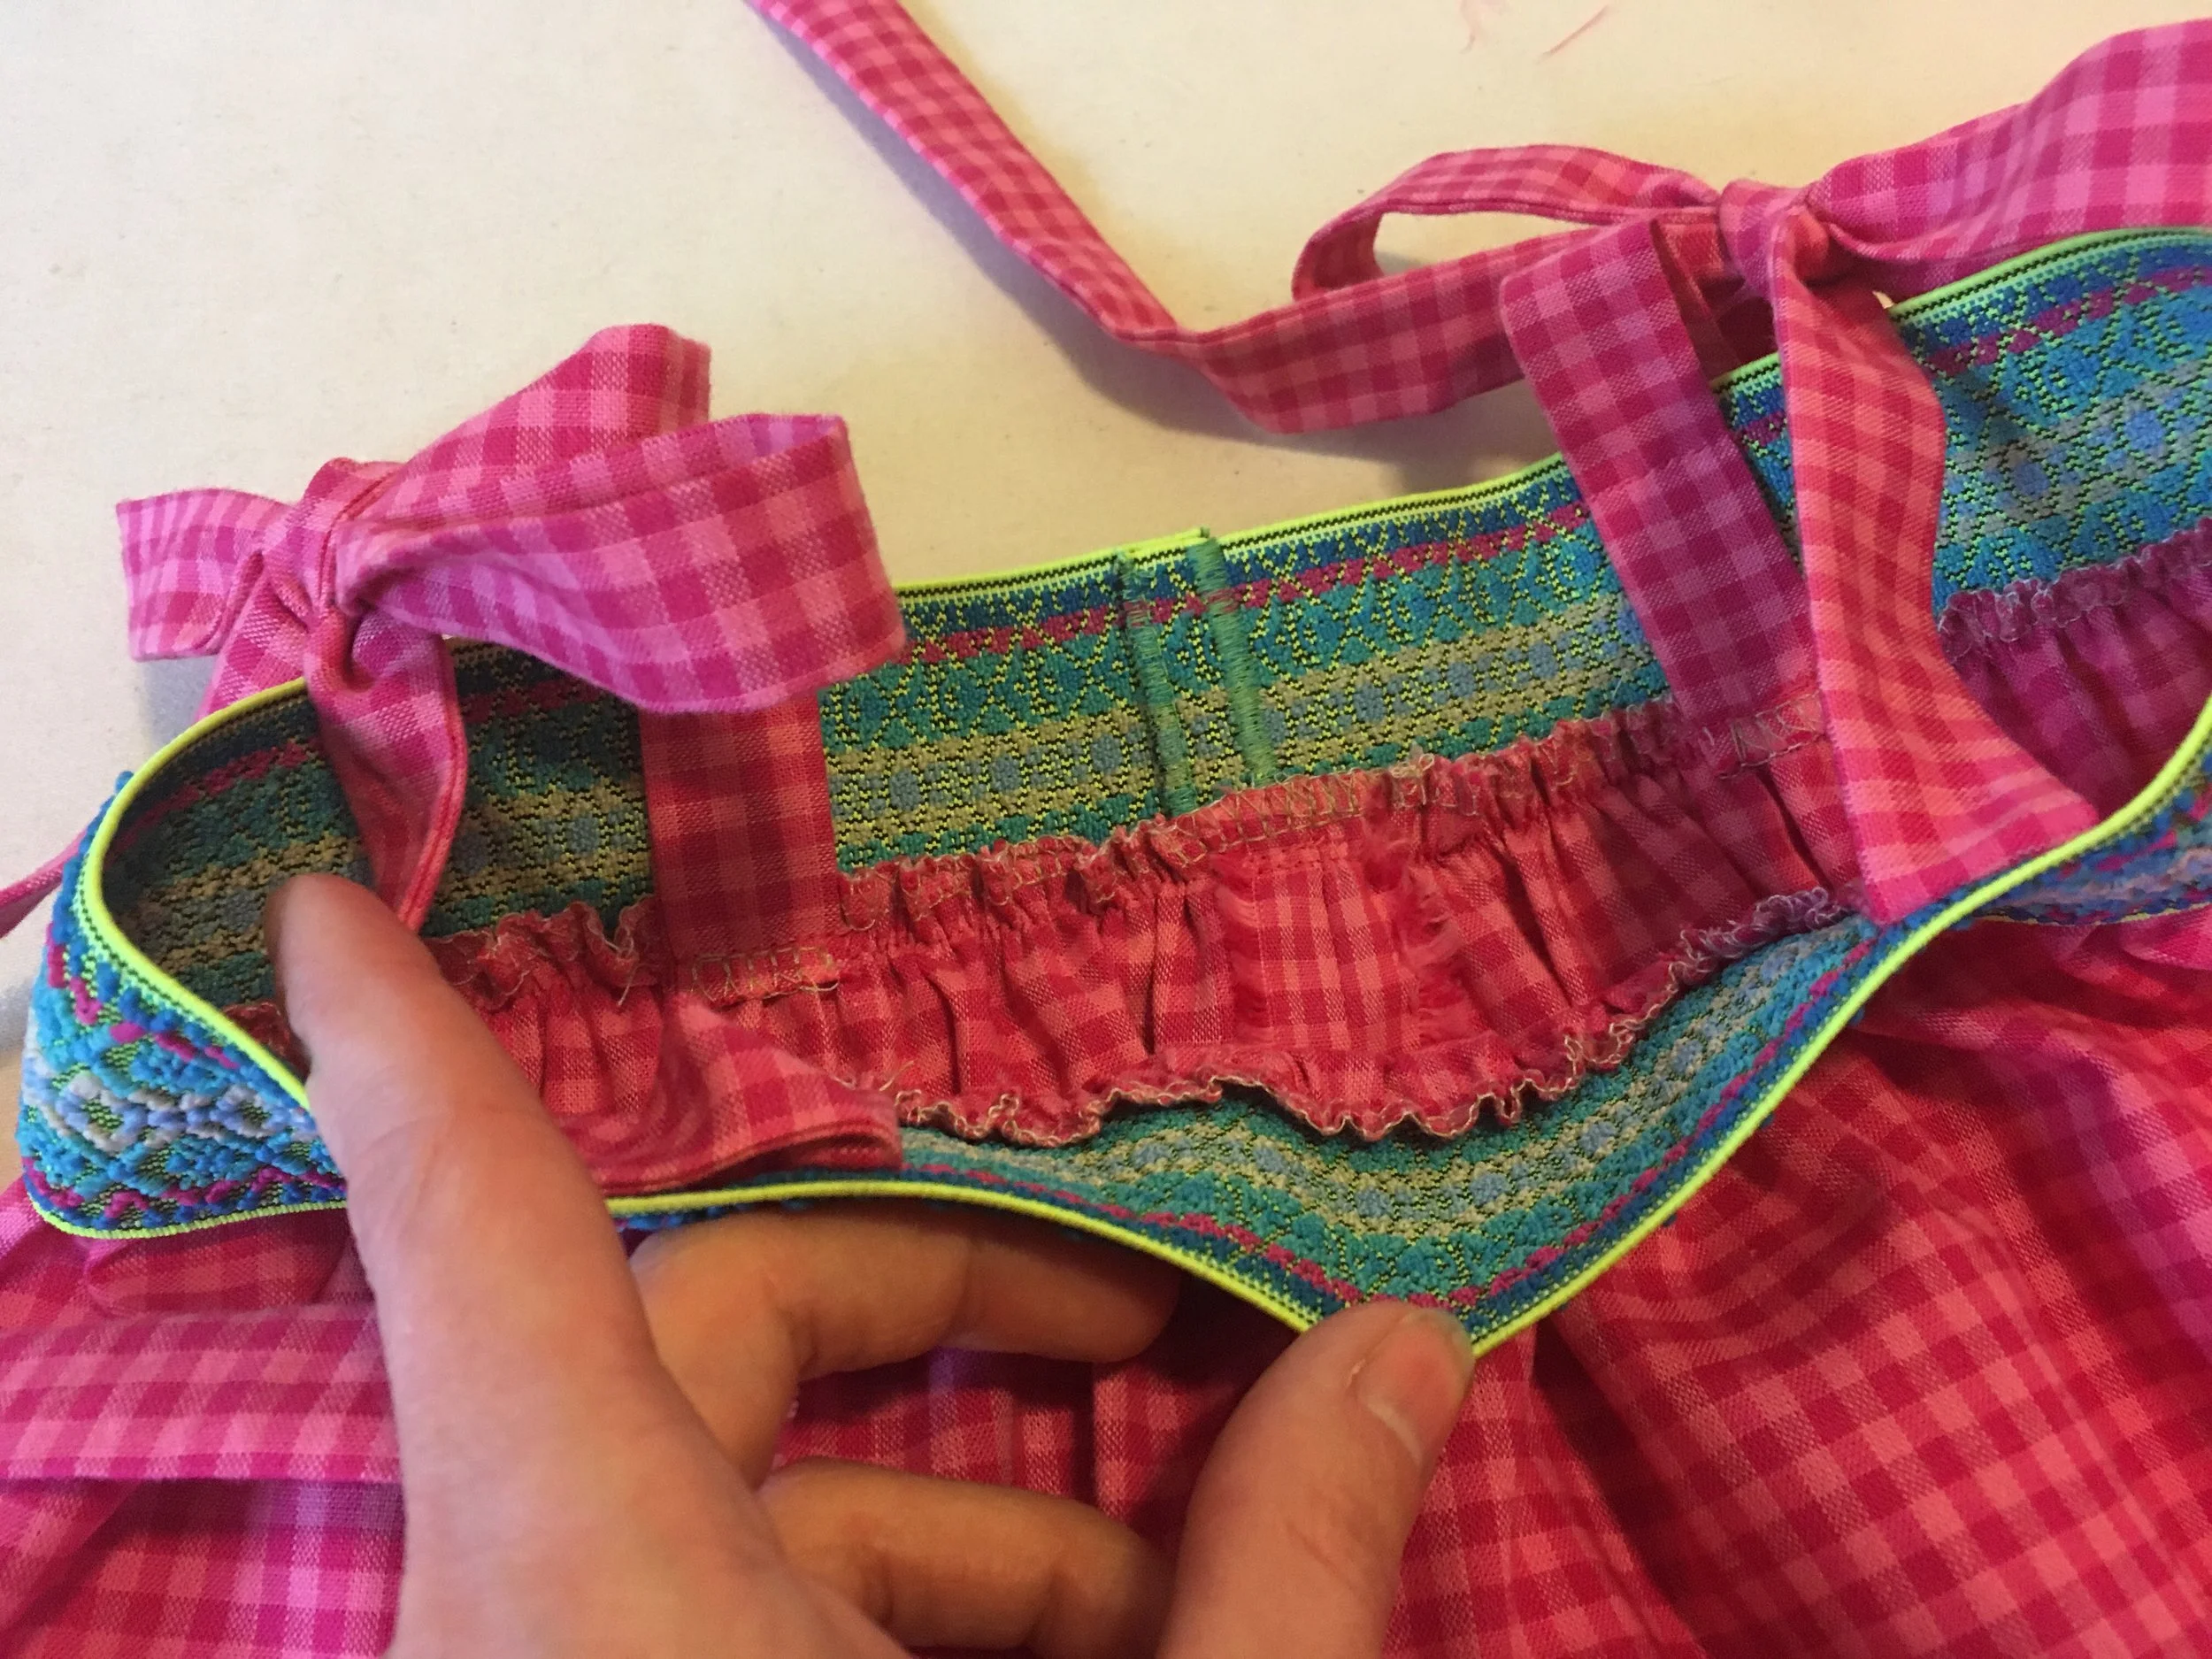
Lastly, stitch each strap on in two places, one near the bottom of the elastic and one near the top of the elastic - you're finished! Next, try it on a kiddo and watch them twirl with delight, well lets hope so. Some kiddos are picky dressers I've come to find out, not that there's anything wrong with that. Many look more put together than most adults, myself included.
If you or the one you are making this for doesn't want the ties at the shoulders an easy alternative would be to make one strap for each shoulder and put several button holes at the end of the back of the straps and sew a button on the inside of the elastic on the back so that the straps can be adjustable and tuck inside the dress. Happy sewing!